Thermal imaging is the science of converting the heat signature of objects to an image visible to humans. Everything above absolute 0 gives off some heat, and thermal imagers allow us to see that – even if there is no visible light in the room. Historically, thermal imaging systems have been large and expensive. Early systems required liquid nitrogen cooling for their bolometer sensors. Recent electronic advances have brought the price of a thermal image system from the stratosphere into the sub $300 range – right about where makers and hackers can jump in. That’s exactly what’s happened with the Flir Lepton module and the Seek Thermal camera. This week’s Hacklet is all about thermal imaging projects on Hackaday.io!
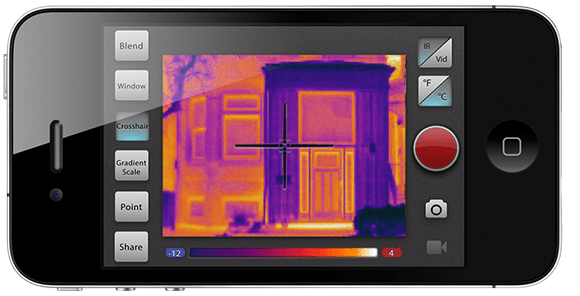
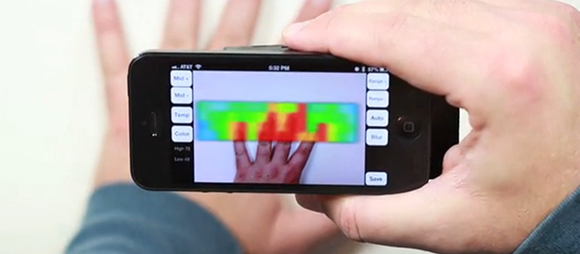
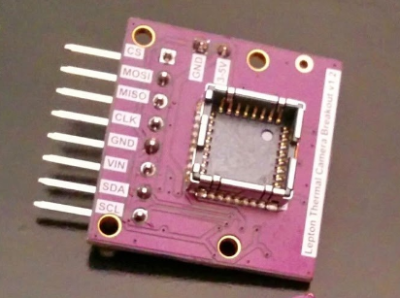 We start with [Pure Engineering] and Flir Lepton Thermal Camera Breakout. Flir’s Lepton thermal camera created quite a stir last year when it debuted in the Flir One thermal iPhone camera. The Lepton module used in the Flir One is a great standalone unit. Interfacing only requires an I2C interface for setup and an SPI interface for image data transfer. Actually using the Lepton is a bit more of a challenge, mainly because of its packaging. [Pure Engineering] made a simple breakout board which makes using the Lepton easy. It’s also breadboard compatible – which is a huge plus in the early phases of any project.
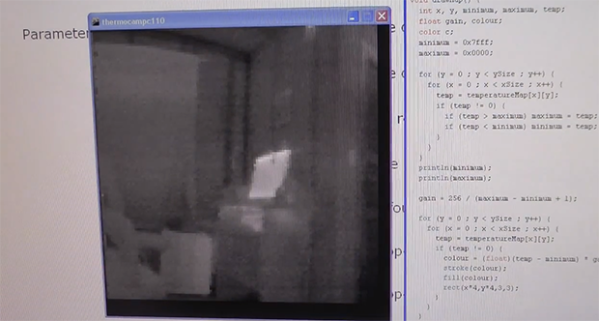
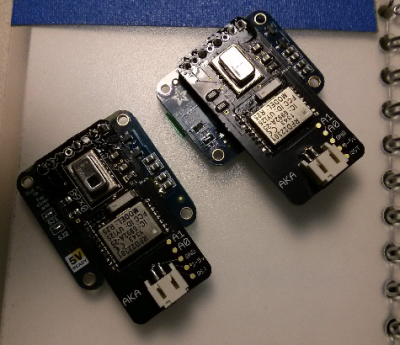 Next up is [AKA] with GRID-EYE BLE-capable thermal camera. This project is a Bluetooth low energy (BLE) thermal camera using Panasonic’s Grid-EYE 64 pixel thermal sensor. 64 pixels may not sound like much, but an 8×8 grid is enough data to see quite a bit of temperature variation. If you don’t believe it, check the project page for a video of [AKA] using Grid-EYE’s on-board OLED display. Grid-EYE was a Hackaday Prize 2014 semifinalist, and we featured a bio on [AKA] last year. The only hard part with building your own Grid-EYE is getting the sensor itself. Panasonic doesn’t sell them to just anyone, so you might have to jump through a few hoops to get your own.
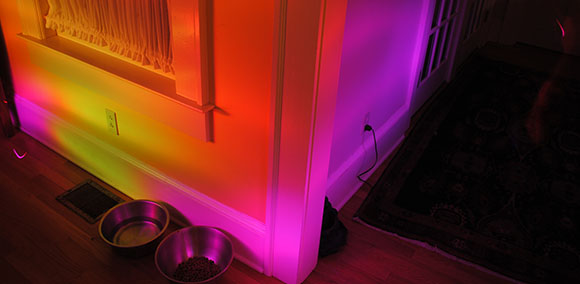
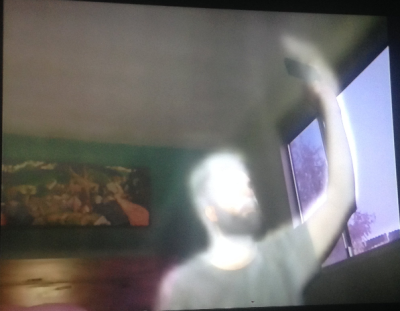 [Kurt Kiefer] brought the FLIR Lepton to the Raspberry Pi with pylepton video overlay. This project uses the Lepton to overlay thermal data with images captured by the Raspbery Pi camera module. The Lepton interfaces through the I2C and SPI ports on the Pi’s GPIO pins. The results are some ghostly images of black and white thermal views over color camera images – perfect for your next ghost hunting expedition! The entire project is implemented in Python, so it’s easy to import and use pylepton in your own projects. [Kurt] even gives an example of capturing an image with just 5 lines of code. Nice work, [Kurt]!
 Finally we have [Erik Beall] with WiFi Thermal Camera. [Eric] is using an 82×62 diode array to create thermal images. Unlike microbolometer sensors, diode/thermopile sensors don’t need constant calibration. They also are sturdier than Microelectricomechanical System (MEMS) based devices. This particular project users an array from Heimann Sensor. As the name implies, the sensor is paired with a WiFi radio, which makes using it to capture and display data easy. [Erik] must be doing something right, as WiFi Thermal Camera just finished a very successful Kickstarter, raising $143,126 on a $40,000 initial goal.
Are you inspired? A thermal imager can be used to detect heat loss in buildings, or heat generated by electrical faults – which means it would be a great project for the 2015 Hackaday Prize! If you want to see more thermal imaging projects, check out the thermal imaging projects list!
That’s it for this week’s Hacklet, As always, see you next week. Same hack time, same hack channel, bringing you the best of Hackaday.io!