In a market full of Fitbits, Misfits, and Fuelbands, it’s easy to get carried away with sophisticated personal fitness tracking technology. That’s why [André] took a totally different approach with his super simple run tracking device, the C25K machine.
C25K stands for “Couch to 5k” which is a slimmed down exercise schedule designed to gradually bring people who have otherwise no exercise routine up to a level of fitness where they can run a 5k in just 9 weeks. To keep participants from wearing themselves out too early, the routine specifies a sequence of running and walking periods to be completed in series on specific days. Though simpler than most fitness plans, it’s still a lot to keep track of especially when you’re sweating so hard you can barely see your stopwatch.
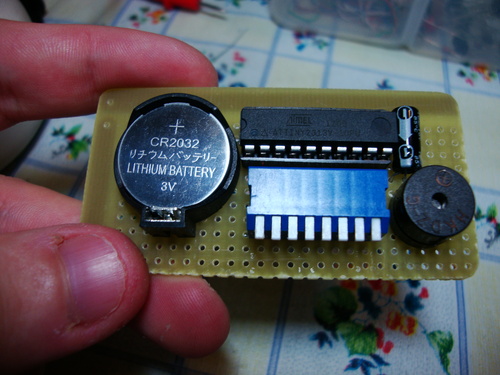
André found a solution using a bare-bones circuit based on the ATTiny2313. After loading the C25k calendar into its firmware (which takes up less than half of its 2K of flash), he needs only to toggle the dipswitch to select the appropriate day of the program, and the little device (scarcely larger than a key fob) will beep to let him know to switch from running to walking or back again.
Definitely a great project for any hobbyist looking for a geeky way to get in shape.