Heated beds for 3D printers help reduce the amount of curling and warping of parts. The warping happens when the part cools and contracts. The heated bed keeps the part warm for the entire print and reduces the warping.
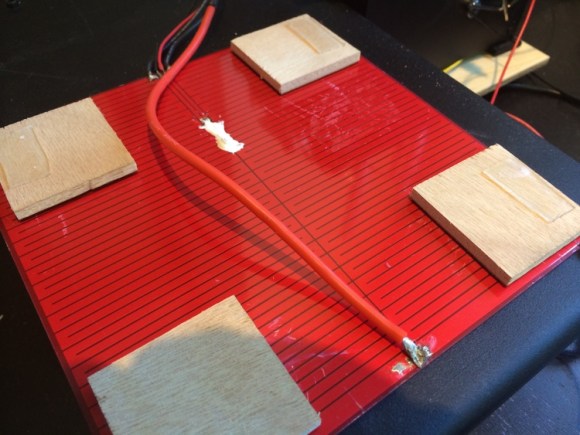
As an upgrade to her Printrbot, [Erin] added a heated bed. The first plan was to DIY one using Nichrome wire, but heated beds are available at low cost. They’re basically just a PCB with a long trace that acts as a resistor. She added a thermistor to monitor temperature and allow for accurate control.
The Printrbot heated bed worked, but didn’t heat up quite quick enough. [Erin] was quick to scratch off the solder mask and solder new leads onto the board. This converted the board into two parallel resistors, halving the resistance and doubling the power.
This version heated up very quickly, but didn’t have a steady heat. The simple control that was being used was insufficient, and a PID controller was needed. This type of control loop helps deal with problems such as oscillations.
The Printrbot’s firmware is based on Marlin, which has PID support disabled by default. After rebuilding the code and flashing, the PID gains could be adjusted using g-codes. With the values tuned, [Erin]’s printer was holding steady heat, and can now print ABS and PLA with minimal warping.
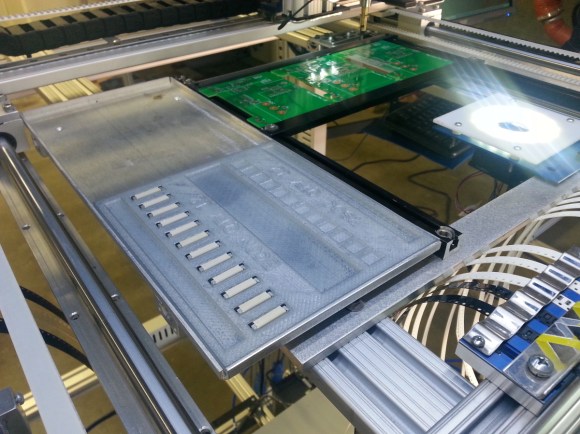 Pick and Place machines are one of the double-edged swords of electronics.They build your boards fast, but if you don’t have everything setup perfectly, they’ll quickly make a mess. A pick and place can’t grab a resistor from a pile and place it – so far only humans can pull that one off. They need parts organized and oriented in reels or trays.