Red Hat is the world’s largest open source company. Run as a for profit company, it manages to give every line of code away and still rake in a cozy 1.5 to 2 billion US dollars a year. So, quite provably, Red Hat knows how to run an open source business. Despite being a software company, as a corporation, Red Hat has hopes for the future of open hardware, and they put their money where their ethos is.
[Tom Callaway] is Red Hat’s full time 3d Printer guy. He works at Red Hat headquarters in Raleigh, North Carolina. We had a chance to talk to him at MRRF and figure out what it is that Red Hat does for 3D printing anyway.
Red Hat’s first interest is that anyone who uses their software to run a 3D printer or interacts with the files involved has an easy time of it in Linux. To that end Tom regularly tests the latest versions of the software we regularly use. He makes sure that the software is nicely packaged for Red Hat. On top of that he also contributes to the projects themselves. He has submitted patches for Cura and Slic3r to name a few.
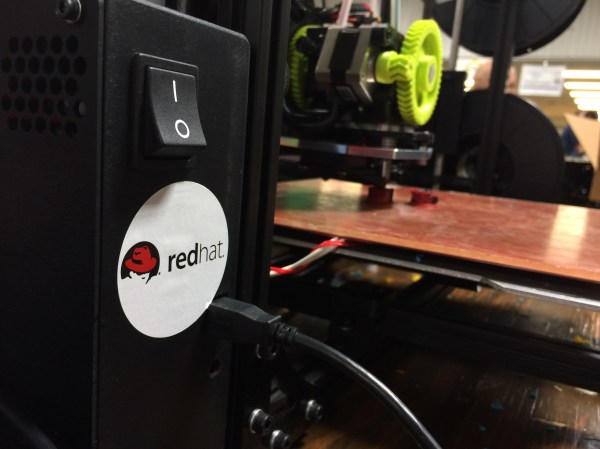
To run the software through its paces, and as a nice perk for Red Hat employees, [Tom] runs Red Hat’s 3D printing lab. Employees can print anything they like in it, but it also gives Red Hat an opportunity to test the software for failure points. If you are a 3D printer manufacturer (open or closed) you can send them a printer and they’ll make sure it has a profile and runs faultlessly with each version update, not bad!

[Tom] also participates in the Red Hat Fedora 3D printing special interest group. This lets Red Hat Fedora users come together and work out problems they find in the wild. It’s also one of the best ways for him to stay ahead of the new software packages that come out as 3d printing develops.
The coolest thing about all this, is Red Hat’s support for manufacturers. Red Hat will make sure any software that supports a printer will run, for free. So if you’ve written a custom driver for your printer that only runs on windows. As long as you give Red Hat access to the source code, they’ll make sure it can run on Linux as well. Though, apparently none of the closed source printer manufacturers have taken them up on the offer. Red Hat does have a partnership with open manufacturers such as Lulz Bot.
Being primarily a software company, Red Hat has no personal interest in entering the open hardware market at this time. They do want to see it succeed, and to that end, their last and most interesting service is their willingness to talk about what has and hasn’t worked in running an open source business. People in the open hardware business can reach out to people like [Tom] and ask for advice on the every day aspects of the open source business. Red Hat has undoubtedly learned many lessons over the years, and like their software, they’re willing to share every line.
Edit: Lastly, thanks to [Miro] in the comments, who also works for Red Hat and contributes to 3d Printing. Cool! I just wanted to be clear that most of these things translate into the Fedora Project, which oversees Fedora Linux, a very popular distro (Apparently Linus Torvald’s preferred.) If you’d like to participate in any of this the Fedora Linux 3d Printer SIG (I mistakenly called it Red Hat SIG, which implies that it is only for paying customers of Red Hat Enterprise Linux, which is not true) is the place to go. It makes Fedora better and helps the 3d printing community as a whole:)


![[Jason Preuss]' multicolor 2D print. Notice the toolpaths in the reflection. Click to embiggen.](https://hackaday.com/wp-content/uploads/2016/03/p2pchristmastree.jpg?w=400)
![[Jason]'s 3D printed paint by numbers scene. About a dozen different colors were used for this print.](https://hackaday.com/wp-content/uploads/2016/03/pppaintbynumber.jpg?w=449)
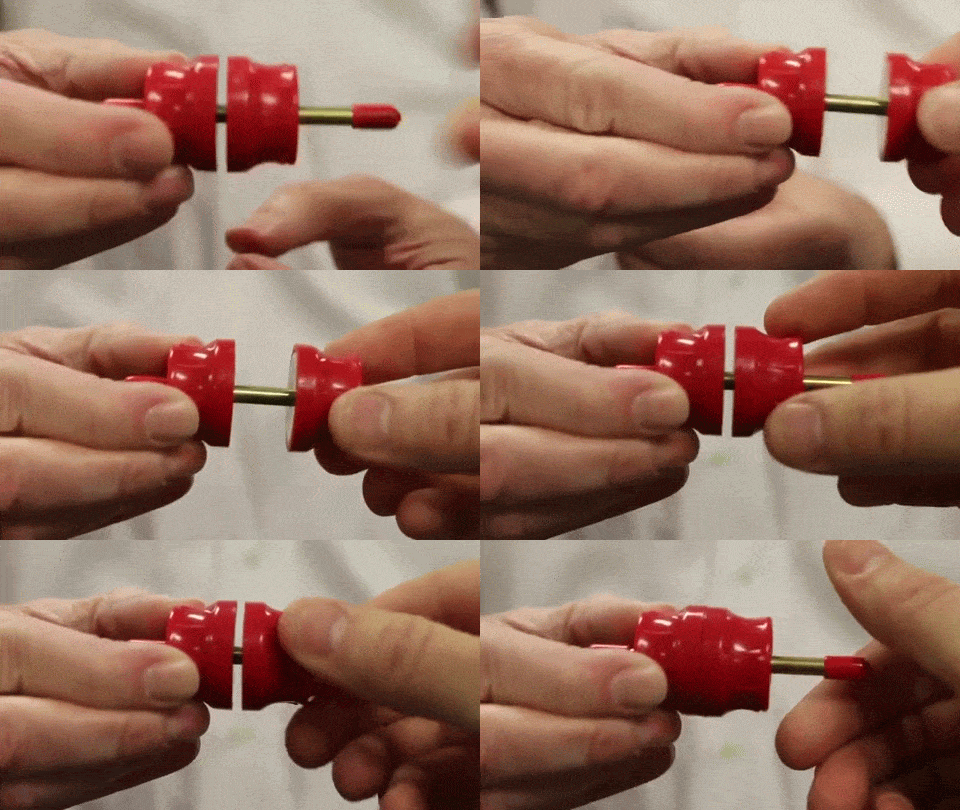
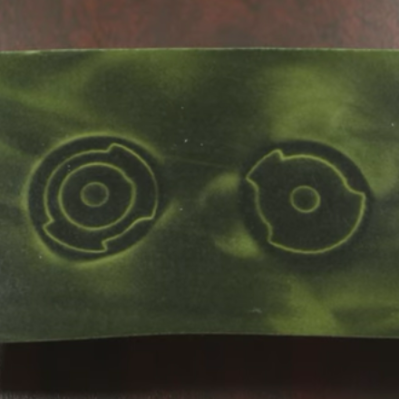 So how the heck does it work? Well, your standard magnet has a north face on one side, and a south face on the other — creating a magnetic loop between the two. But what if you could put north and south on the same side of the magnet, and vary their position and size? It means you can control the magnetic field down to the magnetic pixel, or as Polymagnet calls them — a Maxel.