Back in 2013, [Cody Wilson] of Defense Distributed designed and built the world’s first completely 3D printed pistol. He called his gun the Liberator, after a World War II-era single-shot pistol designed to be cheap and easy to manufacture, easy to conceal, and for members of the French Resistance, ‘a great gun to obtain a better gun’.
 [Cody]’s Liberator turned out to be a great gun to obtain two or three fewer fingers. Not only was this a single-shot pistol, it was a single barrel pistol; with each round fired requiring a new 3D printed barrel. Tests were carried out, explosions happened, and we couldn’t even get the thing to print. For all the media hubbub, for all the concerned legislators, the first 3D printed pistol was much ado about nothing.
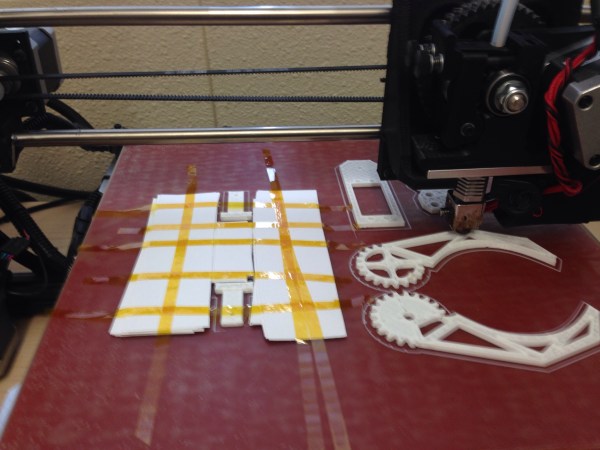
3D printers are still an extremely interesting technology, and if history has proved one thing, it’s that engineers and tinkerers will keep building guns. Last week, [James Patrick] released his latest design for a working 3D printed gun. It still fires the .22lr of the Liberator, but this is a double action revolver, it won’t blow up, and if you drop it, it won’t discharge. It’s the little things that count.
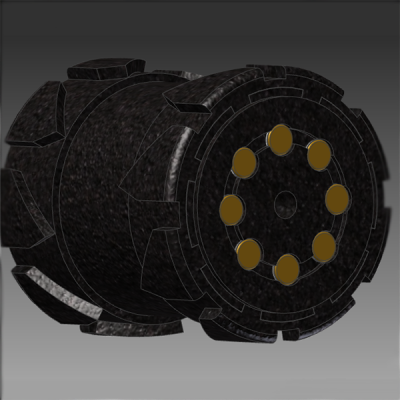
[James]’ revolver is either a 6 or 8-shot revolver uses a pepper-box design, where the gun has multiple chambers and barrels in one gigantic cylinder. The double action design first rotates the cylinder to the next chamber, pulls back a striker loaded up with a firing pin nail, and (hopefully) fires a round. In the video below, [James] goes over the design of his action, and ends up showing off a few test firings of his newly designed gun.
What’s very interesting about this build is how closely the development of 3D printed firearms is following the development of historical firearms. First, we had guns that probably shouldn’t be fired, ever. Now, the technology for 3D printed guns is about up to 1830 or thereabouts. Give it a few more years and we’ll be up to 1911.
Disclaimer: if you live in the US and think this sort of thing should be illegal, contact your state representative and tell them you support a constitutional convention to remove the personal right to own and operate firearms. This right has been upheld many, many times by the judiciary, and a constitutional convention is the only way your wishes could be carried out. Your state representative probably doesn’t read Hackaday; there is no need to comment here. Let’s talk about engineering and technology instead.
Continue reading “Building A Better 3D Printed Gun” →