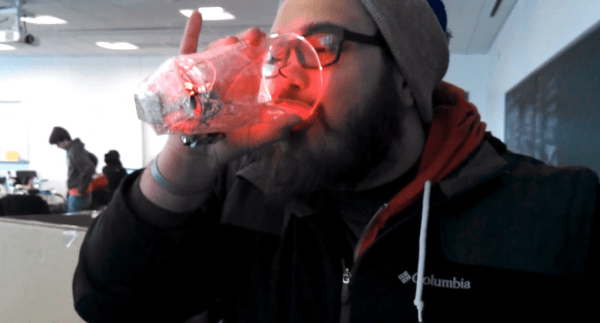
“Wizard Staff” or “Wisest Wizard” is a drinking game played at parties where the attendees participate by taping the empty cans of the drinks they’ve consumed on top of one another to form a staff of inebriated power. A person with a longer staff is considered to be at a higher level and can therefore command lesser wizards to pound their current beverage to a point they see fit. Not everyone at a party necessarily drinks their tasty libation of choice from a can however. So, [Ahmed] and his group came up with a solution for those of us who might alternately prefer to wield a pint glass of power instead.
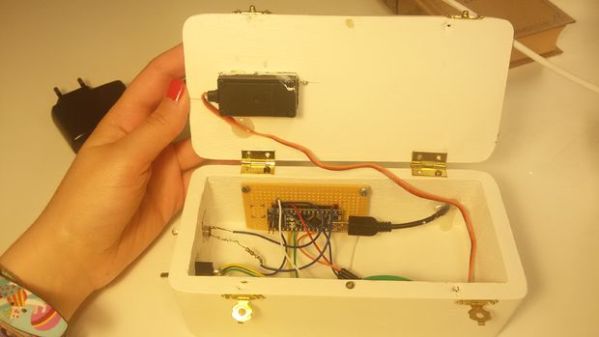
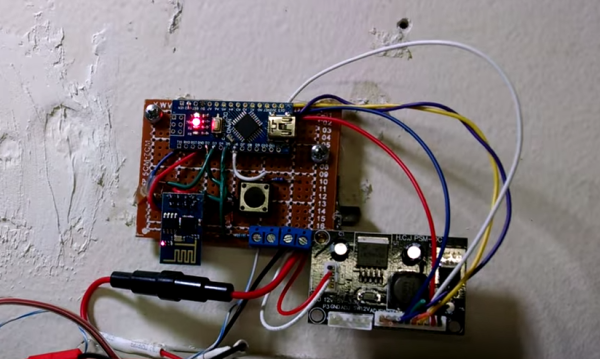
In their hardware project for Hack Illinois 2015, [Brady Salz], [Ahmed Suhyl], [Dario Aranguiz], and [Kashev Dalmia] decided to add a zest of tech to the game. For their updated rendition, glasses are equipped with battery packs for mobility, a Spark micro-controller, and different colored LEDs as indicators. A couple of wires reach into the bottom of each glass to measure conductivity and keep track of the number of times it is filled and then emptied. In leu of towers of aluminum husks and duct-tape, the group developed a simple Android app for participants to log into which will track and visualize the standings of each player registered to one of the glasses. They even created a pebble version of the app that will display all the same information in case you don’t want to risk handling your phone while drinking… heh.
For an added level of fun, once a player reaches a certain level above someone else, they unlock the option to “challenge” the lesser adversary. By selecting that person’s user name in the app, the LED and buzzer on their glass will spring to life, letting them know they’ve been chosen to chug the rest of their drink. If you’re curious how they made it work, you can check out the team’s code on Github and maybe take a stab at giving the game a makeover of your own.
Continue reading “The Wisest Wizard Doesn’t Drink From Cans”