[Mike]’s hacks aren’t breathtaking in their complexity, but they got a good chuckle out of us. [Mike], the CEO of The Useless Duck Company, lives in a hub of innovation somewhere in Canada, where he comes up with useful gadgets such as a Fedora that tips itself, or a door that locks when you’re shopping for gifts for your wife and you’re in incognito mode.
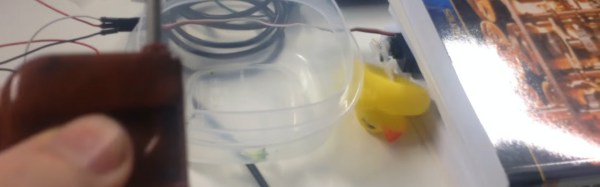
It all started when he was trying to learn the Arduino, and he put quite a few hours into making a device that could wirelessly squeak a rubber bath duck from the bathroom. The whole project reminded us of our first clumsy forays into the world of electronics, with entirely too many parts to complete a simple function. The Arduino being the gateway drug it is, it wasn’t long before he was building a bartending robot.
We hope he continues to construct more entertaining gadgets.