Every now and then you see a project that makes you smile. It may not be something that will deliver world peace or feed the hungry, but when it opens in your browser in the morning you go to work a bit happier for the experience.
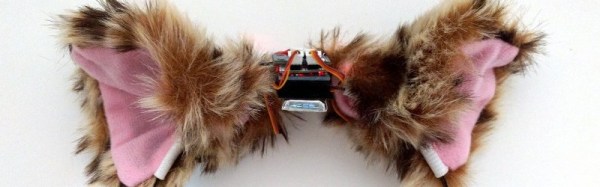
Just such a project is [Radomir Dopieralski’s] set of wearable mechatronic cat ears. A cosplay accessory that moves as you do. Very kawaii, but fun.
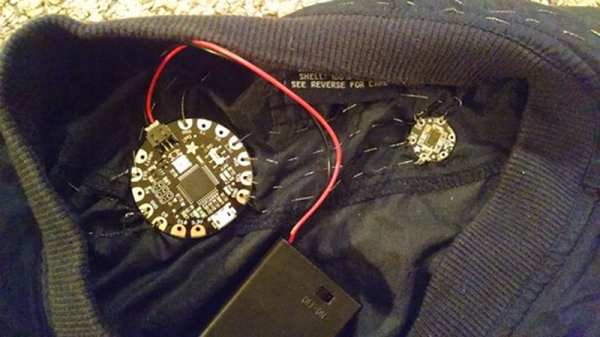
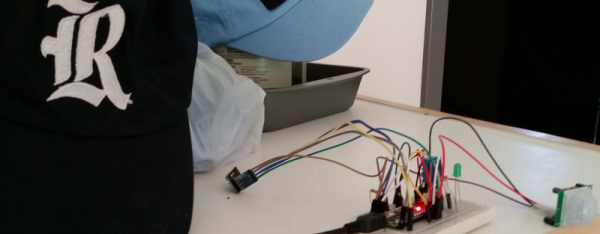
You may have seen the commercially available Necomimi brainwave activated mechatronic ears. [Radomir’s] version does not share their sophistication, instead he’s using an accelerometer to detect head movement coupled to an Arduino Pro Mini driving a pari of servos which manipulate the ears. He provides the source code, and has plans for a miniaturised version using an ATtiny85 on its own PCB.
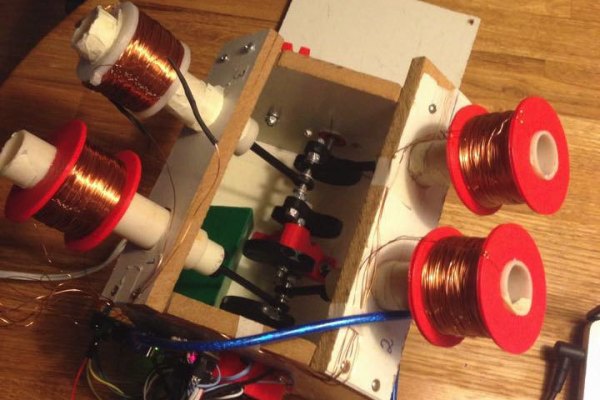
Amusing cuteness aside, there are some considerations [Radomir] has had to observe that apply to any a head-mounted wearable computer. Not least the problem of putting the Pro Mini and its battery somewhere a little more unobtrusive and weatherproof than on top of his head. He also found that the micro-servos he was using did not have enough range of movement to fully bend the ears, something he is likely to address in a future version with bigger servos. He’s yet to address a particularly thorny problem: that a pair of servos mounted on your head can be rather noisy.
We’ve covered quite a few cosplay stories over the years. This is not even our first cat ear story. More than one example of a Pip Boy, a HAL 9000 costume, and a beautifully made Wheatley puppet have made these pages, to name a few. So scroll down and enjoy [Radomir’s] video demonstration of the ears in action.