Class D amps are simple – just take an input, and use that to modulate a square wave with PWM. Send this PWM signal to a MOSFET or something, and you have the simplest class D amp in existence. They’re so simple, you can buy a class D amp chip for $3, but [George] thought that would be too easy. Instead, he built his own with an ATTiny and an H-bridge motor driver. No surprise, it works, but what’s interesting is what effect the code on the ATtiny can have on the quality of the audio coming out of the speaker.
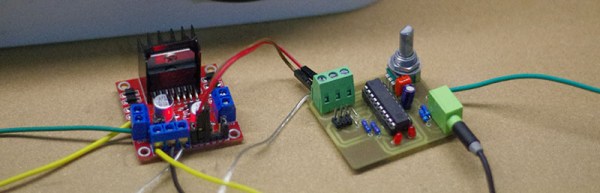
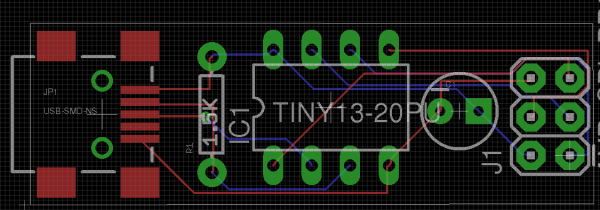
The microcontroller chosen for this project was the ATtiny 461, a part we don’t see much, but still exactly what you’d expect from an ATtiny. The heavy lifting part of this build is an L298 chip found on eBay for a few dollars. This dual H-bridge is usually used for driving motors, but [George] found a home for it in the power section of an amplifier.
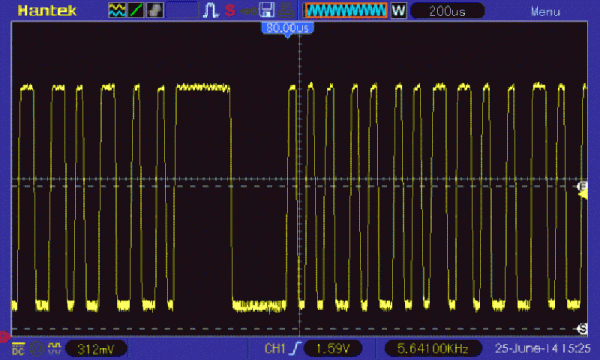
The ATtiny is clocked at 16 MHz, making the ADC clock run at 1 MHz. A 10-bit precision conversion takes place, and this value sets the PWM duty cycle. Timer1 in the chip is set up to run at 32 MHz, and by counting this timer up to 1023 gives this amp its PWM cycle speed of 31.25 kHz. That’s right in the neighborhood of what a class D amp should run at, and the code is only about 30 lines. It can’t get simpler than that.
[George] put up a video of this amp in operation, and despite not following the standard design of a Class D amp, it sounds pretty good. You can see that video below.
 [Atom] is using a few interesting components in this build.


