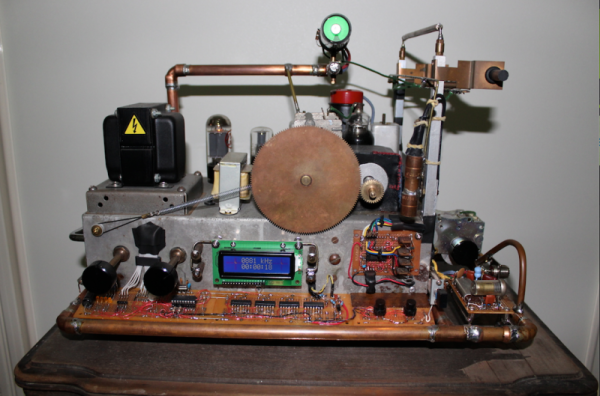
Dubbed the “Robot Radio” by [Brek], this clinking-&-clunking project merges three generations of hackers’ favorite technologies: robots, vacuum tubes, and microcontrollers. After the human inputs the desired radio frequency the machine chisels its way through the spectrum, trying its best to stay on target.
This build began its life as a junky old tube radio that [Brek] pulled out of a shed. The case was restored and then the hacking began. Inserted between the human and the radio, a PIC 16F628A keeps watch in both directions. On one side, the radio’s tank circuit is monitored to see what frequency the radio is currently playing. On the other, the human’s input sets a desired frequency. If the two do not match, the PIC tells a stepper motor to begin cranking a pair of gears until they do.
Another interesting feature is that as the tubes and other electronics warm up and change their values, the matching circuit will keep them in line. [Brek] shows this in the video by deliberately sabotaging the gears and seeing the robot adjust them back where they belong.
As an afterthought, the Robot Radio was supplemented with a module that adds 100khz to the signal so that the information from a nearby airport can be received.
[Brek] styled the whole machine up with some copper framing and other bits, similar to his spectacular atomic clock build we featured last month.
See the video of the radio tuning after the break.
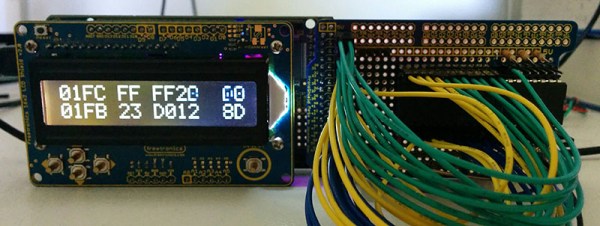
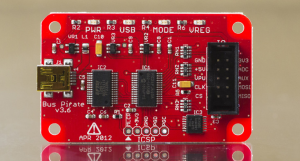 Before using the TI though, [Inderpreet] wanted to test with the Bus Pirate first. This would allow him to verify the hardware, and to make sure he was correctly using the I2C bus. The Bus Pirate can operate at 3.3V or 5V logic levels, and has on-board programming specific to the I2C bus. Controlling the Bus Pirate is as easy as hooking up a serial terminal program and plugging in a USB cable.