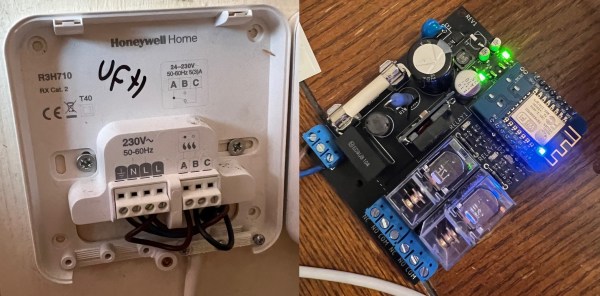
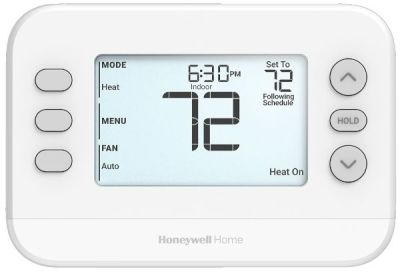
 The Honeywell X2S Smart Thermostat is a Wi-Fi-enabled thermostat that is meant to integrate with your typical ‘smart home’ setup, with mobile app control available as well. Of course, just using it as-is would be extremely boring, so fortunately we have [author0] to take it apart and reverse-engineer its encrypted firmware.
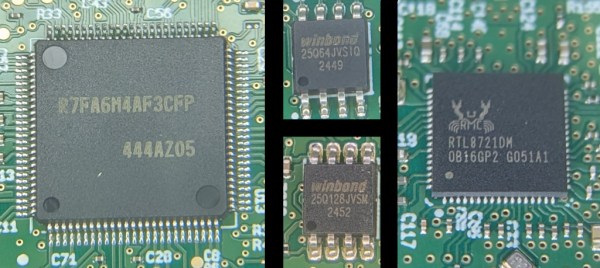
Of the two brains in this thermostat the first is a succinctly named Renesas R7FA6M4AF3CFP MCU containing a 200 MHz Cortex-M33 core with TrustZone features to theoretically keep out any firmware hackers. Handling the wireless side is a Realtek RTL8721DM Wi-Fi/BLE 5.0 SoC. There are also two Winbond Flash chips connected to these two main chips, with their contents of course encrypted.
Fortunately there are plenty of test points to connect to, for which a custom pogo-pin equipped breakout board was created. Cracking the encryption for the Realtek turned out to be as simple as using its RSIP decrypt-on-the-fly feature. From there exploring the firmware was the next step, with a TLS issue pertaining to certificates found to make man-in-the-middle attacks easy, along with a seeding bug that makes recovering session keys possible.
Although the Renesas MCU firmware still has to be decrypted and the full wireless handshake reverse-engineered, these do seem to be solid steps towards fully reverse-engineering this thermostat. It also makes it very clear once again that the ‘S’ in IoT absolutely stands for ‘security’. Maybe that’s why the smart home bubble popped.