Like a lot of electronic tinkerers, [Andrew] has a lot of ancient components floating around his parts bin. His latest rediscovery in his cornucopia of components are a few Intel MCS-48 microcontrollers, dating back to 1977. Along with a few old EPROMs, [Andrew] decided it was worth getting these chips running again, if only for a historical curiosity.
[Andrew]’s had a few Intel 8035L microcontrollers on his hands, but this particular model of MCS-48 micros lacks any way to store code. This is where the EPROMs come in. With a modern EPROM programmer, [Andrew] was able to write some code to the extremely common for their vintage 27256 EPROMs. Erasing them, though, does require a UV lamp.
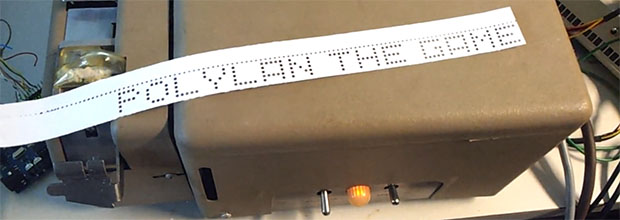
With the ROM programmed and the chips connected, [Andrew] was able to make a simple blinking LED circuit. Sure, it’s the simplest thing you can do with a microcontroller, but [Andrew]’s off to a great start in his explorations of older hardware.