Since the dawn of computers, we’ve tried different ways to store data. These days, you grab data over the network, but you probably remember using optical disks, floppies, or, more recently, flash drives to load something into your computer. Old computers had to use a variety of methods, such as magnetic tape. But many early computers used some technology that existed from the pre-computer era, like punched cards or, as [Anthony Francis-Jones] shows us, paper tape.
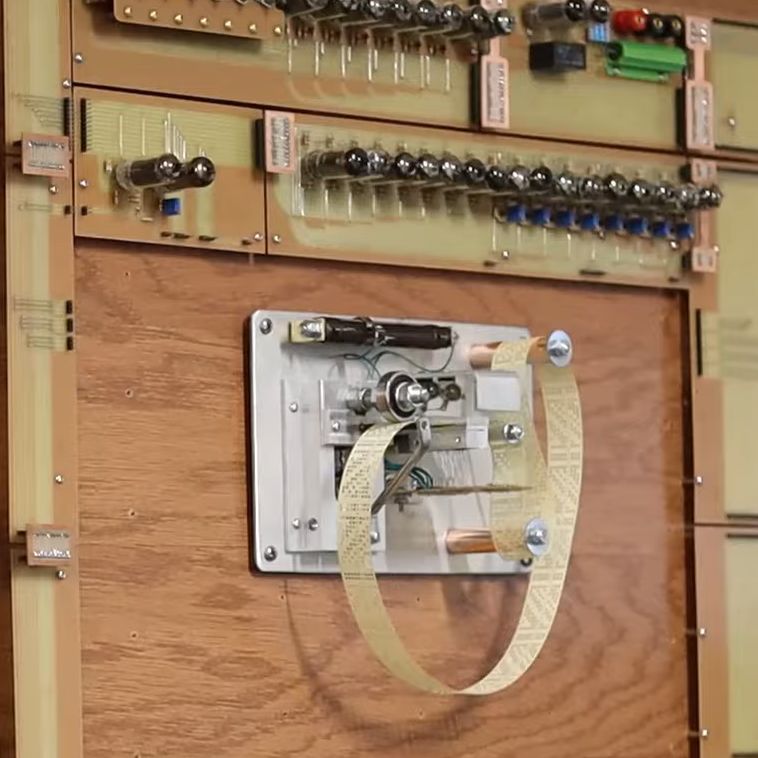
Paper tape was common in TeleType machines and some industrial applications. In fact, as early as 1725, looms could use paper tape, which would eventually lead to punched cards. For computers, there were two common variations that differed in how many holes were punched across the tape: 5 or 8. There was also a small sprocket hole that allowed a gear to move the tape forward through a reader.