Recyclebot Digests Milk Jugs To Feed MakerBot

The old saying, “garbage in, garbage out” may need to be re-evaluated. Students at Victoria University of Wellington are developing a machine that recycles old milk jugs, extruding an HDPE plastic filament that can then be fed into a MakerBot for 3D printing.

The process involves grinding the plastic into small pieces, then pressing these through a heater and extruder plate to produce a continuous bead of the proper diameter for the MakerBot. Nichrome wire — the stuff of hair dryers and toasters — forms the heating element, and this must be regulated within a specific temperature range for different plastics. The initial grinder design is hand-cranked, but they are working toward a fully automated system. It appears that the machine could also recycle old MakerBot output, provided the grinder has sufficient torque.

So one man’s trash really is another man’s treasure. We envision a future of crazy-haired makers rooting through their neighbors’ garbage, feeding their Recyclebots’ hoppers “Mr. Fusion” style.

All Metal Hot End For Makerbot

Imagine if you will for a moment, you’re printing along on your Makerbot clone and all of a sudden your PTFE hot end melts, what are you going to do now? One solution is to mill your own all metal end from a bolt with some careful drilling. Or you could follow [Peter Jansen] who has made his own all metal hot end using the existing extruder. All that’s required is some aluminum sheet and cutting down the nozzle and hat (and fans to help, but technicalities), and you’re in business with no more melted PTFE hot end.

CNC Hardware: Stream G-code To An Arduino

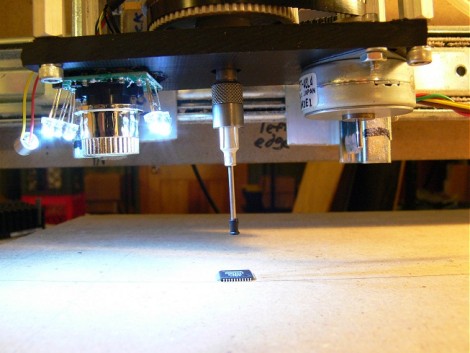
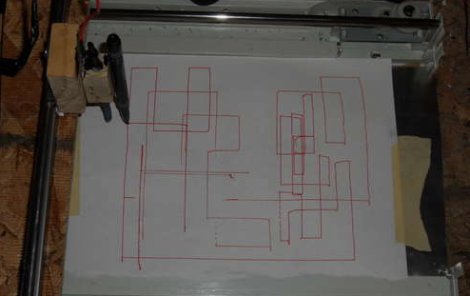
[Reza Naima] has been using an Arduino as the center of his CNC setup for quite some time now. It handles three stepper motors, limiting switches, e-stop, and spindle control. The sketch he’s using allows him to stream g-code to the popular prototyping platform, freeing him from needing a dedicated PC. It’s worked so well that he’s decided to clean up the code and develop a shield to help others get up and running. If you want to see his progress or lend a hand, check out the google group he started for the schematics, code, and forum discussions. There is already a CNC project for Arduino called Grbl but [Reza’s] approach uses the Arduino libraries in an effort to make the sketch more customizable for the average user.

CNC Build Ditches Rods For Hardboard

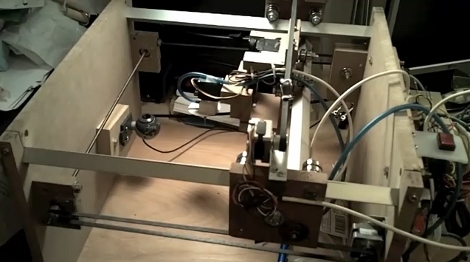
This is a redesigned x-axis for [Peter Jansen’s] selective laser sintering rig. We looked in on his SLS project last month and since then he’s been refining the design. The new component uses a rack and pinion system, relying on some Kapton tape to reduce friction for a nice smooth slide. One stepper motor powers the laser-cut gear box with four gears interfacing the sled to the frame for stable and accurate motion. Now he’s just got to work out the math/physics that go into finding the optimal gear ratios as this prototype is just a rough guess. If you’ve got the skills to work it out please lend [Peter] a hand as we’re quite excited with where this is going.

3D Printing With Chemicals

From the horse’s mouth,

“In this lithography experiment light creates free radicals from phenylbis(2,4,6-trimethylbenzoyl)phosphine oxide which induce polymerization of 1,6-hexanediol diacrylate.”

Or for those without a Chemical Engineering degree, light from a (high resolution) projector interacts with a special liquid, producing a hard polymer on the surface. A platform within the liquid is lowered, taking the layer of polymer with it. Shine the projector again to produce another layer: lather, rinse, repeat. Long story short, an atypical 3D printer using light on a very small scale.

You get the chemicals and lab equipment, we’ll get the laptop and projector, and for goodness sake [Jimmie] stop bumping the table.

[Thanks Tomas]

Selective Laser Sintering Rig On The Cheap

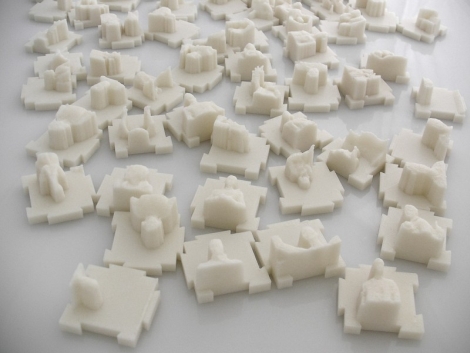
[Peter’s] been hard at work designing an affordable Selective Laser Sintering (SLS) 3D printing platform. We first saw his work on this back in April when he was working mostly with acrylic. Now he’s moved on to a design that relies on hardboard which has resulted in a build that comes it at around $20 including the motors.

The design uses a dual z-axis table for the feed stage and the build stage. That is to say, as the powder is fused together by the laser the platform it is on is lowered. Next to this platform, the feed platform is raised, allowing the power to be swept onto the build stage. This setup is moving in the right direction, but we’re still waiting to see what works when it comes to adding the laser and sourcing the powder.

Machining A Horizontal Stirling Engine

Satisfy your need to view some quality machining by looking through this Stirling engine worklog. We’ve seen these engines used a few other times in creating electricity from solar energy, powering a car, and even built from aluminum cans. [David Morrow] built this rendition to push the limits of his machining skills. We’d say he succeeded. The finished piece should run with the help of a heat source such as a candle. There’s no video of this engine, but we’ve embedded a clip of a similar device after the break in order to give you an idea of how this would work.

Continue reading “Machining A Horizontal Stirling Engine”