
Designing combinatorial digital circuits seems like it should be easy. After all, you can do everything you want with just AND, OR, and NOT gates. Bonus points if you have an XOR gate, but you can build everything you need for combinatorial logic with just those three components. If all you want to do is design something to turn on the light when the ignition is on AND door 1 is open OR door 2 is open, you won’t have any problems. However, for more complex scenarios, how we do things has changed several times.
In the old days, you’d just design the tubes or transistor circuits you needed to develop your logic. If you were wiring up everything by hand anyway, you might as well. But then came modules like printed circuit boards. There was a certain economy to having cards that had, say, two NOR gates on a card. Then, you needed to convert all your logic to use NOR gates (or NAND gates, if that’s what you had).
Small-scale ICs changed that. It was easy to put a mix of gates on a card, although there was still some slight advantage to having cards full of the same kind of gate. Then came logic devices, which would eventually become FPGAs. They tend to have many of one kind of “cell” with plenty of logic gates on board, but not necessarily the ones you need. However, by that time, you could just tell a computer program what you wanted, and it would do the heavy lifting. That was a luxury early designers didn’t have. Continue reading “Secrets Of The Old Digital Design Titans”


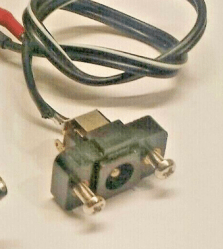 This board’s idea is thought-out and executed well – it replaces a bespoke barrel jack assembly, and is mechanically designed to fit the screw holes and the free space inside the chassis. For USB-PD, it uses a CH32V003 coupled with FUSB302 – I definitely


