[youtube=https://www.youtube.com/watch?v=ZUevWmUViJM&w=580]
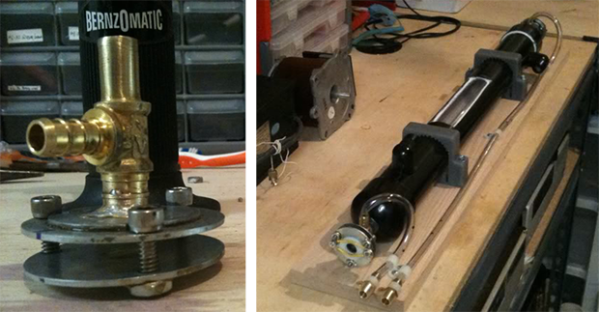
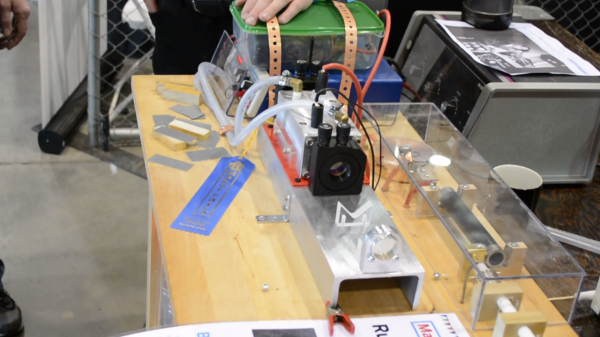
We were again pleased to find another person who attended Maker Faire just to show off the awesome and not to hawk some goods. In our mind [Ben Krasnow] represents the highest echelon of hardware hacking (apparently Google[x] agrees because they just snatched him up) . But [Ben] always makes a point to explain how he does what he does so that others may learn and someday achieve a similar type of greatness. This time around it’s a functional ruby laser which is backed by a capacitor bank that stores a whopping 8 kilojoules of energy. This is what allows the laser to cut through steel plate. He sure has come a long way since he first showed off the project in January.
Unfortunately we didn’t get to [Ben’s] booth until late on Sunday. His previous demonstrations burned through some seals and left him with a non-functional laser. But he’s a trustworthy guy so we believe him and look forward to him posting a video about the laser and hopefully about the failure. He also mentions that he may make an attempt at lunar laser ranging with this device; bouncing the laser off of reflectors on the moon and measuring the delay. This can then be used to calculate the distance to the moon.
By the way, it was super difficult not to crack a joke when he says the words “Ruby Rod“.