Deep in the Colorado foothills, there are two radio transmitters that control the time on millions of clocks all across North America. It’s WWVB, the NIST time signal radio station that sends the time from several atomic clocks over the airwaves to radio controlled clocks across the continent. You might think replicating a 70 kW, multi-million dollar radio transmitter to set your own clock might be out of reach, but with a single ATtiny45, just about everything is possible.
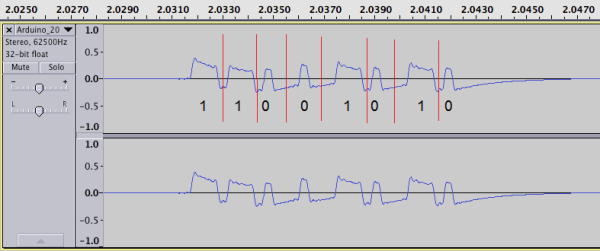
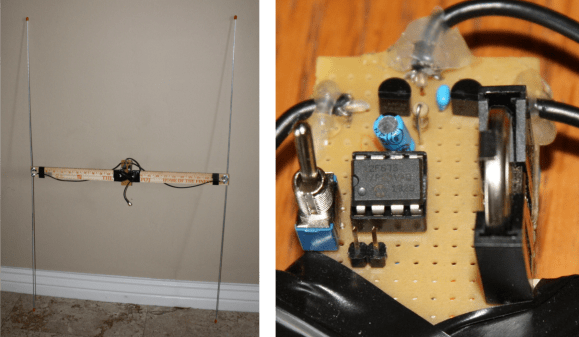
Even though WWVB has enough power to set clocks in LA, New York, and the far reaches of Canada, even a pitifully underpowered transmitter – such as a microcontroller with a long wire attached to a pin PWMing at 60kHz – will be more than enough to overpower the official signal and set a custom time on a WWVB-controlled clock. This signal must be modulated, of course, and the most common radio controlled clocks use an extremely simple amplitude modulation that can be easily replicated by changing the duty cycle of the carrier. After that, it’s a simple matter of encoding the time signal.
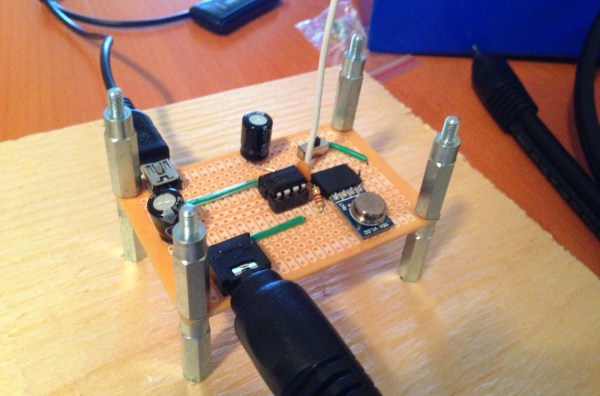
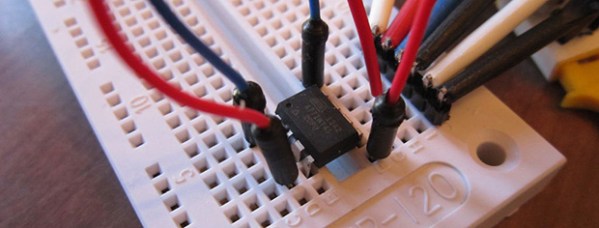
The end result of this build is an extremely small one-chip device that can change the time of any remote-controlled clock. We can guess this would be useful if your radio controlled clock isn’t receiving a signal for some reason, but the fact that April 1st is just a few days away gives us a much, much better idea.