Have some servos and an Arduino lying around? It isn’t too late to get your freaky on! Last night, tech enthusiasts of Las Vegas gathered at Pololu Robotics to show off their hacks for a Halloween flavored edition of their bi-monthly robot club. These projects created by those in the community as well as the Pololu engineers themselves are fun and have a relatively short list of materials. So, if the examples below give you some inspiration, this is permission to Macgyver something together before your big Halloween party tonight…
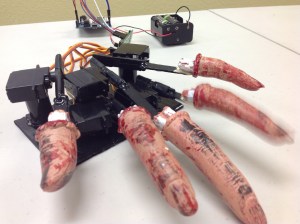 Impatient Severed Fingers – [Amanda] came up with a cute use for some mini servos and a zombie hand prop. The five severed fingers were attached to one end of a plastic rod. The other end was mounted to each of five servos which were laid out in the appropriate hand shape and attached to a fixed base. An Arduino running a basic sweep sketch animated the motors at slightly staggered intervals, creating a nice rolling effect. Even with the moving parts exposed this prop would be awesome to have on display, or set the ambiance with its continuous tapping…
 Angry Spectral Delta – [Nathan Bryant] made an actual costume for his delta robot from Robot Army. By attaching a small plastic skull to the end effector and draping a tattered piece of fabric over the rest of the mechanism he effectively transformed the delta into a little ghost with a sassy personality. The head swiftly bobbed about, all while staying parallel to the table… until it intermittently came unhinged and hung limply, which was a nice added effect!
 Robotic Exorcism Baby – This doll could turn its half skeleton, half baby face 180 degrees and then laugh at your fear. By attaching two servo motors together, [Jeremy] was able to create a pan and tilt mechanism which acted as the baby’s contorting neck and chattering jaw. The micro controller sending commands to the motors was hidden modestly under her dress.
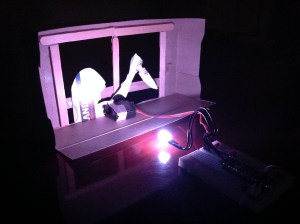 Stabby Animated Cardboard Shadowbox – Among the animatronic devices seen at the event was a shadowbox made by [Brandon] hidden in a dark conference room nearby. When one happened to walk past the seemingly unoccupied space, they’d glimpse the silhouette of an arm stabbing downward with a knife through a windowsill. Being lured in for further investigation you’d find that the shadow was being cast by some colored LEDs through a charmingly simple device. A cutout made from recycled card stock was attached to a single servo. This whole mechanism itself rocked back and forth slightly as the motor moved, which wasn’t intentional but added some realism to the motion of the stabby arm.
There were many interesting projects present last night ranging from remote-controlled skeletal arms to other reactive devices ready to deliver a scare. If you’re interested in knowing more, those made by the Pololu crew are documented on their blog. Since video does these projects better justice, you can check out a compilation of clips here:


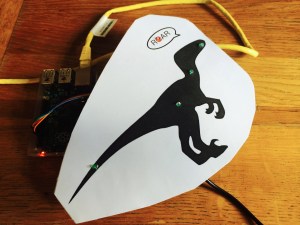 Before the group arrived, the native dinos didn’t do much else than run a preprogrammed routine when triggered by someone’s presence… which needless to say, lacks the appropriate prehistoric dynamism. Seeing that their dated wag, wiggle, and roar response could use a fresh breath of flair, the park’s technical projects coordinator [Mark Butler] began adapting one of the dinosaur’s control boxes to work with a Raspberry Pi. This is when [Lucy] and her group were called upon for a two-day long excursion of play and development. With help and guidance from Raspberry Pi expert, [Neil Ford], the group learned how to use a ‘drag and build’ programing environment called


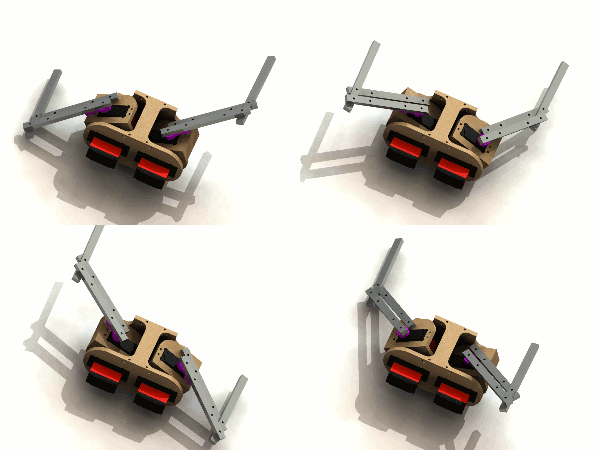
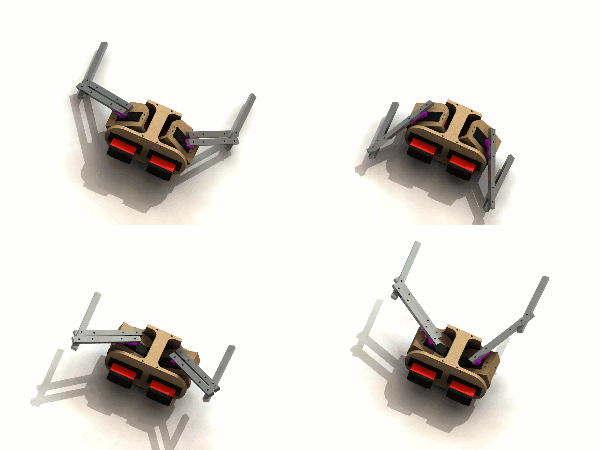
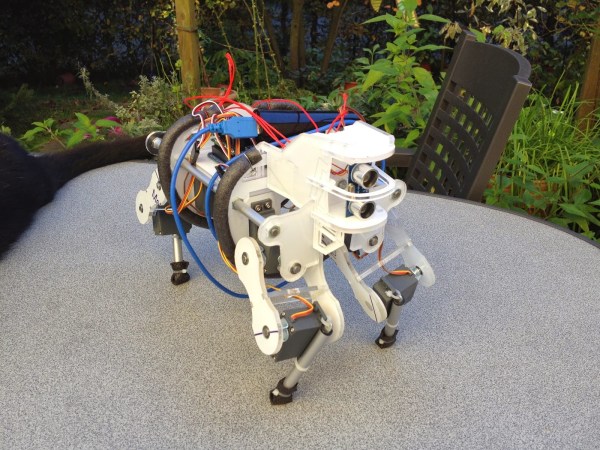
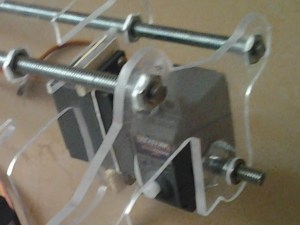 [Max] designed all of the mechanical parts himself. After weighing the advantages and disadvantages of different materials, he decided that the frame would be made from 5mm acrylic sheet. The main body of the robot has acrylic ribs that are spaced apart by threaded rods. Twelve RC servos make up all of the joints, 3 in each leg. Notice in this photo how there is one servo that immediately rotates another servo. To support the other side of the rotating servo, [Max] epoxied on a T-nut, stuck in a short length of threaded rod which is then supported in the frame by a ball bearing. Simple and effective! The upper portions of the legs are also made from acrylic sheet and the lower legs are from a cheap camera tripod. Rubber feet ensure a slip resistant stance.


