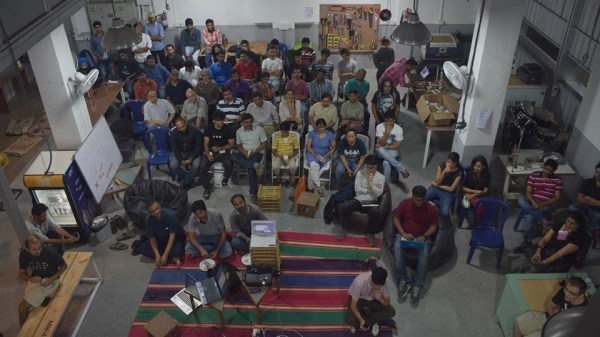
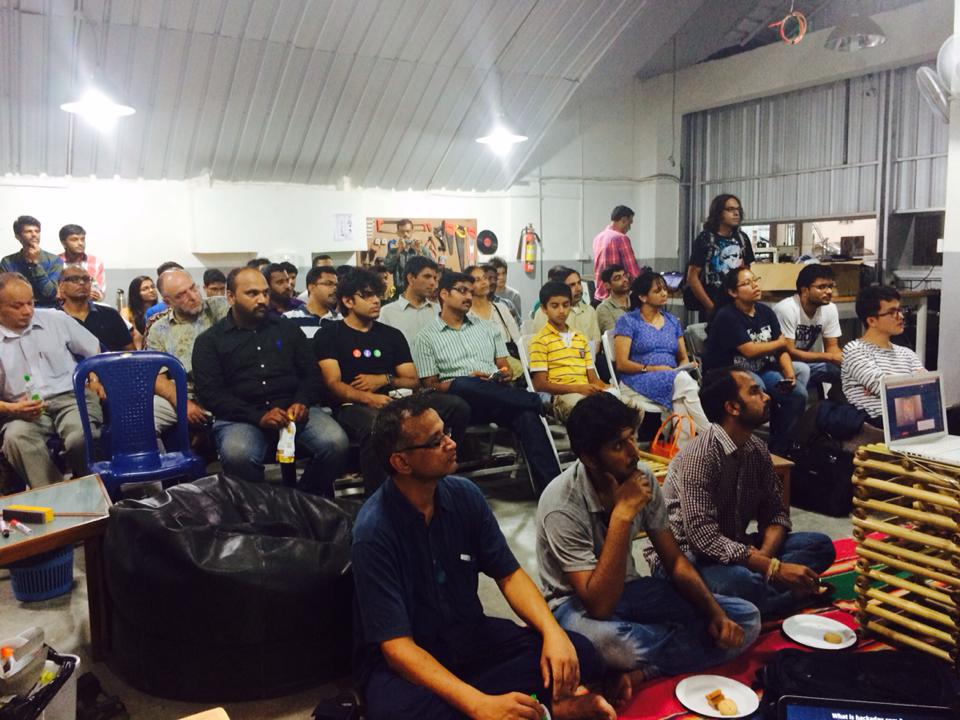
Bengaluru (formerly Bangalore) is a town full of awesome hackers. So when Workbench Projects, a local maker space there, asked if I’d like to come down and talk about the Hackaday Prize, I immediately set things in motion. We decided to arrange a “Bring-a-Hack” event, asking local makers to turn up with their hacks and give a talk or drop by and discuss ideas that matter. To reach out to a larger audience, we also partnered with IoT-BLR, a pretty large group of IoT enthusiasts in Bengaluru. 10,000 Startups (NASSCOM for Startups) helped ensure that all the hackers were well fed with sandwiches and cookies while Paper Boat chipped in with a cooler full of beverages. A freak hail storm meant that we had to delay the start a bit. But that turned into a blessing of sorts, as it allowed those already at the space to check out the hacks that had been set up at demo tables and generally network with each other.
[Anupama], who set up Workbench Projects with [Pavan], set the ball rolling by telling us about how it all started off a year ago. She and [Pavan] had ideas buzzing in their heads, but no means to prototype them. “You can either continue cribbing about the lack of maker spaces, or jump right in and start one on your own”.
We then had [Pavan] tell us about the various “studios” that they have set up. He was also excited to announce their addition to the world-wide MIT FabLab network. Their space is located right under the escalator that goes to the Halasuru Metro Station. The use of that space, which would other wise have been wasted and empty, itself is brilliant.
I stepped up and talked about the Hackaday Prize and our call to makers this year to “Build something that matters”. I showed off last years winners, this years prizes and gave out other details asking the assembled hackers to jump in and submit their hacks to the Hackaday Prize. Next up we had [Nihal], who founded IoT-BLR and talked to us about their projects, events and initiatives. IoT-BLR is the 3rd largest IoT-focused Meetup community in the world.


With that done, we opened up the floor for the assembled hackers to come forth and talk about their hacks. First up was [Anmol Agrawal] who showed off his earthquake early warning system which was prototyped using Littlebits, PubNub and Ruby.
I was glad that at short notice, my friend [Mohammed Khasim], who works at Linnaro, agreed to drop by to talk about and show off the modular phone being developed by Google as part of Project Ara.


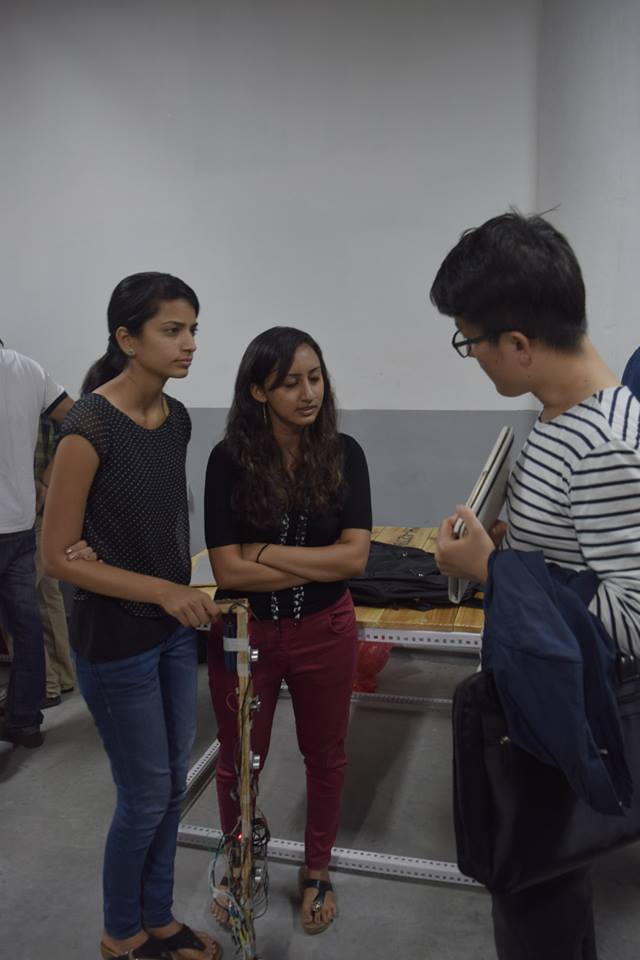
The all-girls team of [Kruti], [Chitra] and [Archana] showed off their intelligent cane for the blind. Five ultrasonic ping sensors, one light sensor and a camera are all hooked up to a Raspberry Pi running off a battery pack. The cane communicates with a paired smart phone and the app provides audio cues. There’s also a pager motor for haptic feedback.
[Rahul] and his team showed up with what looked like the Iron-Man Arc Reactor on a T-shirt. It turned out to be an HID device that could be used to send key presses back to a paired computer. Their next iteration was less flashy and unobtrusive. They are now working on using this to provide safety for school kids by allowing them to send alerts in case of an emergency.
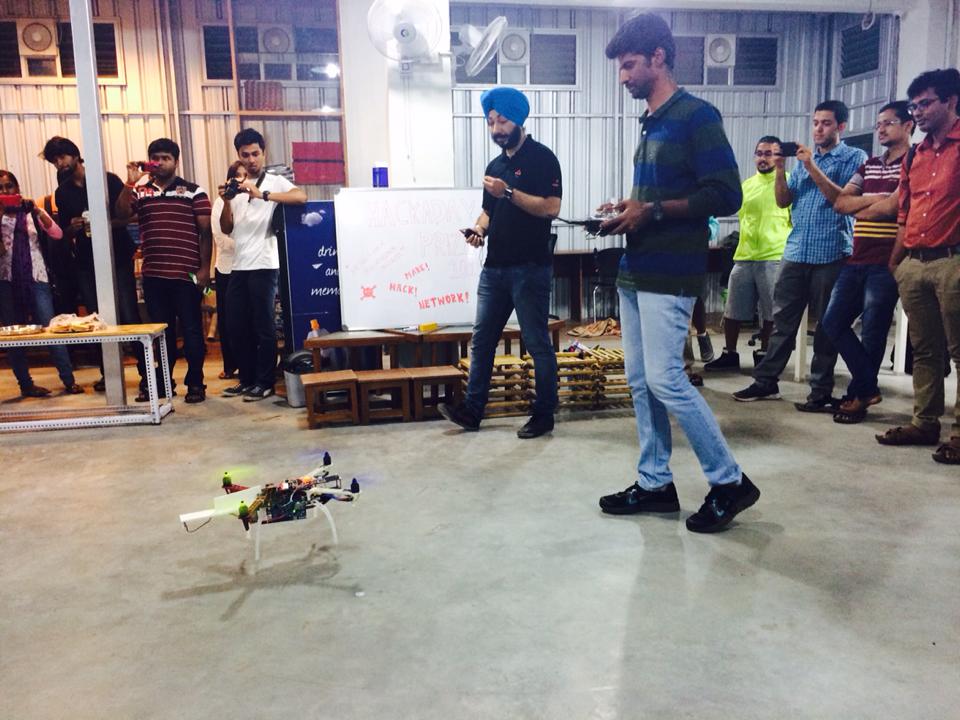
[Chetan] and his team from EdgeVerve showed off the work they are doing with putting various sensors on drones – CO2, temperature, humidity, multi-spectral camera – to enable them to be used for some real world applications. They have also integrated collision avoidance using cheap ultrasonic sensors and a ballistic parachute which deploys during an emergency.
The IoT-BLR connected cars project team talked about their project to tap into on-board diagnostics on vehicles and use the various sensor data to control pollution.
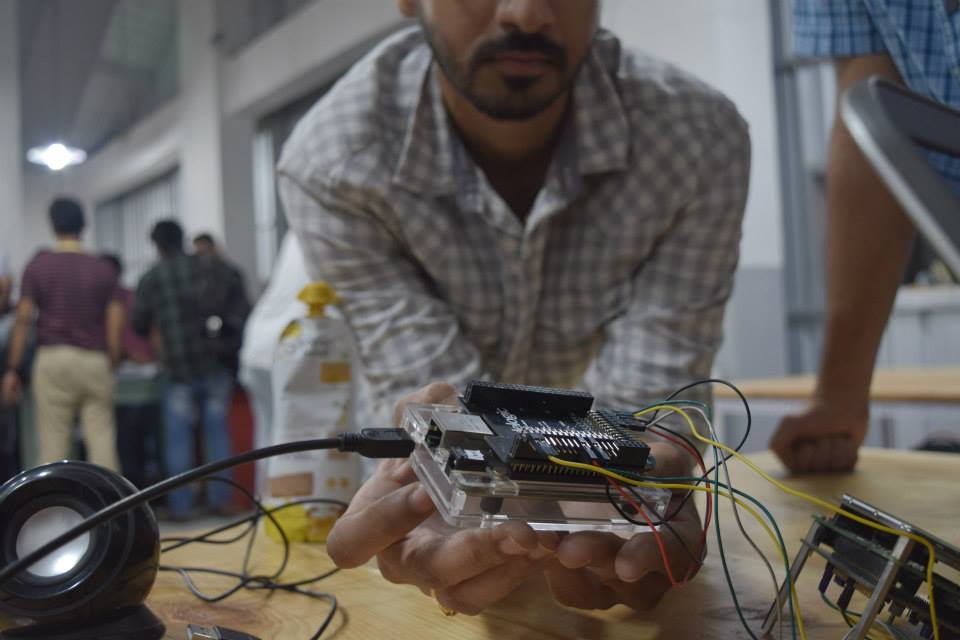
[Kumar Abhishek] came down just in time to show us his BeagleLogic. I had written about this project on the blog earlier, and it was nice to be able to see it in action.
There were some more projects up for display. [Osho Bajpai] had a demo of his “Smart Driving alert system” which detects if driver is falling sleep and wakes him up. [Sanju Mathew] demo’ed his prosthetic arm while [Supreet Joshi] showed off his “Smart Robotic Arm” which replicates the movements of a human arm using a smart glove. On display was also a remote controlled skate board driven by a BLDC motor controlled via the ESC. It was also interesting to see a bunch of school kids wheel in their chopper-inspired bicycle which is still work in progress. Those kids are learning a lot in the process such as ergonomics and welding. [Abdul] showed off a couple of devices he is working on to help harness tidal energy from coastal areas. The team from WiSense showed off some network connected environmental sensors. One measures soil moisture and temperature and transmits data via text message over GSM. This is aimed for use by Farmers and alerts them to water their farms at the right time. Another sensor worked as a tank level detector and controlled flow rate to prevent over flow.


By this time, it was quite late in the evening, so folks spent the next hour looking up the various projects, talking and getting selfies taken using the OpenSelfie photobooth that I had set up. [Rishi Bhatnagar] from Workbench Projects, who set the whole event in motion, managed to archive the evening’s proceedings and you can watch the (long) video after the break.


Here’s another photo album from the event.
Continue reading “Hackaday Prize Worldwide: Workbench Projects Bengaluru”

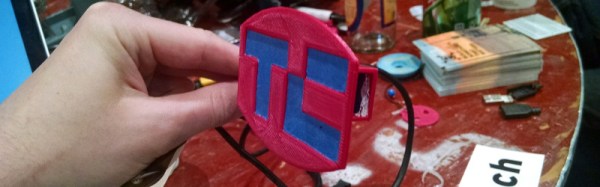
 The idea started with the concept of a dedicated device to carry a complicated password; something that you couldn’t remember yourself and would be difficult to type. [Dan] also decided it would be much better if the device didn’t need its own power source, and if the user interface was dead simple. The answer was a wrist-band made up of a USB cable and a microcontroller with just one button.
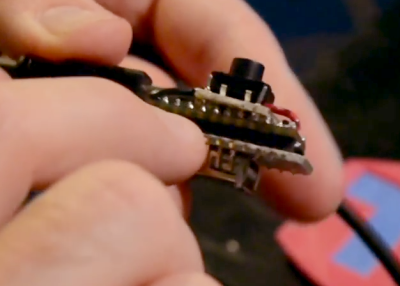
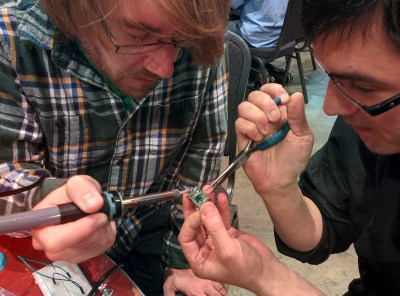 [Dan] came up with the idea to have a pair of mating boards for the Teensy 2.0. One on top hosts the button, the other on the bottom has a USB port which is used as the “clasp” of the belt buckle. One side of the USB cable plugs into the Teensy, the other into this dummy-port. Early testing showed that this was too bulky to work as a bracelet. But [Dan] simply pivoted and turned it into a belt.
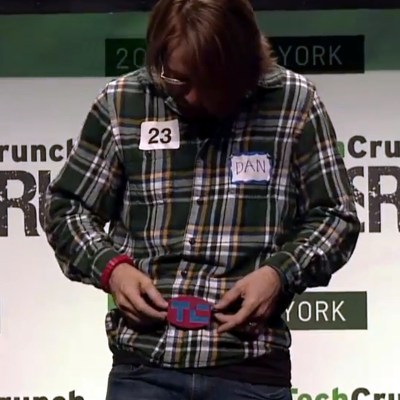 [Kenji Larsen] helped [Dan] with the PCB-sandwich. Instead of mounting pin sockets on the extra boards, they heated up the solder joints on a few of the Teensy pins and pushed them through with some pliers. This left a few pins sticking up above the board to which the button add-on board could be soldered.