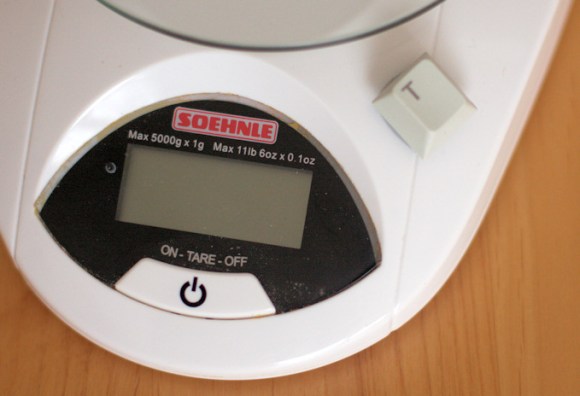
[Markus] is quite happy with his kitchen scale. It’s one of the tools he uses most frequently when cooking. But recently the button has begun to give him problems. He figures the years of spilling a little bit of this and that has mucked up the contacts. His solution was to bypass the button using a Cherry MX switch.
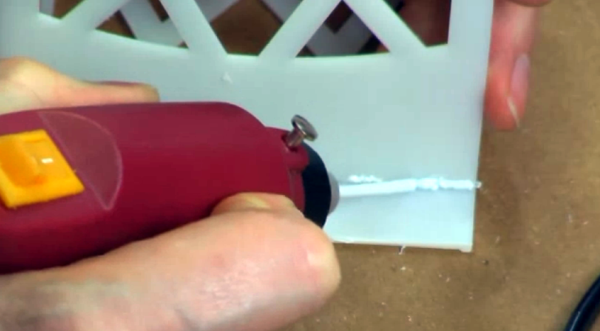
Really any replacement should do since the switch merely completes an electrical connection. But there’s a subset of hackers who swear by the Cherry MX switches that come in some keyboards. [Markus] had just such a keyboard on hand, which he was already using for parts, so he pulled out the switch and cut a hole in the scale’s case where he could mount it. After temporarily super gluing the switch in place he completed the task by filling the gap on the outside with hot glue, then running another bead of it along the inside. The addition of the ‘T’ key finishes the hack. The plastic key is easy to clean and will help shed flour, oil, or anything else he might spill during his culinary adventures.
This hack was fast and easy and may have convinced [Markus] to roll his own controller board for the device. We’ll keep a lookout for a follow-up post detailing those alterations.