
RC planes are a lot of fun, and the bigger the better! [Ramy RC] has built the world’s biggest RC A380.
At 29 ft (8.83 m) long, with a 32 foot (9.75 m) wingspan, and weighing 800 lb (362 kg), this 1/8 scale jumbo jet is not your typical model. The fuselage is built from CNC cut EPS foam layed up with fiberglass on the outside and carbon fiber inside. The wings have a combination of carbon, aluminum, foam, and wood components to handle the aerodynamic loads.
The attention to detail is wild. Instead of painting the windows, each one is an actual hole in the plane with a 3D printed window frame and acrylic window. You can actually see one falling out of the plane in the video below. An Airbus mechanic in the comments even notes the landing gear door order of operations are identical to the real thing.
If [Ramy] looks familiar, perhaps you remember his previous A380 build? Much like the 747, the full size A380 is no longer in production, but they can run on cooking oil while they’re still flying.


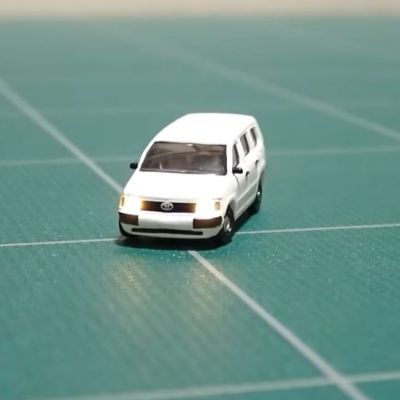 Although in our imagination those scale models of cars certainly can drive and steer just like their full-scale counterparts, there’s something incredibly satisfying about watching them truly come to life. Here [diorama111] is an absolute master at the craft, with


