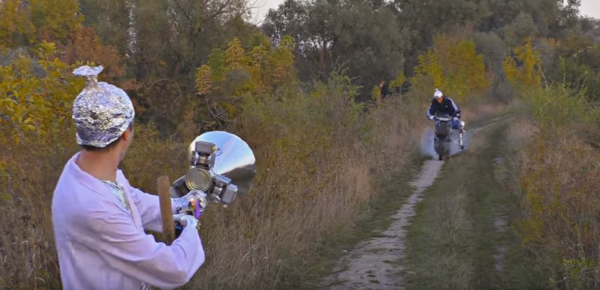
Can you build a working EM weapon from three microwave ovens? Apparently, yes. Should you do so? Maybe not when the best safety gear you can muster is a metallized Mylar film fetish suit and a Hershey’s Kiss hat.
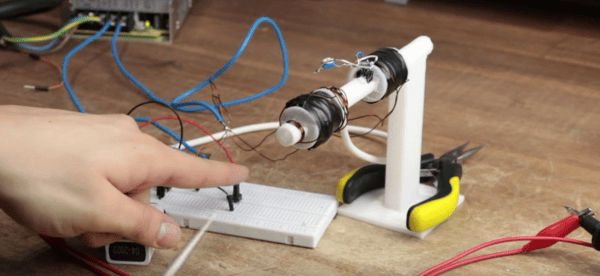
Proving that language need not be a barrier to perfect understanding of bad ideas, the video below tells you all you need to know, even without subtitles in the non-Russian language of your choice. [KREOSAN]’s build is obnoxiously obvious — three magnetrons mounted on a tin can “resonator” with a foil-covered waveguide at the business end. The magnetrons are tickled by a stun-gun that’s powered by a pack of 18650 batteries. The video shows some “experiments”, like lighting up unpowered CFL bulbs from about 15 meters away and releasing the Blue Smoke from the electrical system of a running motor scooter. Assuming they weren’t added in post, the artifacts in the video belie the gun’s lack of shielding for the operator. We doubt any of the ad hoc safety gear would provide any protection from the resulting microwaves, but we also doubt that it matters much when things have gotten this far.
We’re not too sure about this one — some of the zapping stunts look a little too conveniently explosive. It’s hard to tell the details without a translation, so maybe one of our Russian-speaking readers can pitch in on the comments. Although this isn’t [KRESOAN]’s first microwave rodeo, having melted a few lightbulbs with magnetrons before. Even seeing this we still consider EMP Weapons a figment of Hollywood’s imagination.
Continue reading “Trio Of Magnetrons Power A Microwave Rifle”