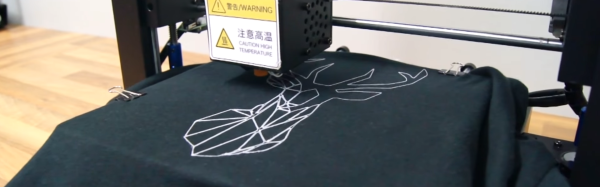
3D printing makes prototyping wonderful. But what do you do when your plastics of choice just aren’t strong enough? For [Michael Memeteau], the answer was to combine the strength of a vacuum-poured polyurethane part with the ease of 3D-printed molds. The write-up is a fantastic walk through of a particular problem and all of the false steps along the way to a solution.
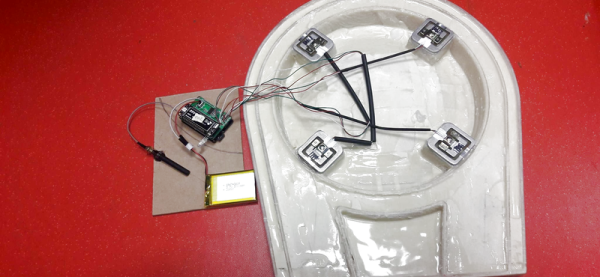
The prototype is a connected scale for LPG canisters, so the frame would have to support 80 kg and survive an outdoor environment. Lego or MDF lattice were considered and abandoned as options early on. 3D printing at 100% infill might have worked, but because of the frame’s size, it would have to be assembled in pieces and took far too long anyway.
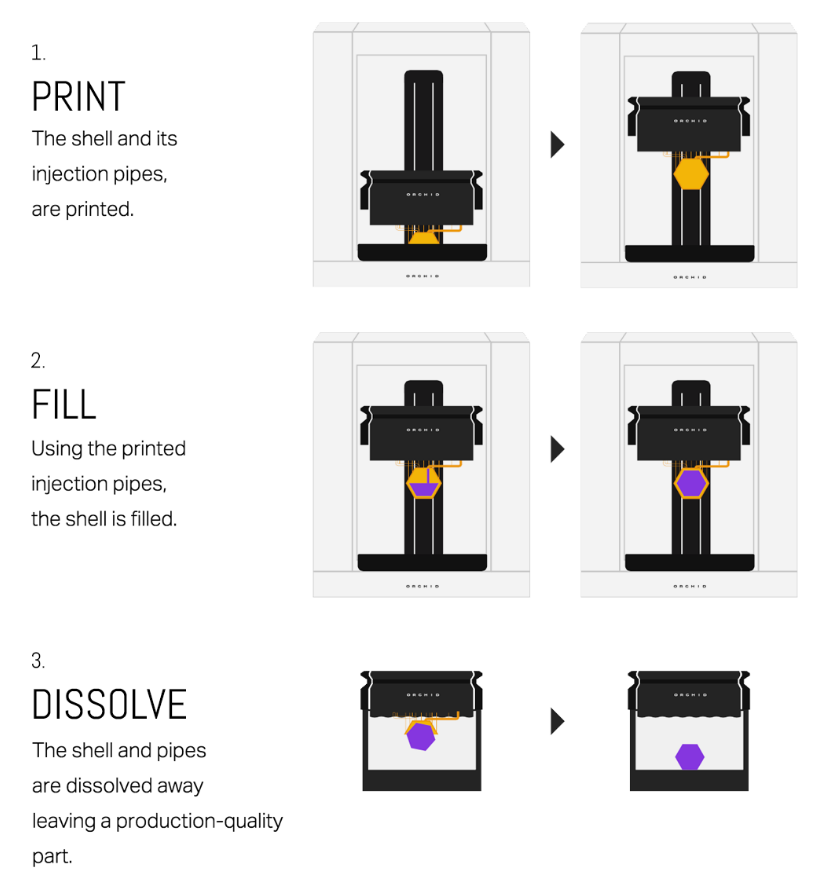
The next approach was to make a mold with the 3D printer and pour the chosen polyurethane resin in, but a simple hollow mold didn’t work because the polyurethane heats as it cures. The combined weight and heat deformed the PLA mold. Worse, their polyurethane of choice was viscous and cured too quickly.
The solution, in the end, was a PET filament that deforms less with heat, clever choice of internal support structures to hold the stress in while being permeable, and finally pouring the polyurethane in a vacuum bag to help it fill and degas. The 3D-printed hull is part of the final product, but the strength comes from the polyurethane.
Mold-making is one of the killer apps of 3D printing. We’ve seen 3D prints used as molds for spin-casting hollow parts, and used as a sacrificial shell for otherwise epoxy parts. But for really complex shapes, strength, and ease of fabrication, we have to say that [Michael]’s approach looks promising.