I’ve said over and over again that Apple’s MagSafe port is the greatest advancement in laptop tech in the last 15 years. Those charger connectors break, though, so how do you fix it? With Lego, of course (Google translatrix). Use a light-colored 1×4 brick so the LED will shine through.
Want to learn Git commands? Here’s a great game that does just that. It’s a really well-designed game/tutorial that walks you through basic Git commands.
Lets say you’re just slightly paranoid about the Bad Guys™ getting into your computer with 0-days and roller blades. You’d like to connect this computer to the Internet, but you don’t want to leave it connected all the time. The solution? A timer for an Ethernet switch. It’s actually a better solution than doing the same thing with scripts: there’s a real, physical interface, and if the Bad Guys™ get in when you are connected, they could just enable the network adapter anyway. An extremely niche use case, but that’s 99% of the security hacks we see.
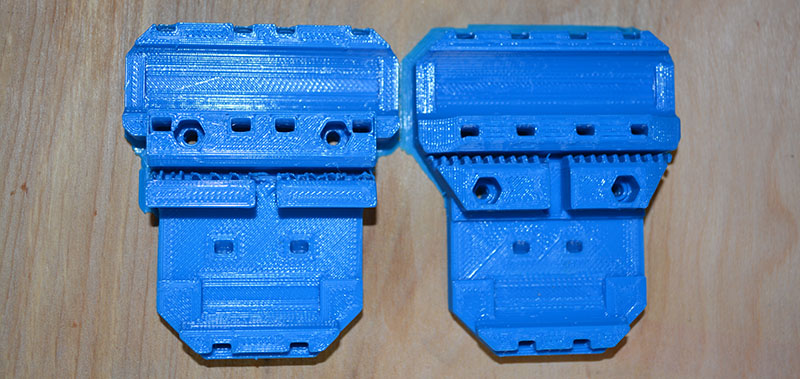
The DaVinci 3D printer is an okay printer if you’re cool with the Gilette model. The filament cartridges are chipped, and the software is proprietary. These problems have been solved, and now you can use a standard RepRap heated bed and glass with the DaVinci. At this point, people are buying the DaVinci just to tear it apart.
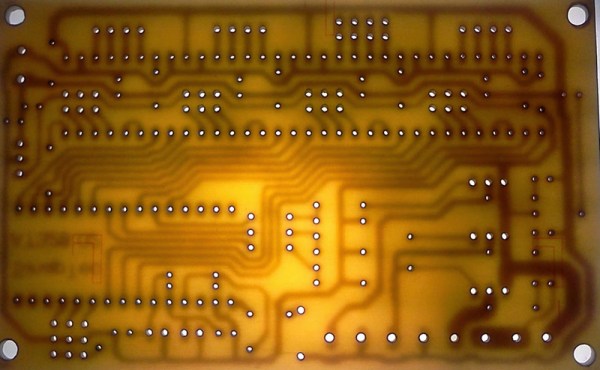
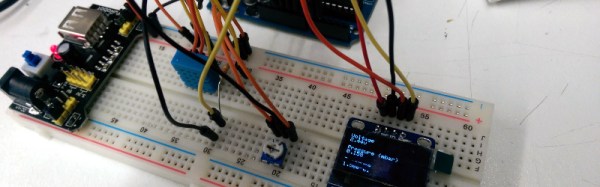
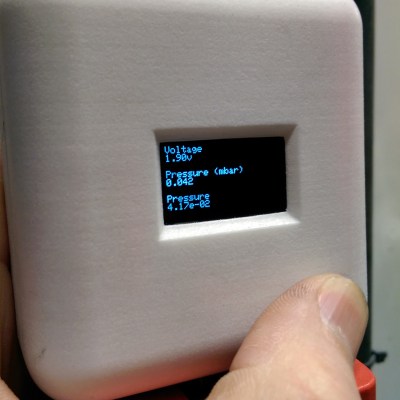 This project goes a little beyond simple Arduino programming though. A 12V to 5V power supply drives the device, which is laid out on a blank PCB. The display fits snugly over the circuit which reduces the footprint of the project, and the entire thing is housed in a custom-printed case with a custom-printed pushbutton. The device gets power and data over the RJ45 connection so no external power is needed. If you want to take a look at the code,