3D printing – with the promise of low-scale manufacturing and custom parts – is ideal for the prosthetic industry, but so far prosthetic hands have been a very, very hard nut to crack. [Joel] has been working on the Open Hands Project, a project that aims to make robotic prosthetics accessible to makers, researchers, and amputees alike.
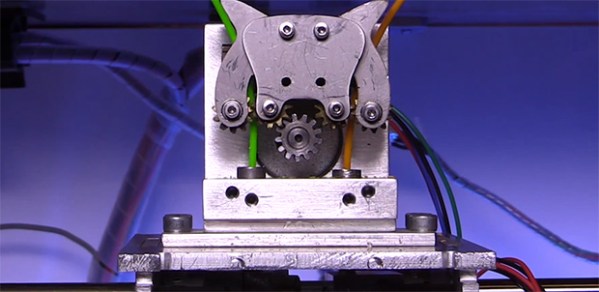
Even though the mechanisms inside the hand are fairly simple – DC gear motors retracting steel cable ‘tendons’ – [Joel] was able to pack all this equipment into a very small volume that isn’t much bigger than real, meat-based hands. To actuate the mechanical muscles in the hand, the user simply flexes a few muscles in their forearm. These electrical signals are picked up by a suite of custom electronics and tell the Open Hand what to do
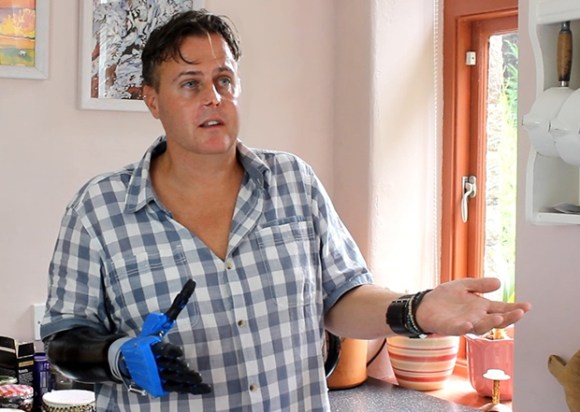
In [Joel]’s Indiegogo video, he goes over what makes his robohands work with a little help from [Liam Corbett], hand amputee. Aesthetically, the Open Hand is a big improvement over [Liam]’s two-pronged hook, and with the dexterity demonstrated in the video, possibly a lot more capable.