These days, laptop computers are all more or less the same, at least externally. Some are thicker than others, they might come in different colors, or with a 360° hinge that lets you flip the screen around the back and use it as a tablet, but overall they’ve all got the same shape and proportions. The industry, and indeed the users, eventually agreed on the best way to make a computer portable and are now fully committed to it.
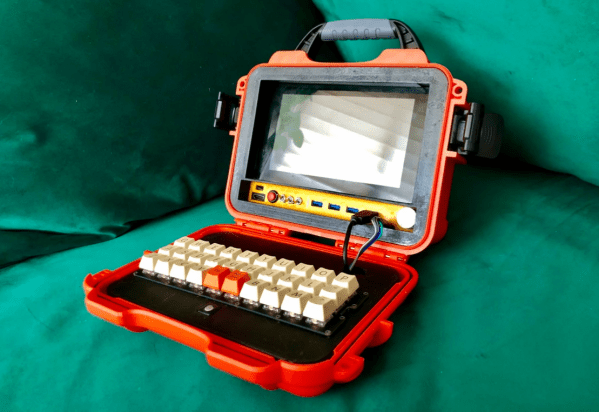
But that wasn’t always the case. In the 1980s there were a number of laptops from the likes of Toshiba, Tandy, and even IBM that took a slightly different approach to the clamshell design. These computers featured ultra-wide displays with a hinge located closer to the center of the computer, giving the machine a distinctive “trunk” in the back. It’s these classic machines that clearly inspired [Michael Mayer] to design the Portable Pi 84.
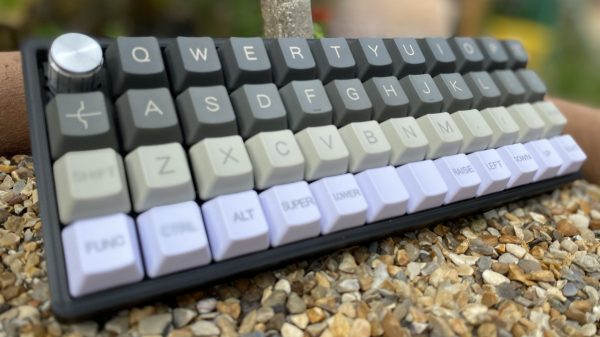
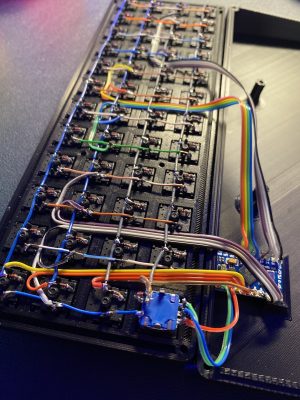
[Michael] says that the 3D printed enclosure was largely designed around the 40% ortholinear keyboard, which itself is based on the Happy-Keyboard from [Luis Alegría]. The rest apparently just fell into place, such as the fact that the 1600 x 600 Waveshare 9.3 inch display happens to be almost the perfect size to cover the keyboard below it.
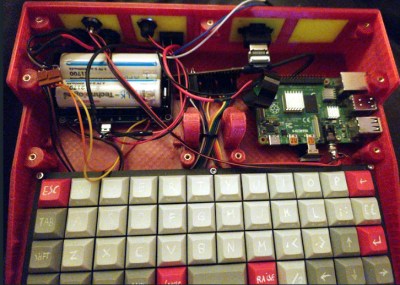
 Compared to many of the other custom computer builds we’ve covered, the rear compartment of the Portable Pi 84 provides ample free space for the various system components. That includes the Raspberry Pi 4 that runs the show, a UPS “hat” that powers the system via a pair of 21700 batteries, and even a set of amplified speakers. It looks like there’s still plenty of room in the back for additional gear, such as an RTL-SDR or perhaps even a cartridge slot.
A particularly nice feature of this build are the inset panels on the rear of the machine, which allow for the various ports and connectors to be reconfigured by the user without having to re-print the entire case — one could imagine a replacement panel that features a connector for an external WiFi antenna, for example. We also like the use of heat-set inserts throughout the case, which will not only make the build sturdier, but means the case can be opened and closed regularly without fear of stripping out the screw holes.
So is this a computer or a cyberdeck? It’s hard to say. We tend to think that a proper deck needs to have a more unique physical layout, and technically this form factor was actually fairly popular at one point. But whatever you want to call builds like this, we’re stoked to see them become more common and better documented. Long live the truly personal computer.


