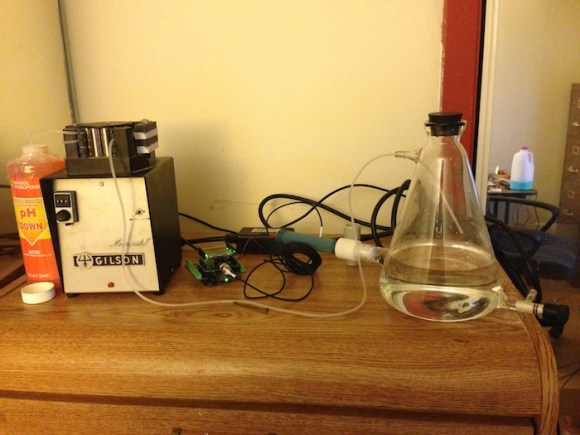
Controlling the pH level of a solution is usually a tedious task. Adding an acid or base to the solution will change the pH, but manually monitoring the levels and adding the correct amount isn’t fun. [Reza] rigged up an automated pH controller to keep a solution’s pH steady.
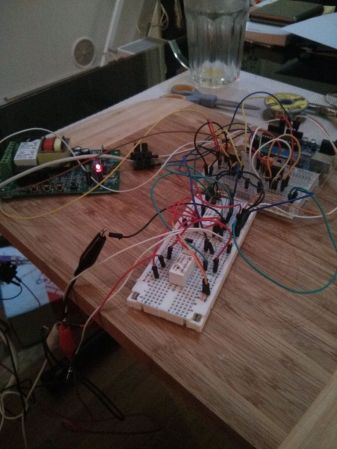
The build uses an Arduino with a LCD shield, screw terminal shields, and [Reza]’s own pH shield attached. A peristaltic pump is used to pump the pH down acid into the solution. This type of pump isolates the fluid from the pump parts, preventing contamination of the solution. The pump is controlled using a PowerSwitch Tail, allowing the Arduino to control the flow of fluid.
An Omega pH probe is used to read the pH level. [Reza]’s open source firmware has support for calibrating the probe to ensure accurate readings. Once it’s set up, the screen displays the pH level and the current state of the system. The pump is enabled when the pH rises out of the desired range.
After the break, check out a video walk through of the device.