[Andrew & Deborah O’Malley] were tapped to created an interactive exhibit. The mission was to show that social problems take continual support from a lot of people before they can be solved. The piece needed to be architectural in nature, and they ended up building this touch-sensitive model building with individually lighted windows.
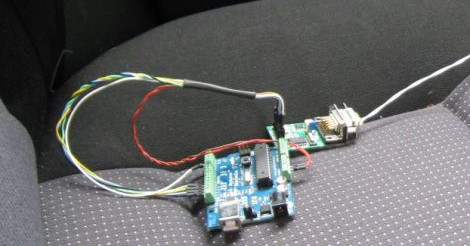
The project log that the [O’Malleys] posted shows a well executed battle plan. They used tools we’re all familiar with to achieve a highly polished and pleasing result. The planning stages involved a virtual mock-up using Google SketchUp. The details needed to order the shell from a fabricator were pulled from this early work, while the team set their sights on the electronics that shed light and that make the piece interactive. The former is provided by a Shiftbrite module for each window, the latter comes from the Capacitive Sensing Library for Arduino. Despite some difficulty in tuning the capacitive grid, and getting all of those Shiftbrites to talk to each other, the exhibit went swimmingly. It’s not hard to imagine how easy it is to start a conversation once attendees are attracted by the seductive powers of touch sensitive blinky lights.