Bridging Networks With The Flip Of A Switch

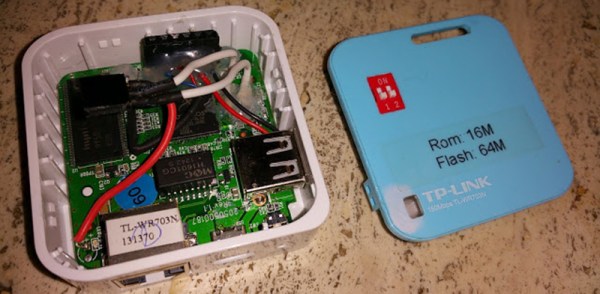
The TP-Link TL-WR703n is the WRT54G for the modern era – extremely hackable, cheap, and available just about everywhere. Loaded up with OpenWRT, it’s capable of bridging networks: turning Ethernet into WiFi and vice versa. This requires reconfiguring the router, and after doing this enough times, [Martin] was looking for a better solution. The SOC inside the WR703n has two exposed GPIO pins, allowing [Martin] to choose between WiFi access point or client and between bridged or NAT/DHCP.

According to the OpenWRT wiki, there are a few GPIOs available, and after connecting these pins to a DIP switch, [Martin] could access these switches through the firmware. The hard part of this build is building the script to change the settings when the system boots. This script looks at the state of the GPIOs and changes the WiFi into client or access point mode and tries not to muck about with the DHCP somewhere off in the cloud. Yes, we just used cloud in its proper context.

The only other hardware to complete this build was a simple USB to serial converter that should be shoved into the corner of everyone’s workbench. Not bad for an extremely minimal soldering and configuration required for a something that’s extremely useful.

Comparing USB To Ethernet Converters: Apple Vs. Knock-off

usb-ethernet-comparison

[Angus Gratton] recently cracked open a pair of USB to Ethernet converters to see what’s inside. One was an Apple branded device, the other a no-name from eBay. The former rings in at $30, with the latter just $4. This type of comparison is one of our favorites. It’s especially interesting with Apple products as they are known for solid hardware choices and the knock-offs are equally infamous for shoddy imitations.

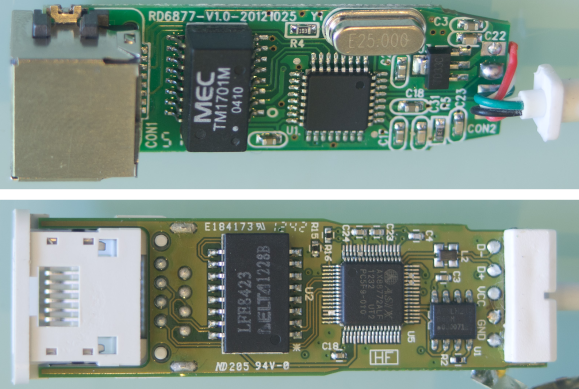
From the outside both devices look about the same. The internal differences start right away with a whole-board metal shield on the Apple dongle and none on the off-brand. But the hardware inside is actually quite similar. There’s an RJ-45 jack on the left, followed by the Ethernet isolation chip next to it. From there we start to see differences. The off-brand had a blank chip where Apple’s ASIX AX88772ALF USB to Ethernet bridge controller is located. There is also a difference with the clock; Apple is using two crystals with the other using just one.

[via Reddit]

Juice Bridge Powers Your Breadboard In A Snap

juice_bridge_breadboard_power_bridge

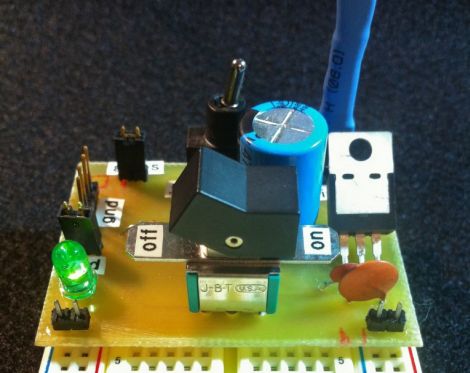
[Quinn Dunki] got tired of messing around with wires when connecting things to her benchtop power supply, so she built herself useful little power bridge that plugs directly into any standard breadboard.

The board is small and simple, but quite useful all the same. It was built to power both sides of the breadboard, and it can be easily switched between an unregulated power supply and a regulated 5v supply. An ammeter can be attached to the board via a pair of pins she set aside, allowing her to easily measure the current draw of the entire circuit.

We think her “Juice Bridge” would be very useful to anyone who frequently prototypes on breadboards. In fact, it would be a fantastic beginner project since it involves etching and developing PCBs as well as some simple soldering, while resulting in a handy takeaway tool at the same time.

If you want to build one of your own, [Quinn] has the schematics and Eagle PCB files available for download on her site.

Speeding Up A ThinkPad X41 Via A SATA SSD Conversion

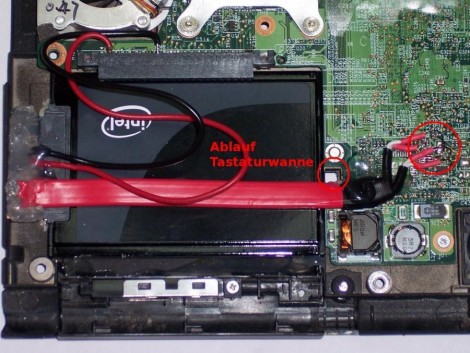
[Marek Walther] uses a ThinkPad x41 tablet for business on a daily basis. Since he’s on the go with the device he figures that hardware failure is eventually going to strike and with that in mind he purchased a second unit – slightly broken – to fix as a backup. He had never been excited about the speed of the tablet so he set out to find improvements. One of the options was to replace the traditional hard drive with a solid state model (translated). But simply dropping in an SSD isn’t going to make things faster. That’s because the stock drive uses a PATA interface. After a bit of snooping [Marek] discovered that the motherboard has a SATA interface that has a bridge connecting to the PATA plug. By removing the bridge and soldering a SATA cable to the board he was able to improve performance while increasing storage capacity at the same time.