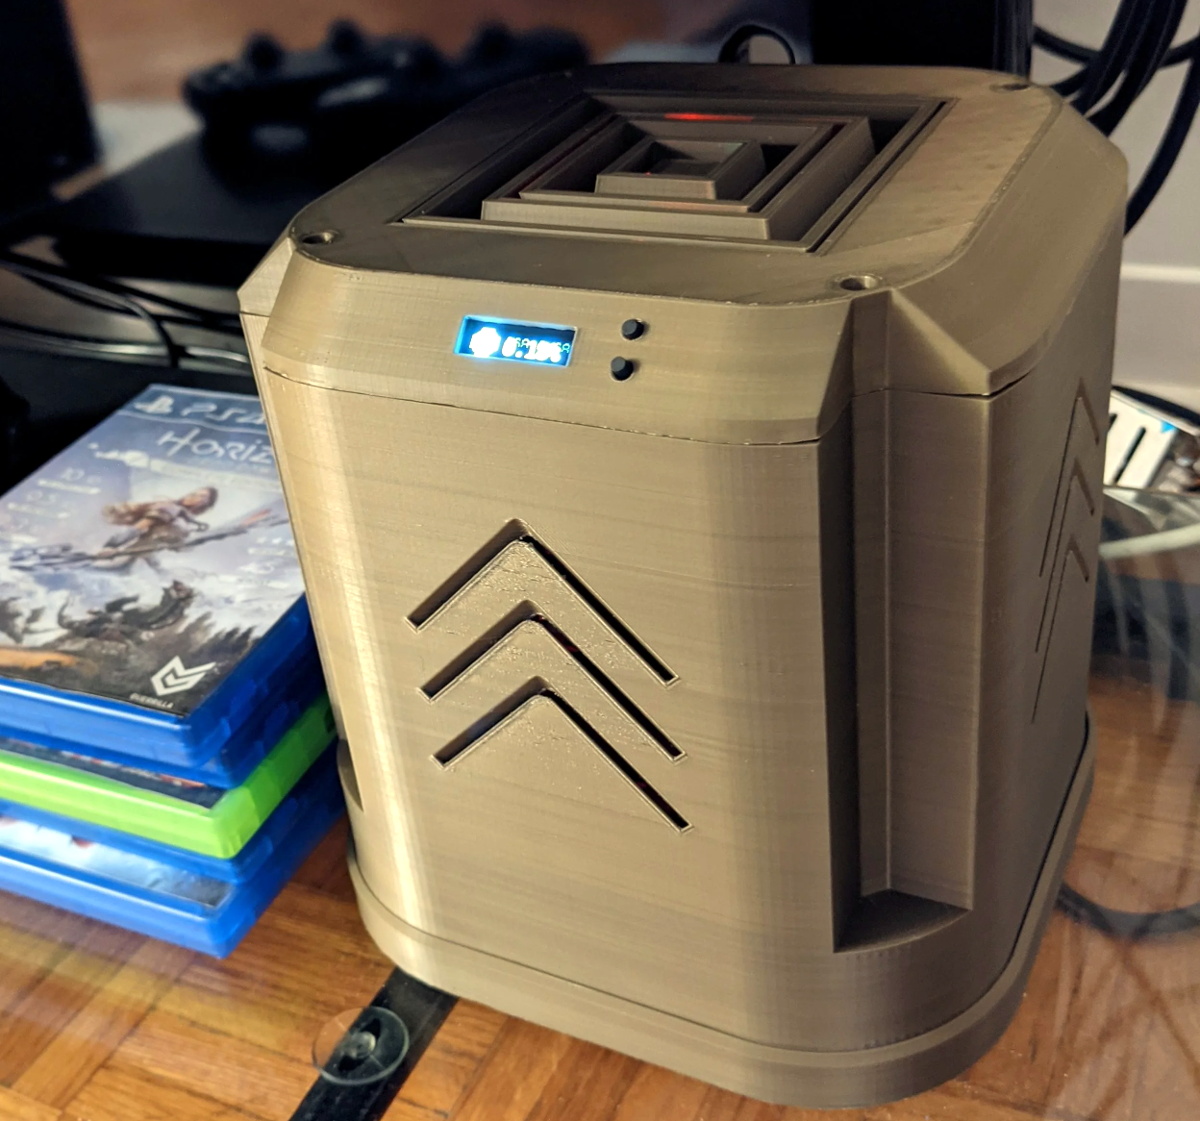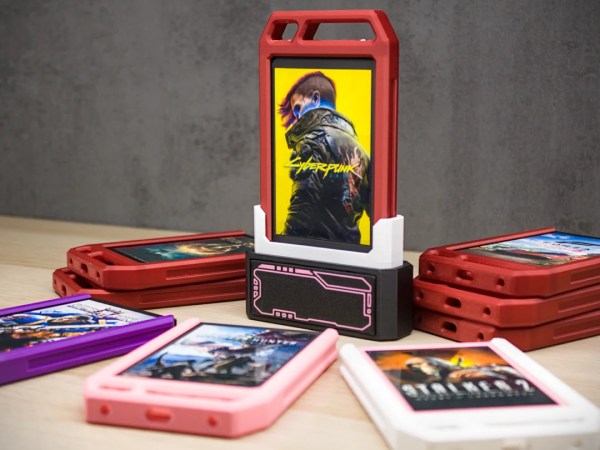
Game companies might not like physical media much anymore, but gamers sure do. There’s nothing like pawing over your collection to find what to play, and inserting a cartridge with a satisfying click before sitting down to an old-school game like — wait, Cyberpunk 2077? Yeah, that wasn’t released on cartridge, but that didn’t stop [LewdMeat]. The cartridges are 3D printed and contain old 2.5″ SSDs picked up for cheap in bulk.
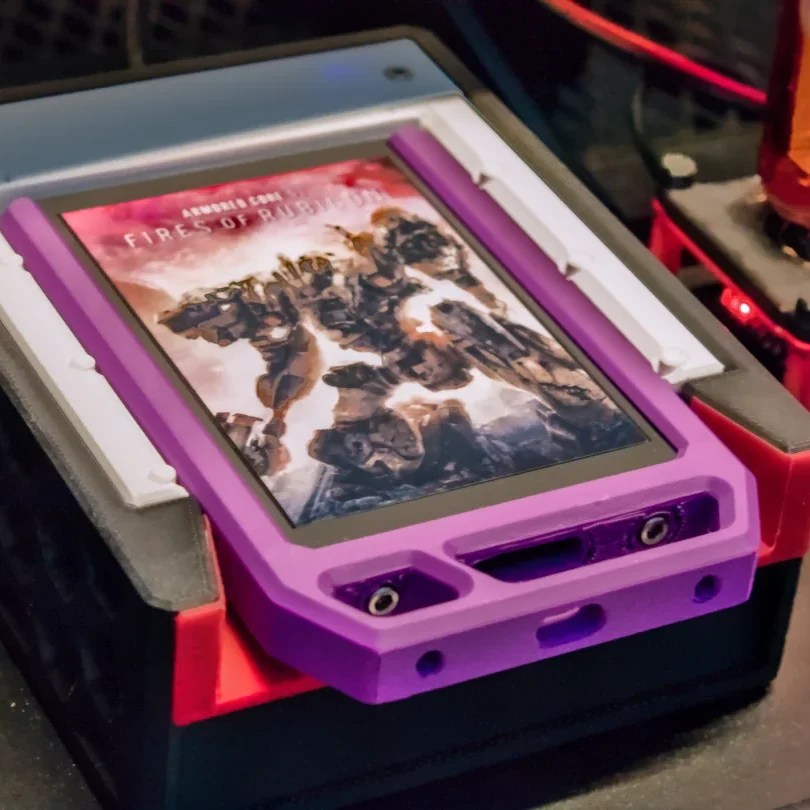
Inside the base unit is a simple USB3-SATA adapter that hooks to [LewdMeat]’s gaming PC. There are two versions of the base: a simple vertical unit, and a horizontal one with some springs to give a satisfying grip. On each disk is a launch script that is vetted by a program on the PC that auto-launches only the cartridges you’ve told it to trust, which is a level of security we can appreciate.
We don’t know how much life is left in these cheap drives, but they should last a while if the only write is the odd save file. Hopefully [LewdMeat] is cycling through his games fairly often, as SSDs are only non-volatile storage if your time horizon is short enough.
Thanks to [iliis] for the tip! Remember, if you use our tips line to share what you find, you’re not doomscrolling, you’re doing a public service.