Faux Vintage Radio Gets AirPlay Upgrade

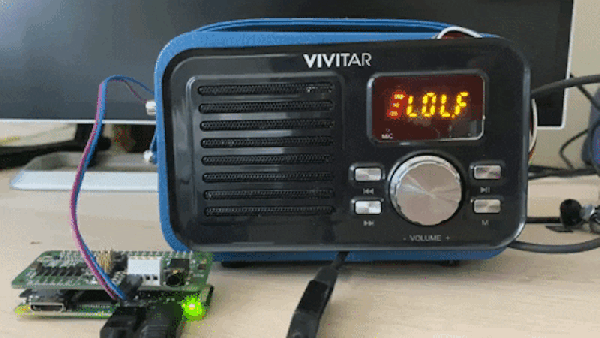
There’s plenty of vintage-styled hardware out these days, with quality and functionality being mixed at best. [Huan] found such a device in the form of an attractively-styled Bluetooth speaker. Deciding he could improve on the capabilities while retaining a stock look, he got down to hacking.

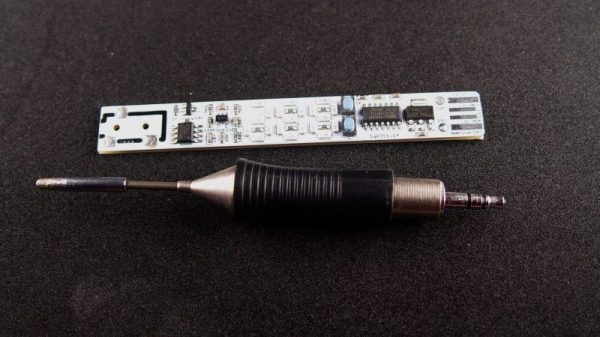
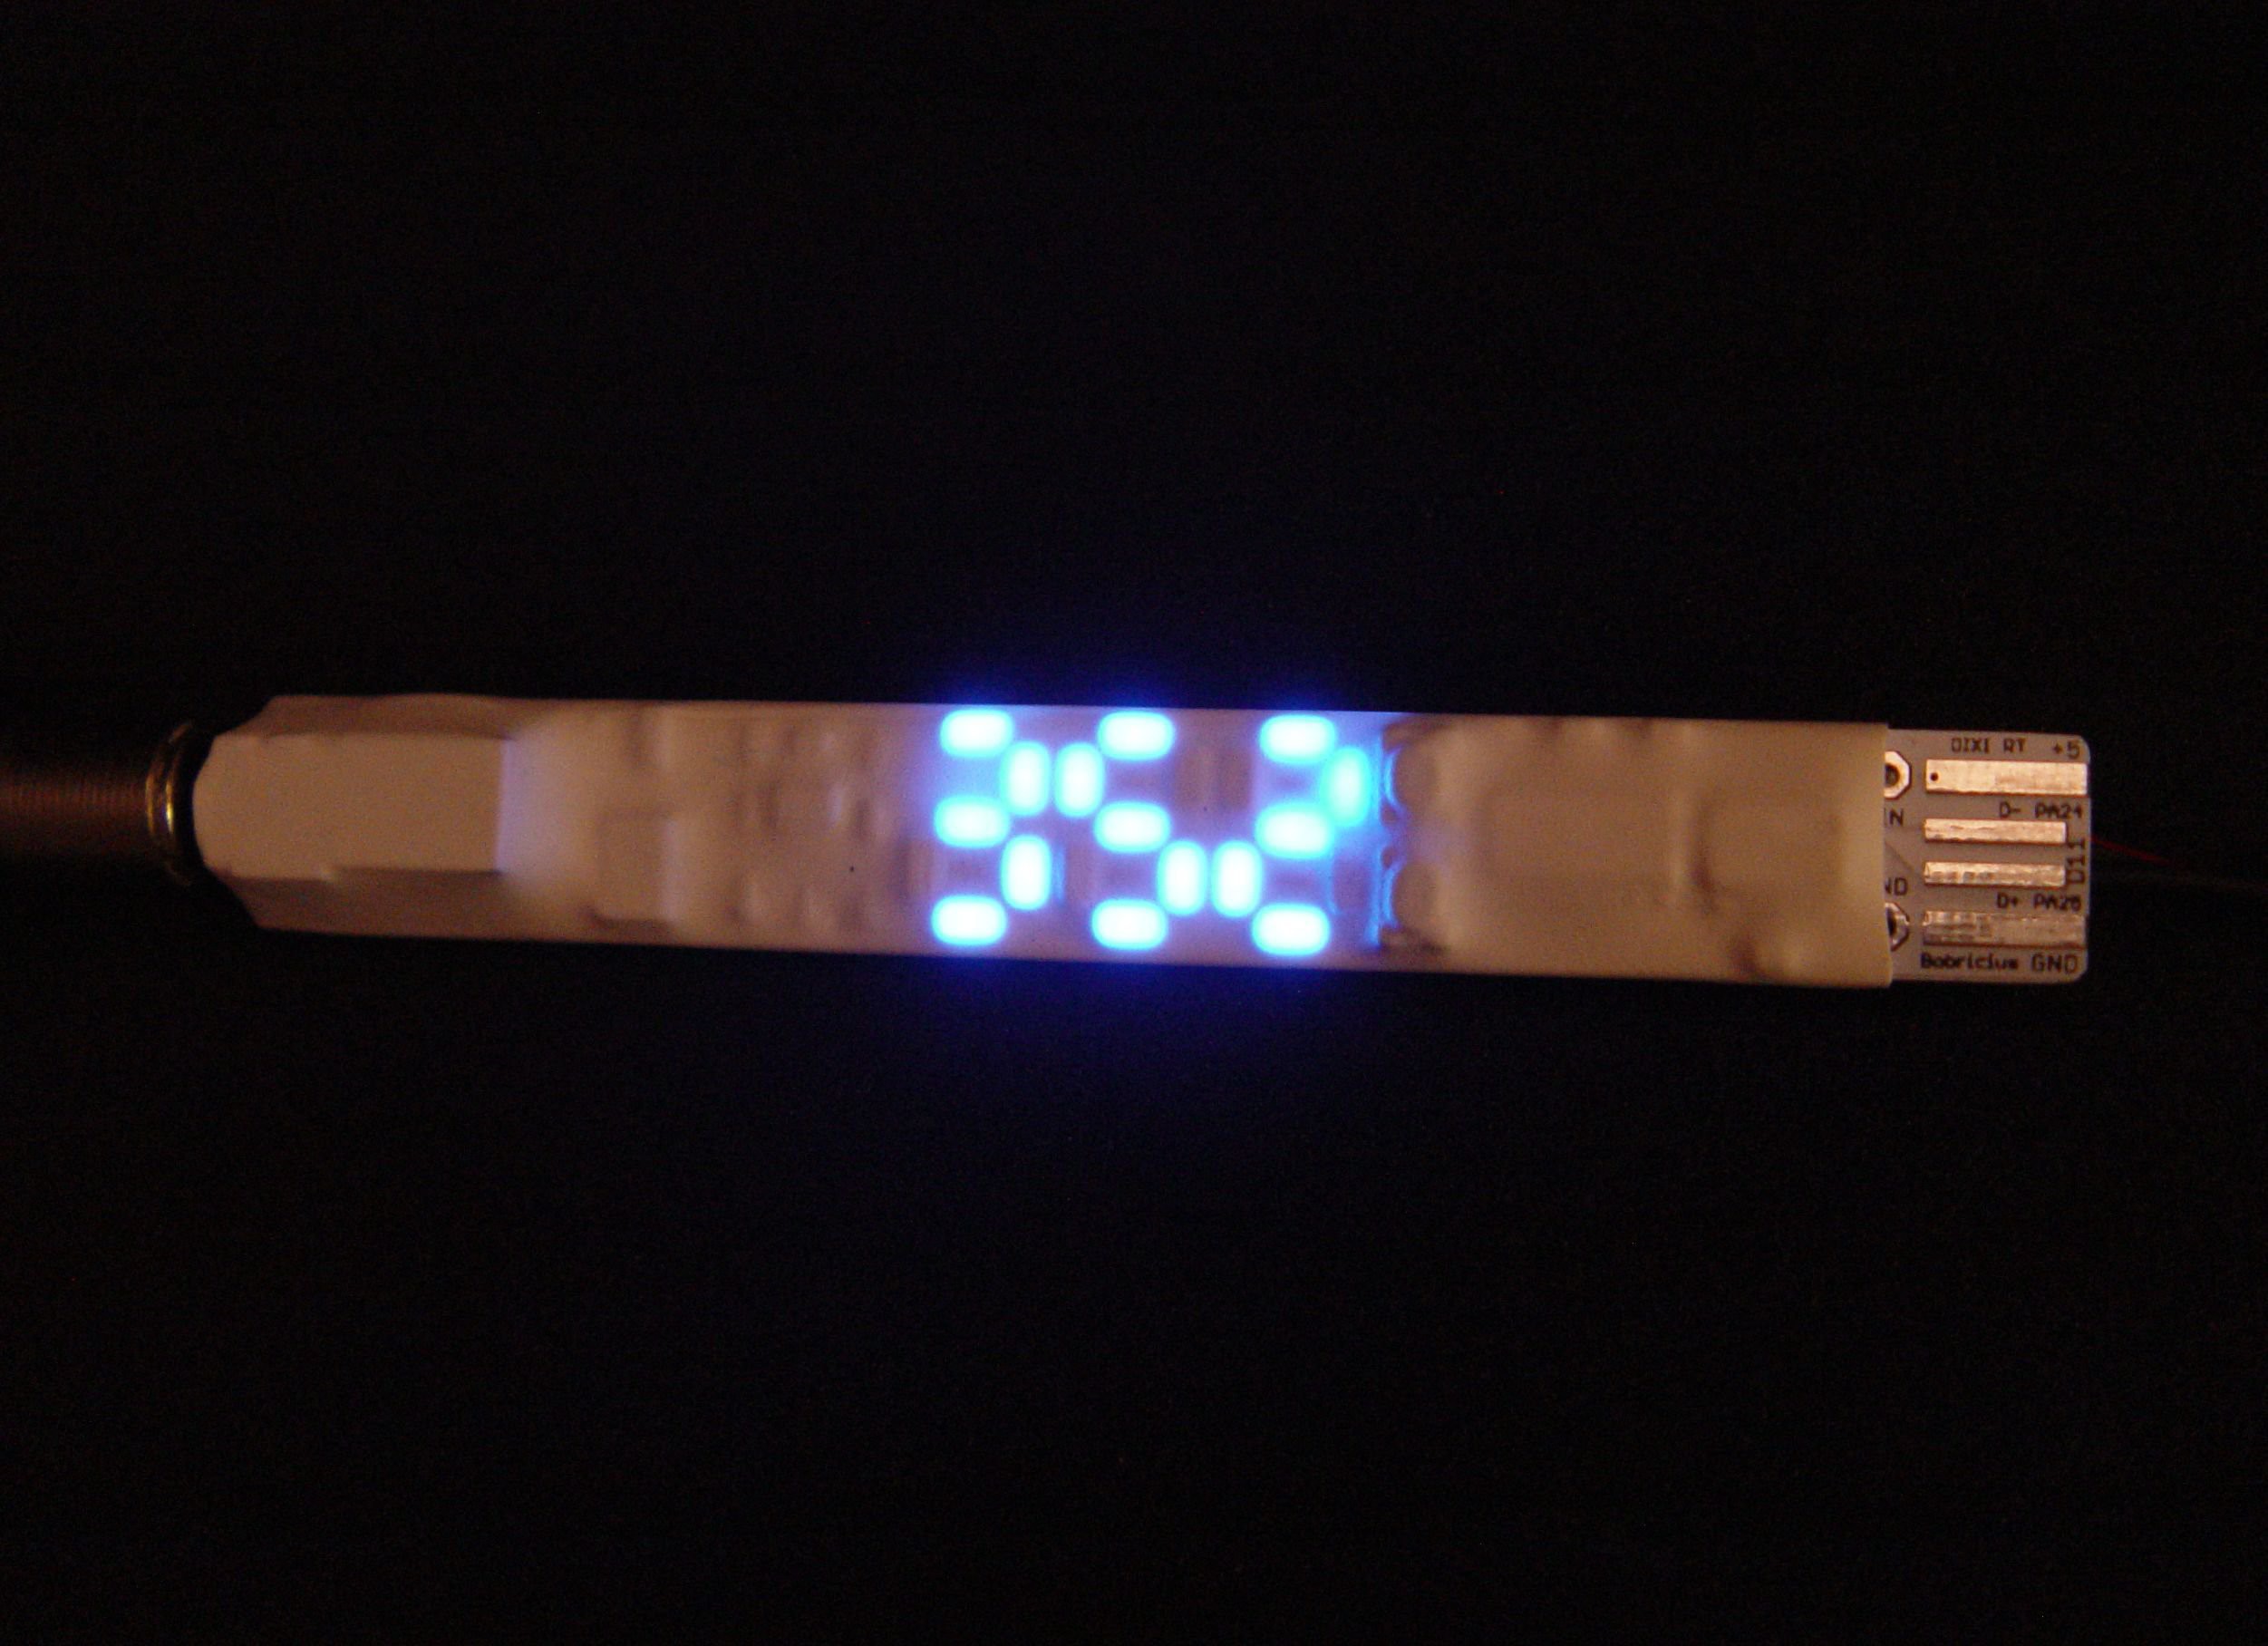
The aim of the project was to keep the original volume knob, buttons and screen, while replacing the internals with something a bit more capable. A Raspberry Pi Zero was sourced as the brains of the operation, with the Google Voice AIY hardware used as the sound output after early attempts with a discrete amplifier faced hum issues. An Arduino Pro Micro was pressed into service to read the volume encoder along with the buttons and drive the charlieplexed LED screen. Shairport Sync was then installed on the Pi Zero to enable Airplay functionality.

It’s a basic hack that nonetheless gives [Huan] an attractive AirPlay speaker, along with plenty of useful experience working with Arduinos and Raspberry Pis. We’ve seen similar hacks before, too. If you’re working on your own stereo resurrection at home, be sure to drop us a line!

Soldering Your Own Soldering Iron

A device that even DIY enthusiasts don’t usually think to DIY is the humble soldering iron. Yet, that’s exactly what one Hackaday.io user did by building a USB-powered soldering pen with better performance than a $5 Chinese soldering pen.

The project draws inspiration from another Weller RT tip-based soldering pen by [vlk], although this project has a simpler display than an OLED. Slovakia-based maker [bobricius] was inspired by the DiXi ATSAMD11C14-based development board. The project uses the same 32-bit ATMEL ARM microcontroller with a USB bootloader, which makes updating the firmware a lot easier.

Two buttons control the heat (+/-) and the jack for the Weller RT soldering tip controls the power out with PWM. For the display, 20 Charlieplexed 3014 LEDs are used to show the temperature from 0-399. The last missing LED is left out since 5 GPIO pins can only drive 20 LEDs.

Assuming that the main heating controls stay the same as [vlk]’s project, the pen uses a current sensor and heating controller for PID control of a heating module, which connects to the SMT connector for the Weller RT soldering iron tip. The temperature sensor uses a an op-amp for amplification of the signal from a type K thermocouple.

While there aren’t currently GERBER files for the PCB yet, the project is based on the open-source OLED display soldering pen project by [vlk], whose schematic for the device is published.

Continue reading “Soldering Your Own Soldering Iron”

Hackaday Prize Entry: Micro Matrix Charlieplexed Displays

If you need a very thin, low power display that doesn’t use a whole bunch of pins on your microcontroller, [bobricius] has just the thing for you. His entry to the Hackaday Prize this year is a Charlieplexed LED display. With this board, you can drive 110 LEDs using only 11 GPIO pins.

Charlieplexing is a bit of a dark art around these parts. That’s not to say the theory is difficult; it’s really just sourcing or sinking current from a GPIO pin and arranging LEDs unparallel to each other. The theory is one thing, implementation is another. To build a Charlieplexed LED matrix, you need to go a bit crazy with the PCB layout, and god help you if you’re doing this point-to-point on a perf board.

Somehow, [bobricius] managed to fit 110 LEDs on a PCB, all while managing to break out those signal wires to a sensible set of pads on one side of the board. Only eleven pins are required to drive all these LEDs, making this project a great foundation for some very cool wearables or other projects that require a bright, low-res display.

Since [bobricius] can put 110 LEDs on a small board, he can obviously take LEDs away from that board. That’s what he did with his cut down version designed to be a clock. Both are great little boards, and the perfect solution for tiny displays for low-pin-count micros.

Continue reading “Hackaday Prize Entry: Micro Matrix Charlieplexed Displays”

Minimalist RGB LED Cube Has A Very Short BoM

charlieplexed-led-cube

[Asher Glick] wrote in to share a project he has been working on with his friend [Kevin Baker], a 4x4x4 RGB LED cube. The pair are students at Rensselaer Polytechnic Institute and also members of the newly-formed Embedded Hardware Club on campus. As their first collaborative project, they decided to take on the ubiquitous LED cube, trimming down the component count to nothing more than 64 LEDs, a protoboard, some wire, and a single Arduino.

Many cubes we have seen use shift registers or decade counters to account for all the I/O required to drive so many LEDs. Their version of the cube has none of these extra components, solely relying on 16 of the Arduino’s I/O pins for control instead. You might notice something a bit different about the structure of their cube as well. Rather than using a grid of LEDs like we see in most Charlieplexed cubes, they constructed theirs using 16 LED “spires”, tucking the additional wiring underneath the board.

The result looks great, as you can see in the videos below. The cube looks pretty easy to build, and with a cost around $60 it is a reasonably cheap project as well.

Nice job, we look forward to seeing all sorts of fun projects from the Embedded Hardware Club in the future!

Continue reading “Minimalist RGB LED Cube Has A Very Short BoM”