The Chernobyl NPP And Forty Years Of Robots For High Radiation Environments

With the massive steam explosion that shredded the #4 RBMK reactor at the Chernobyl Nuclear Power Plant in 1986 it suddenly made robots that could survive a high ionizing radiation environment into the hottest item on the planet. Over the course of forty years many generations of such robots were developed, tested, improved upon or discarded, all to explore and handle hazardous waste throughout the depths of the #4 reactor’s remains.

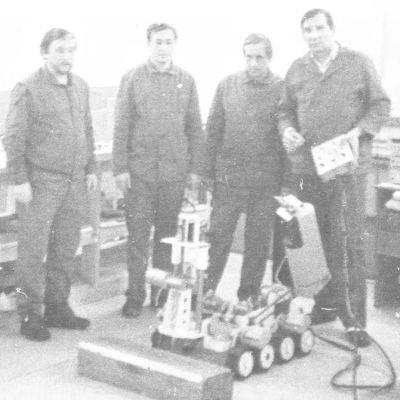
Researchers of the ISP NPP next to one of the TR robots. (Credit: ISP NPP)

Even if the entire development and decisions here would easily fit a couple of feature length movies, the recent documentary by the [Chornobyl Family] provides a solid overview of the engineering challenges, the issues encountered along the way and the forced evolution of initially very basic designs into the robotics that today trundle and wriggle around inside reactor #4, as well as their cousins over at the couple of stricken reactors at Japan’s Fukushima Daiichi power station.

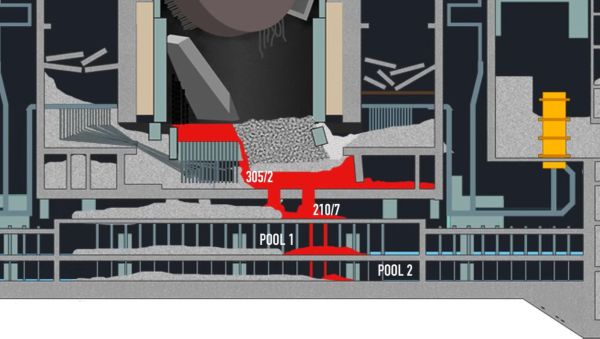
Unlike the other robots developed from 1986 onwards to provide general clean-up of scattered core material outside of the core, these robots had to venture deep inside, where radiation levels were the highest and correspondingly the challenges much more severe. This was such a problem that initially it were humans who did the exploration, as robots proved to be too fragile and too prone to getting stuck.

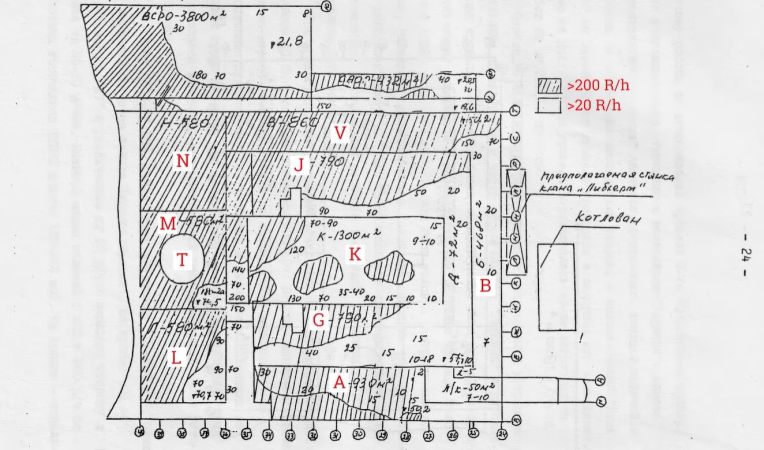
Until the 1990s exploration of the ruined core was quite limited, also because of a lack of urgency. While the outside clean-up and construction of the sarcophagus had to be done as quickly as possible, the core exploration was more slow and methodical, based around trying to establish its condition, what core material remained inside and try to take samples of interesting objects like the well-known ‘elephant’s foot’.

Continue reading “The Chernobyl NPP And Forty Years Of Robots For High Radiation Environments”

Chernobyl’s Robots, Or The Hackathon From Hell

When the Chernobyl Nuclear Power Plant’s #4 reactor experienced an extreme criticality event on that infamous day in 1986, the resulting steam explosion and lack of any kind of containment building meant that parts of the core were scattered throughout the site. In an extensive update to the original 2023 video, the [Chornobyl Family] covers the mad scramble to design robots to perform on-the-ground measurements, and ultimately remove all this debris for safe disposal.

The TR-1A, an early debris removal robot. (Source: Chornobyl Family, YouTube)

This essentially took the form of a hackathon, involving teams from all over the USSR and allied nations, creating the most diverse range of robots that 1980s Soviet technology and later Western technology could muster.

Many of these robots didn’t perform very well, or at all, mostly due to the bypassing of any kind of testing before deployment. Especially at the beginning of the clean-up the robots were being pushed into the high-radiation zones as soon as they were finished, with not only mechanical issues being a problem, but also with e.g. inaccurate radiation measurements by the RR-1 robot, that overstated measurements by more than a factor of ten. Meanwhile the RR-2 and RR-3 were too top-heavy and after deployment by helicopter simply tipped over. Eventually manual measurements proved to be faster and safer.

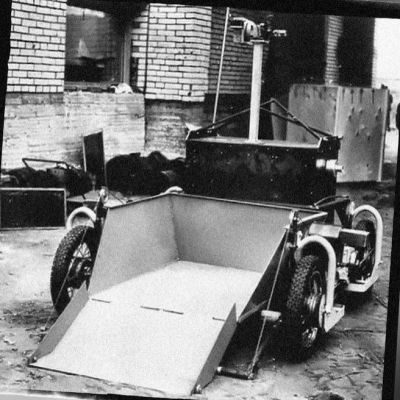
Early debris removal robots like the TR-1A were rather simplistic, with successive generations of robots over the next weeks and months improving on it. The use of a combustion engine instead of batteries provided to be a boon, as combustion engines are far less affected by radiation.

The BAER Beloyarets used an airport cart as the basis, with its electronics relying on vacuum tube technology and relays, with an internal combustion engine. This proved to be one of the most reliable designs and it’s been largely preserved on display in the Chornobyl Exclusion Zone, with many others of these robots also being on display around the nuclear plant or in the city of Chornobyl.

Overall an absolutely dizzying number of robotic designs were invented on the spot, adapted from existing designs or repurposed for operation in a high-radiation zone. Eventually bulldozer designs like the STR-1 helped to push radioactive debris off the roofs into containers, massively reducing the radioactive contamination of the area.

The fact that following #4’s RUD the other three RBMK units were able to keep operating safely without risks to its operators, and with the zone now safe for tourists, is a real testament to the success of the worst hackathon imaginable. Many of the lessons learned are relevant today, including during the decommissioning of Fukushima Daiichi’s melted-down cores.

Continue reading “Chernobyl’s Robots, Or The Hackathon From Hell”

Using Your Own RBMK Reactor Control Center At Home

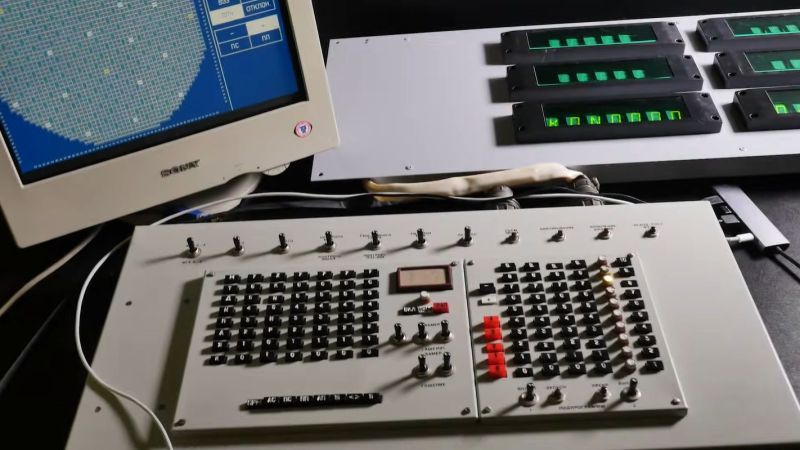
To give people the most intimate RBMK experience, the [Chornobyl Family] has been working tirelessly at not only replicating the original RBMK reactor control room and its SKALA industrial control system’s controls, but also to create a version that you could tinker with at home if you ever fancied getting your own RBMK operator license. This starts with the operator console, with its use demonstrated in a recent video including a range of common commands.

In this video the entering of codes on the console to interact with the system is detailed, including the logic behind it. In the absence of large displays to display many parameters and such, this way the operator could ‘talk’ with the control system, including obtaining current sensors readings and the setting and changing of setpoints. From the same console you can also select and run programs, which is useful for automating tasks, like monitoring coolant flows.

In the second video not only the construction of the control panel is covered, but also a visual representation of the simulated reactor core which is displayed on a connected monitor. Although not a part of the original SKALA system as such, a much larger version existed as a wall-sized physical version inside the control room, so it’s definitely more home-simulator friendly.

We previously covered this SKALA system that controls RBMK reactors, as well as the 1990s modernization of the Chornobyl Nuclear Power Plant.

Continue reading “Using Your Own RBMK Reactor Control Center At Home”

Building A Working Replica Of The Chernobyl Power Plant’s SKALA Display

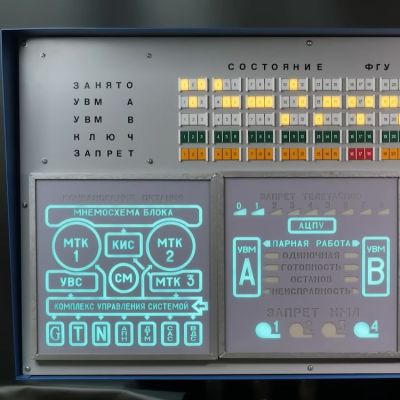
In a recent video by the [Chornobyl Family] it’s shown how they made the SKALA status display which was featured at the recent 40-year memorial exhibition of the Chornobyl Nuclear Power Plant (ChNPP) #4 reactor accident, along with the RBMK reactor control panel replica and SKALA console which they had made previously.

Detail of the SKALA display. (Credit: Chornobyl Family, YouTube)

We previously covered this SKALA control system of the ChNPP’s RBMK reactors, as well as its 1990s modernization. This SKALA status display is one of the original elements of the control room, providing a status overview of the entire control system at a glance, including its processors and peripheral devices.

The replica uses similar looking components, with a metal casing and LED lighting that invokes the aesthetics of the original electroluminescent mnemonic panels. Overall the goal was to keep the appearance as close to the original as possible — they even had operators of the ChNPP reactors look over the panel and give it their stamp of approval.

Some of the components like the error indicators had to be 3D printed, while the metal case was cut out of sheet metal. There’s also a very big speaker for the alarm, at the top right of the panel. Along with the LEDs for the electroluminescent-style indicators this meant a lot of addressable LEDs and a lot of wiring.

The full build plans are available via the [Chornobyl Family] Patreon, if you feel like building up your own RBMK-style reactor control room.

Continue reading “Building A Working Replica Of The Chernobyl Power Plant’s SKALA Display”

DIY Weather Stations Report In From Chernobyl

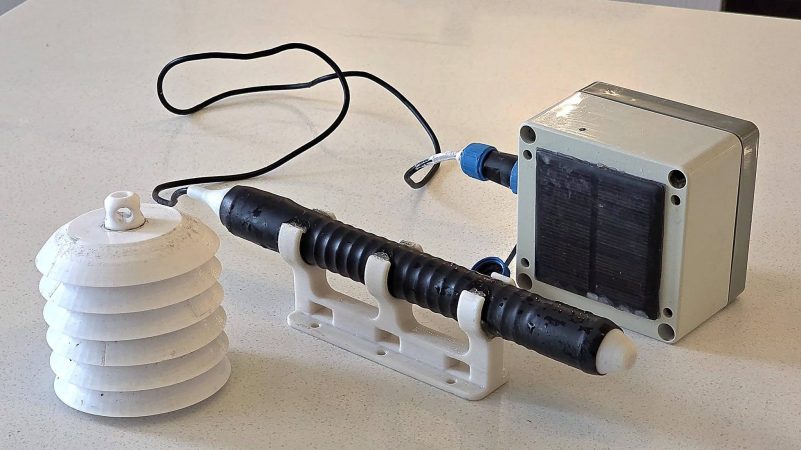
You’re probably not going to hang out around Chernobyl any time soon. Still, knowing the conditions there can both satisfy your curiosity and provide scientific value. To that end, [Yury Ilyin] has spent the last couple decades installing homebrew weather stations across the Exclusion Zone for his own interest. 

The remote weather stations that [Yury] builds all follow a similar design. Each runs on three 18650 lithium cells, charged via a small solar panel. Most of these cells were salvaged from old laptop battery packs. These cells are used to power a GPRS or WiFi communications module, along with a temperature, humidity, and pressure sensor, and a Geiger counter, because, well… it’s Chernobyl.

He has been lucky enough to keep costs down by finding an old generation GPRS SIM card that could be cloned and used across multiple devices, and thus far has had no trouble receiving signals from his many distributed stations. He’s been able to use his sensor network to track the gradual decline of radioactive emissions in the area from Cs-137, as well as keep an eye on the local weather conditions in an area few ever tread.

[Yury] has built over two dozen of these devices, and several have passed the test of time—with the lithium cells and cellular hardware surviving both high and freezing temperatures as well as the ravages of rain and time. He’s continued to refine the design over the years, starting out with an ATmega644 running the show, and later upgrading to STM32 microcontrollers.

We’ve explored distributed radiation sensor networks before, too, as well as many a remote weather station. Continue reading “DIY Weather Stations Report In From Chernobyl”

Vintage Plasma Display Shows Current Rad Levels

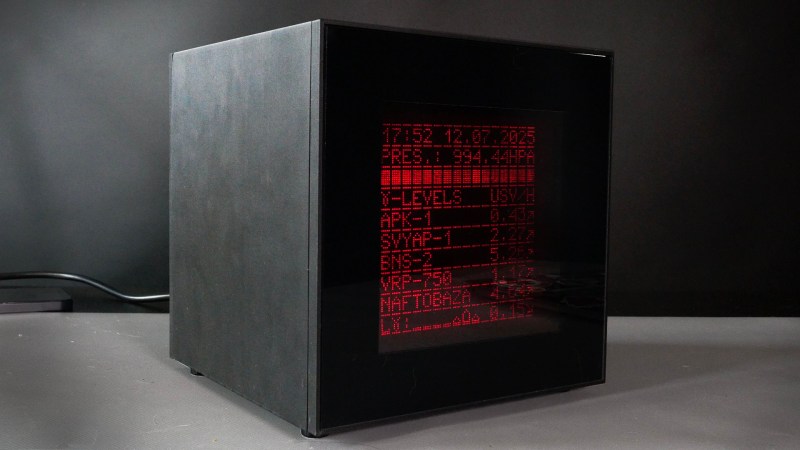
It’s hard to argue that Soviet-Era nuclear engineering may have some small flaws, what with the heavily-monitored exclusion zone around Chernobyl No.4. Evidently, their industrial designers were more on-the-ball, because [Alex] has crafted the absolute most stylish fallout monitor we’ve ever seen, with ESP32 and a vintage Soviet-designed plasma display to indicate radiation levels in the exclusion zone.

Since the device is not located within the zone, [Alex] is using the ESP32 to access sensor values published via an API at SaveEcoBot. He also includes a Geiger counter module for the background level at the current location. That’s straightforward enough– integrating the modern microcontroller with the vintage plasma display is where the real hacking comes in. Though they might not be as vintage as you think: apparently the Elektronika MS6205 remained in production until 2005, but 2005 is still vintage. [Alex] notes in the instructions on hackaday.io that we’re actually looking for a post-1995 model to follow along.

The Elektronika MS6205 is based on a 100×100 pixel plasma matrix, but it is operated as a text-only display with Latin and Cyrillic characters in ROM. The ROM also includes some extra symbols and Greek letters (the gamma will come in handy for this application) that can be unlocked by cutting a trace on the board and replacing it with a bodge wire. Igniting the display requires 250V, which will require more work for North Americans than it does in Ukraine. Driving the display requires interfacing with the 7-bit data bus and 8-bit address bus, but [Alex] has made the wiring and code available on the project site if you’re interested in these devices. If you want to watch it in action and get more background, check out the video embedded below.

These sorts of monochrome plasma displays have a lot of charm, and are absolutely worth reverse-engineering if you get your hands on different model. If you like the vibe of this display, you might also be interested in Vacuum Fluorescent Displays, which can be easier to find in the West.

Thanks to [Alex] for the tip. Like the tireless IEA workers at Chernobyl, we’re always monitoring the radiation level of our tips line.  Continue reading “Vintage Plasma Display Shows Current Rad Levels”

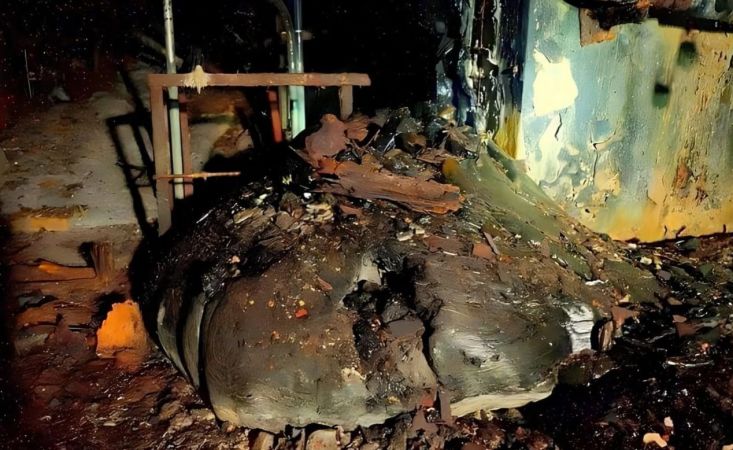
Boss Byproducts: Corium Is Man-Made Lava

So now we’ve talked about all kinds of byproducts, including man-made (Fordite), nature-made (fulgurites), and one that’s a little of both (calthemites). Each of these is beautiful in its own way, but I’m not sure about the beauty and merit of corium — that which is created in a nuclear reactor core during a meltdown.

A necklace made to look like corium.
A necklace made to look like corium. Image via OSS-OSS

Corium has the consistency of lava and is made up of many things, including nuclear fuel, the products of fission, control rods, any structural parts of the reactor that were affected, and products of those parts’ reaction with the surrounding air, water, and steam.

If the reactor vessel itself is breached, corium can include molten concrete from the floor underneath. That said, if corium is hot enough, it can melt any concrete it comes in contact with.

So, I had to ask, is there corium jewelry? Not quite. Corium is dangerous and hard to come by. But that doesn’t stop artisans from imitating the substance with other materials.

Continue reading “Boss Byproducts: Corium Is Man-Made Lava”