Grab Your ‘Scope’s Screen From The Command Line

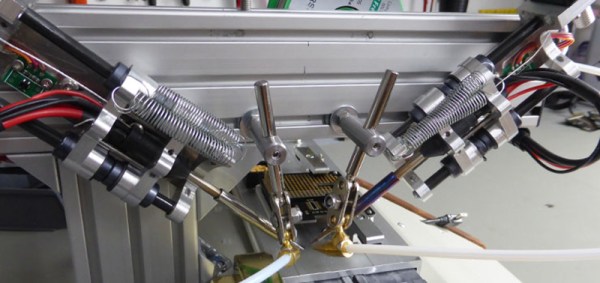
Many of us have oscilloscopes and other instruments with built-in digital interfaces, but how many of us use them? [Andrej Radović] has a Tektronix TDS2022 which can print its screen to any of its various interfaces, and he set about automating the process of acquisition with a Bash script.

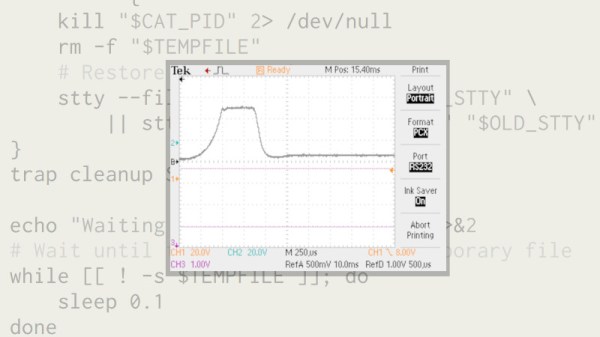
The easiest interface to use was the trusty serial port — hardly the fastest but definitely the best supported. But how does one retrieve an image fired down a serial port? Most of the post is devoted to spotting file headers in a Bash script monitoring the serial port, and streaming the result to a local file. There’s a discussion of the various formats supported by the Tek, with an ancient PCX bitmap format being chosen over Postscript for speed. The result is a decent quality screen grab, making the ‘scope that little bit more useful and perhaps extending its life.

Perhaps your instrument isn’t a TEK, but the chances are you can still make it bend to your will from a PC. Try it, with the magic of VISA.

Open Source, DIY Soldering Robot

After [Brian] starting selling his own Raspberry Pi expansion boards, he found himself with a need for a robot that could solder 40-pin headers for him. He first did what most people might do by looking up pre-built solutions. Unfortunately everything he found was either too slow, too big, or cost as much as a new car. That’s when he decided to just build his own soldering robot.

The robot looks similar to many 3D printer designs we’ve seen in the past, with several adjustments. The PCBs get mounted to a flat piece of aluminum dubbed the “PCB caddy”. The PCBs are mounted with custom-made pins that thread into the caddy. Once the PCBs are in place, they are clamped down with another small piece of aluminum. A computer slowly moves the caddy in one direction, moving the header’s pins along the path of the soldering irons one row at a time.

The machine has two soldering irons attached, allowing for two pins to be soldered simultaneously. The irons are retracted as the PCB caddy slides into place. They irons are then lowered onto the pins to apply heat. Two extruders then push the perfect amount of solder onto each pin. The solder melts upon contact with the hot pins, just as it would when soldered by hand.

The system was originally designed to be run on a Windows 8.1 tablet computer, but [Brian] found that the system’s internal battery would not charge while also acting like a USB host. Instead, they are running the Windows WPF application on full PC. All of the software and CAD files can be found on [Brian’s] github page. Also be sure to check out the demo video below. Continue reading “Open Source, DIY Soldering Robot”