[David] modernized a 1920’s dice rolling game to bring us DiceBot, a twitter enabled dice rolling robot. DiceBot started with an antique dice tin. The original tin was human controlled. Pushing a button on the side of the tin would spin the bottom, rolling the dice.
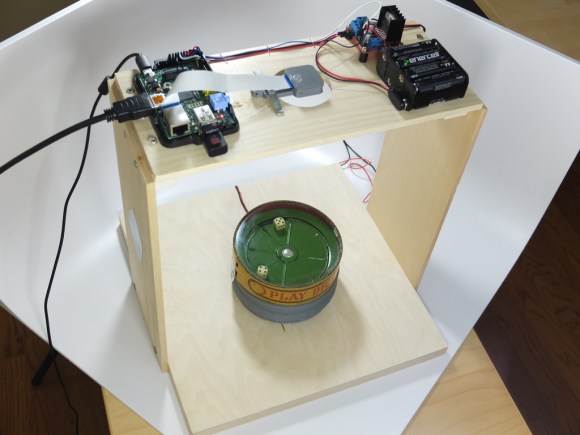
It’s a bit hard to push a button from across the world, so [David] added a small motor to spin the tin. He connected the motor to a simple L298 motor driver chip, and wired that up to a Raspberry Pi. The Pi runs a few custom Ruby scripts which get it on the internet and connect to the Twitter API.
Operation is pretty straightforward. A tweet to @IntrideaDiceBot with the hashtag #RollTheDice will cause the Dicebot to spin up the dice. Once things have settled, DiceBot captures an image with its Raspberry Pi camera. The dice values are checked using OpenCV. The results are then tweeted back, and displayed on DiceBot’s results page.
Continue reading “Roll With Dicebot, The Tweeting Dice Roller”


