Everybody loves How It’s Made, right? How about 3D printers? The third greatest thing to come out of Canada featured Lulzbot in their most recent episode. It’s eight minutes of fun, but shame the puns weren’t better. Robertson drives and the Avro Arrow, if you’re wondering.
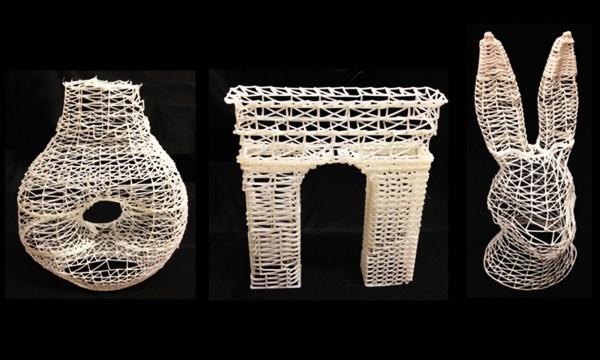
Speaking of 3D printers, a lot of printers are made of aluminum extrusion. Has anyone tried something like this? It’s an idea that’s been around for a while but we can’t seem to find anyone actually using 3D printed extrusion.
CastARs are shipping out, and someone made a holodeck with retroreflective material. It’s an inflatable dome that’s attached to a regular ‘ol tent that works as a positive pressure airlock. If you’re looking to replicate this, try it with hexagons and pentagons. That should be easier than the orange-slice gores.
For some reason we can’t comprehend, USB ports are now power ports. There’s still a lot of stuff that uses 9 and 12V, and for that there’s the USB 912. It’ll work better with one of those USB battery packs.
Want to see what the Raspberry Pi 2 looks like with a Flir? NOQ2 has you covered.
Remember the Speccy? In the manual, there was an exercise left to the reader: reproduce [Mahler]’s first symphony with the BEEP command. It took a Raspberry Pi (only for synchronizing several Speccys), but it’s finally done.