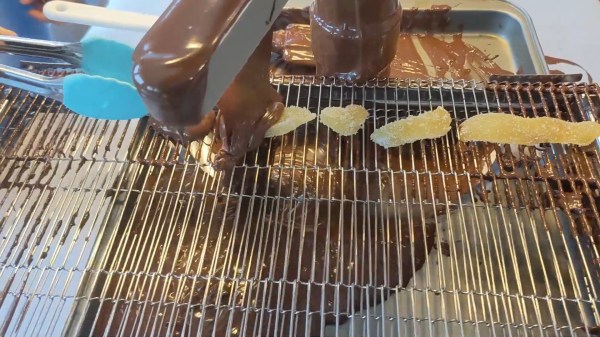
This holiday season, [Chaz] wanted to continue his family’s tradition of enrobing a little bit of everything in dark chocolate, and built an improved, rotating chocolate-coating machine.
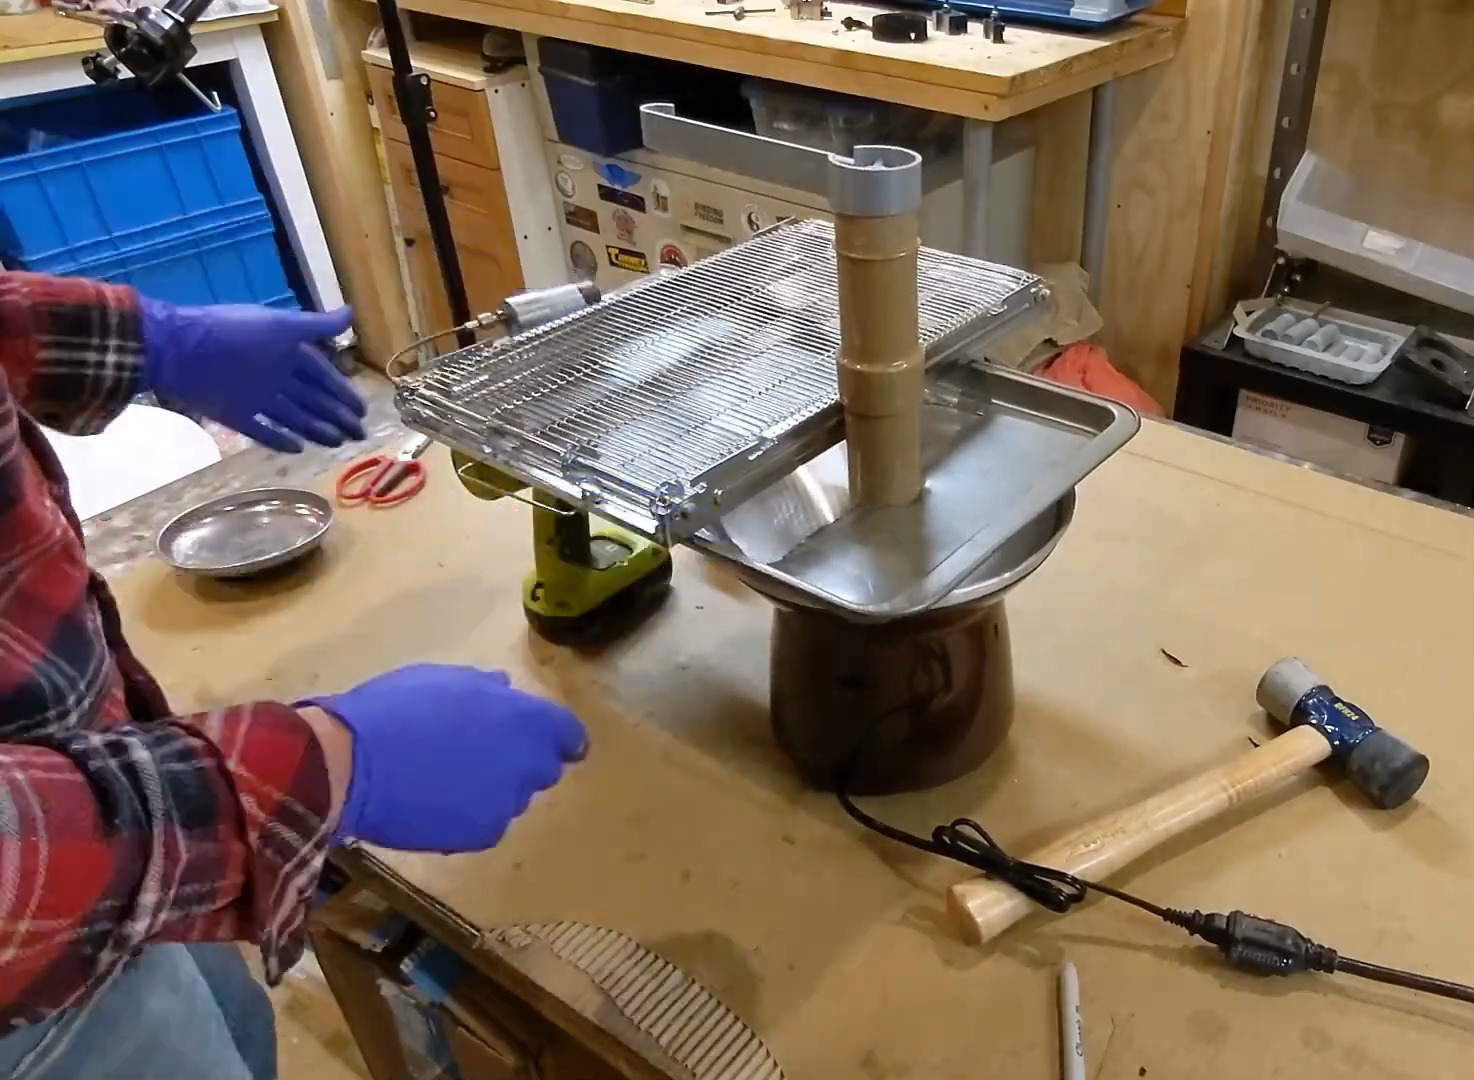
You may remember last year’s offering, aka the conveyor belt version. Although that one worked, too much chocolate was ultimately lost to the surface of the kitchen table. [Chaz] once again started with a standard chocolate fountain and bought a round wire rack that fits the circumference of the bowl at the bottom. He snipped a hole in the center large enough to accommodate the business part of the fountain and printed a collar with holes that he cleverly zip-tied to the rack.
[Chaz] also printed a large gear to go around the bowl, a small gear to attach to a six RPM motor, a motor mount for the bowl, and an air blade attachment for a portable Ryobi fan. The air blade worked quite well, doing the double duty of distributing the chocolate and thinning out the coating. Plus, it gives things a neat rumpled look on the top.
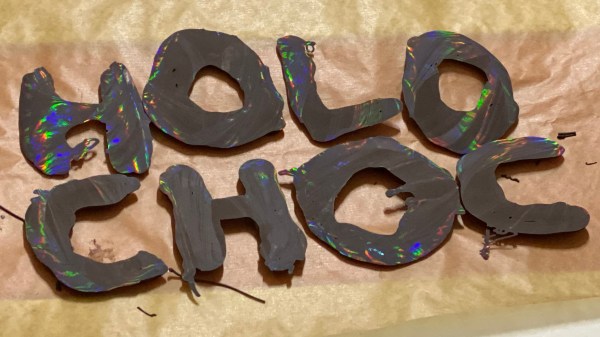
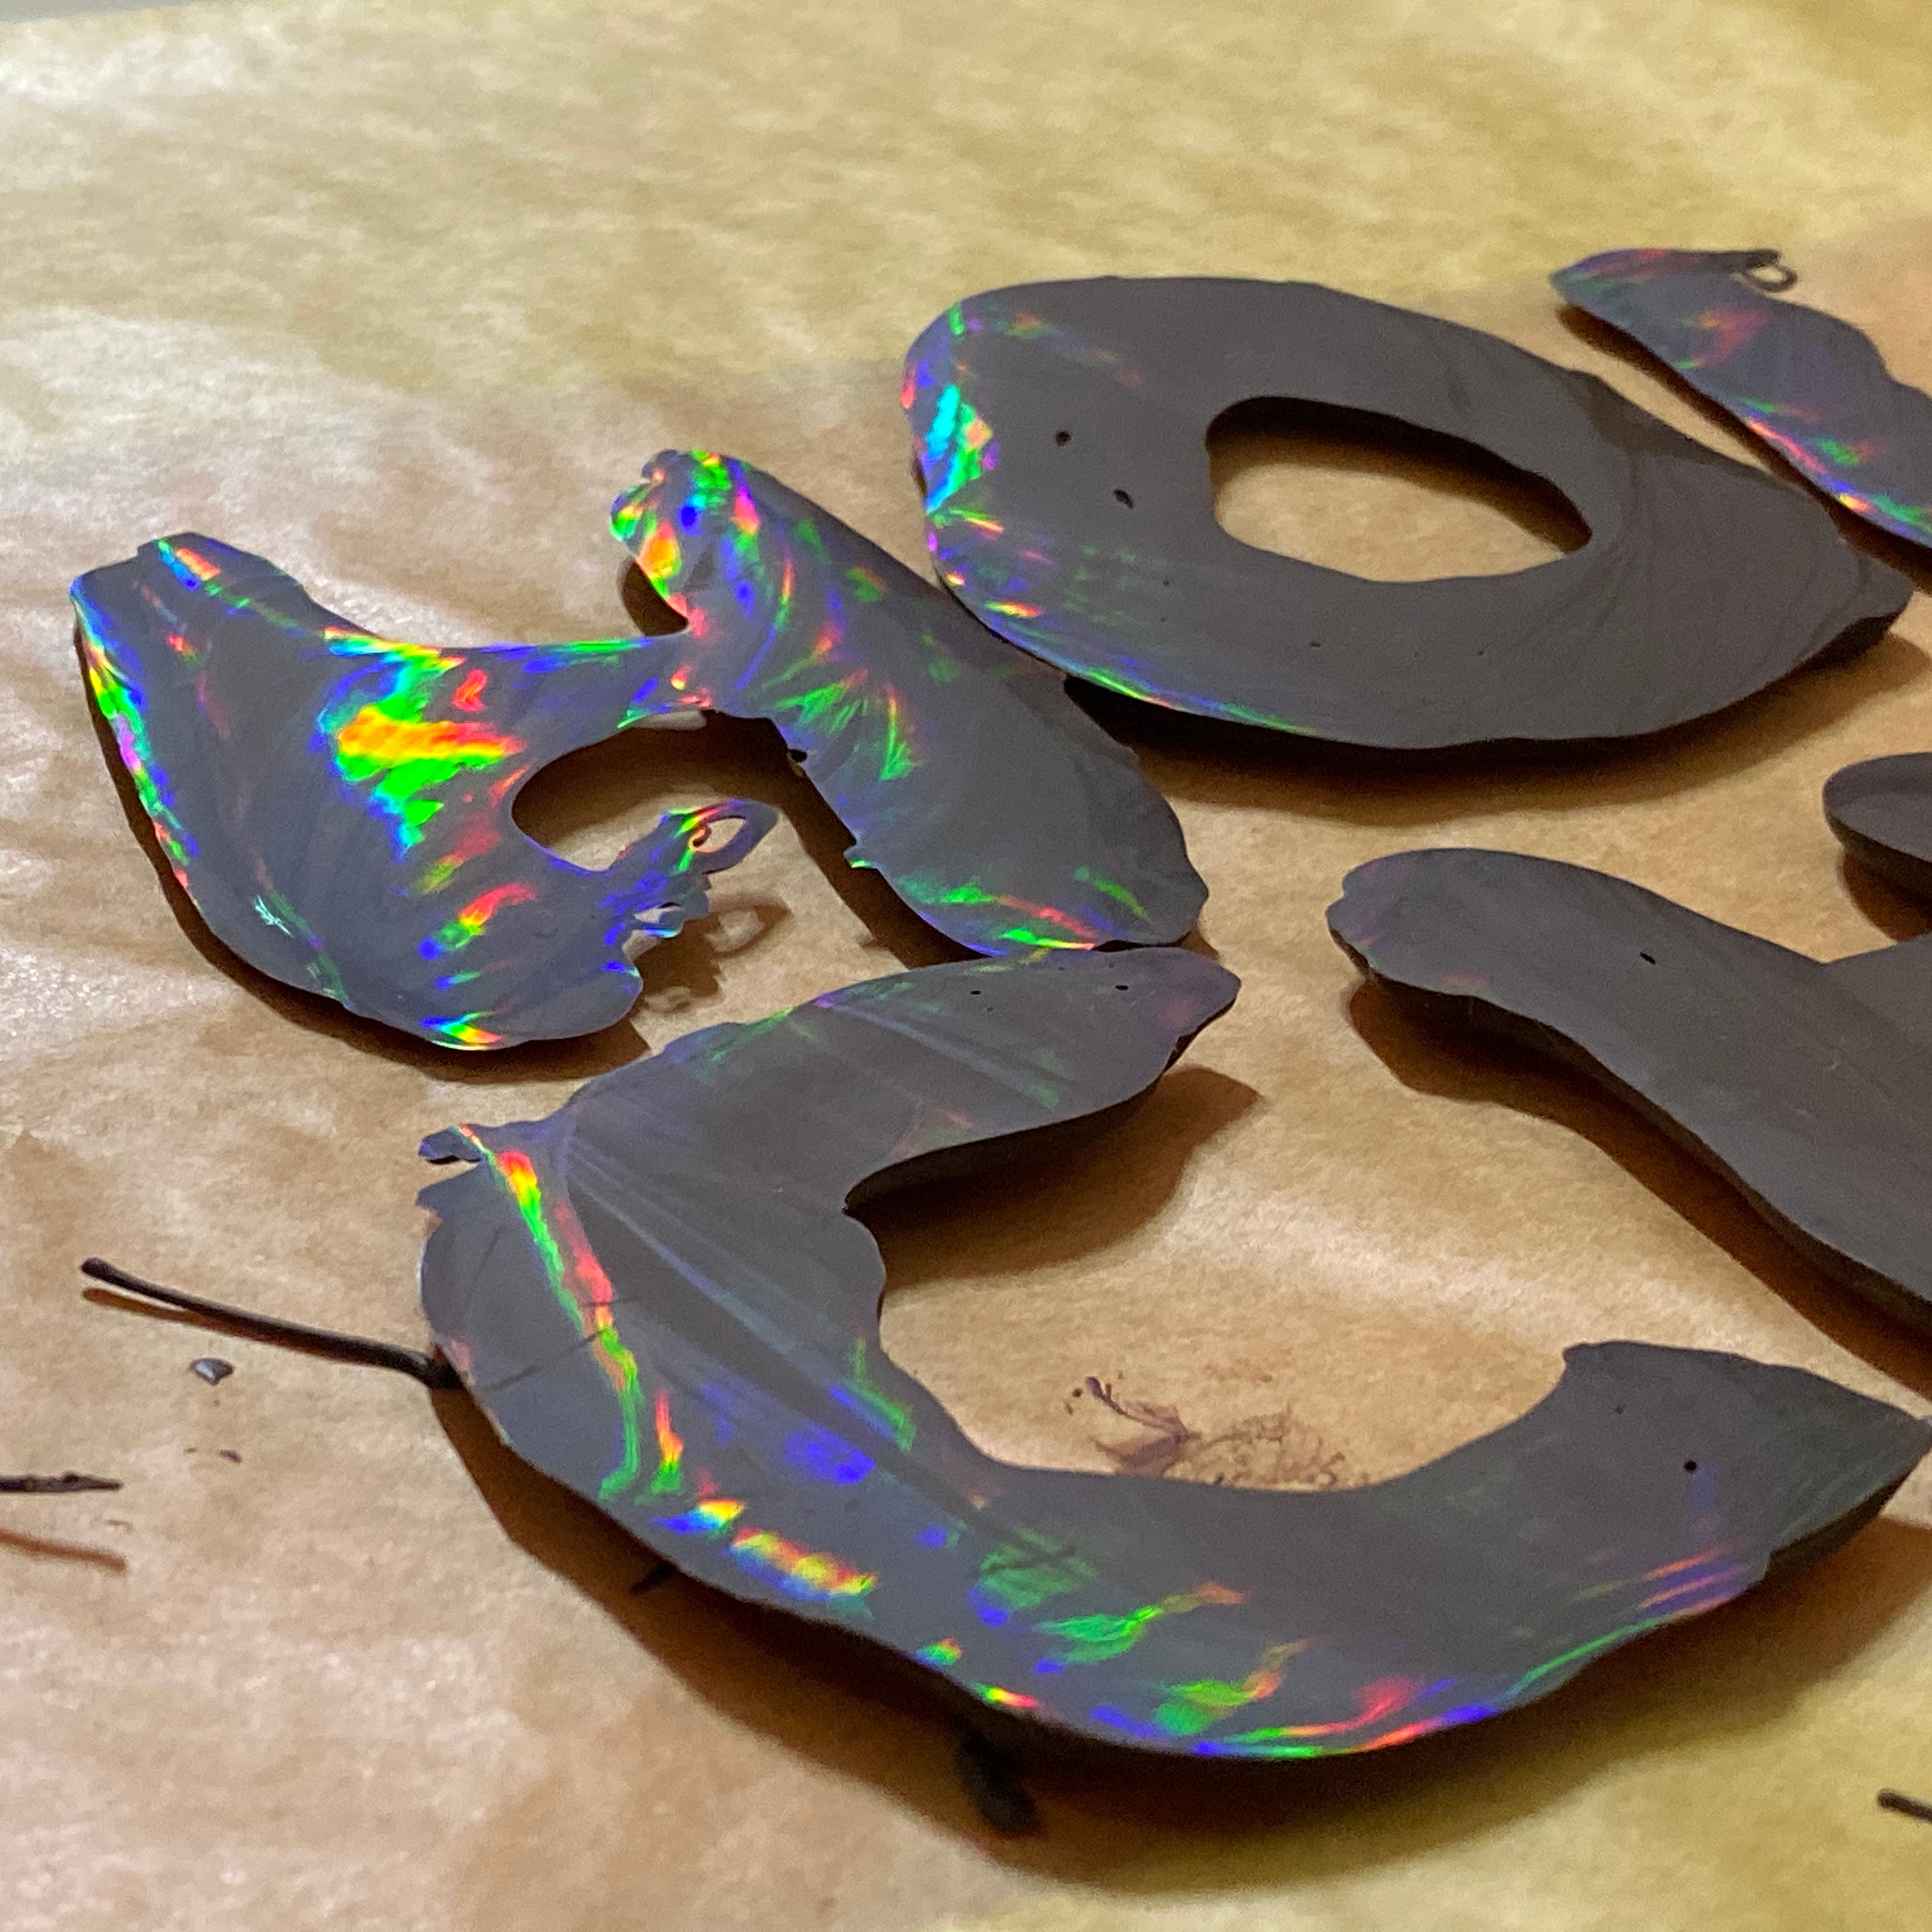
Want to make some special chocolates this year, but don’t want to build an enrober? Get yourself a diffraction grating and make some rainbow goodies with melted chocolate.
Continue reading “Chocolate-Coating Machine Mk. 2: The Merry-Go-Round”