A lot of colloquial words that we might use when describing something’s durability take on extremely specific meanings when a materials scientist or blacksmith uses them. Things like “strength”, “toughness”, “hardness”, and “resilience” all have different meanings when working in a laboratory or industrial setting than most people might otherwise think.
For the beginner metalworker, this can be a little bit confusing at first but some hands-on practice will help. To that end, this beginner lesson in heat-treating steel from [Blondihacks] demonstrates why it can be beneficial to trade some of the metal’s toughness for improved hardness and just how to accomplish it on your own.
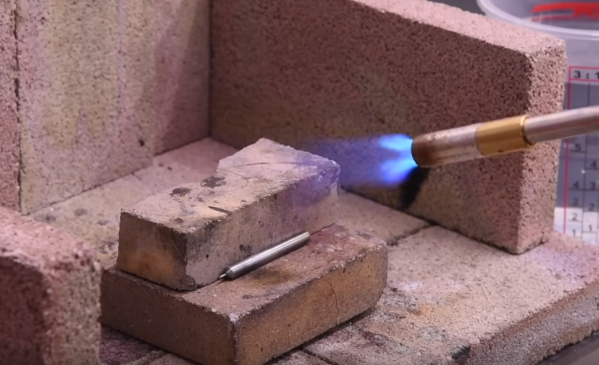
The first part of the lesson is to make sure the steel is high-carbon steel, since most other steels aren’t able to be heat treated. It will also have a specific method for its quenching, either in oil, water, or some other medium. But beyond that the only other thing required for this process is a torch of some sort. [Blondihacks] is using a MAP-Pro torch to get the steel up to temperature, which is recognizable when it turns a specific orange color. From there all that’s needed is to quench the hot metal in whatever fluid is called for. At this point the metal can also be tempered, which restores some of its toughness while maintaining a certain amount of hardness.
While the process doesn’t require specialized tools, [Blondihacks] does have a hardness tester, a fairly expensive piece of instrumentation that measures how deeply the metal can be indented by a force. By measuring the size of the indentation made by the tool, the hardness can be determined. As it’s many thousands of dollars this is mostly for demonstration and not necessary for most of us, but does go a long way to demonstrate the effectiveness of heat treating and tempering in an otherwise simple environment. If you’re looking for excuses to start heat treating and tempering metal, here’s a great project which creates a knife nearly from scratch.


