Ask Hackaday: How Do You Make A Hotplate?

Greetings fellow nerds. The Internet’s favorite artificial baritone chemist has a problem. His hotplates burn up too fast. He needs your help to fix this problem.

[NurdRage] is famous around these parts for his very in-depth explorations of chemistry including the best ways to etch a PCB, building a thermometer probe with no instructions, and chemical synthesis that shouldn’t be performed by anyone without years of experience in a lab. Over the past few years, he’s had a problem: hotplates suck. The heating element is usually poorly constructed, and right now he has two broken hotplates on his bench. These things aren’t cheap, either: a bare-bones hotplate with a magnetic stirrer runs about $600.

Now, [NurdRage] is asking for help. He’s contacted a few manufacturers in China to get a hundred or so of these hotplate heating elements made. Right now, the cost for a mica and metal foil hotplate is about $30 / piece, with a minimum order quantity of 100. That’s $3,000 that could be better spent on something a bit more interesting than a heating element, and this is where you come in: how do you build the heating element for a hotplate, and do it cheaply?

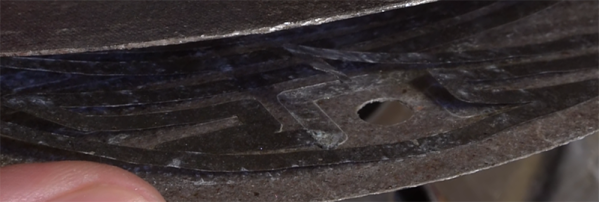
If you buy a hotplate from the usual lab equipment supplier, you’ll get a few pieces of mica and a thin trace of metal foil. Eventually, the metal foil will oxidize, and the entire hotplate will stop working. Repairs can be done with copper tape, but by the time that repair is needed, the heating element is already on its way out.

The requirements for this heating element include a maximum temperature of around 350 ºC. That’s a fair bit hotter than any PCB-based heat bed from a 3D printer gets, so consider that line of reasoning a dead end. This temperature is also above what most resins, thermoplastics, and composites can handle, which is why these hotplates use mica as an insulator.

Right now, [NurdRage] will probably end up spending $3,000 for a group buy of these heating elements. That’s really not that bad – for the price of five hotplates, he’ll have enough heating elements to last through the rest of his YouTube career. There must be a better way, though, so if you have an idea of how to make a high-temperature heating element the DIY way, leave a note in the comments.

PTC Heaters For Reflow Soldering

Reflow soldering – setting components on a PCB in blobs of solder paste and heating the whole assembly at once to melt all joints simultaneously – has been the subject of many ingenious hacks. Once it was the sole preserve of industrial users with specialist microprocessor-controlled ovens, now there are a myriad Arduino-controlled toaster ovens, hot air blowers, and hotplates that allow hackers and makers to get in on the reflow act too.

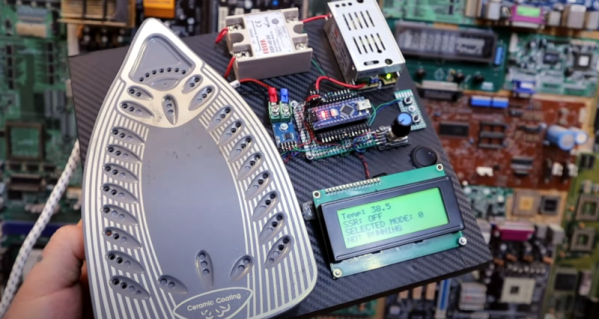
This morning a fresh idea in the reflow soldering arena has come our way. It’s not the most earth-shattering, but it does have some advantages so is worth a second look. [Analog Two] has successfully used a PTC heating element as a reflow soldering hotplate.

PTC heating elements are thermistors with a positive temperature coefficient. As their temperature rises, so does their electrical resistance. By careful selection of materials they can be manufactured with a sharp increase in resistance at a particular temperature. Thus when an electrical current is passed through them they heat up until they reach that temperature, then the current decreases as the resistance goes up, and they do not heat beyond that point. Thus as heaters they are intrinsically self-regulating. From our point of view they have another advantage, they are also cheap. Fitted as they are to thousands of domestic heating products they are readily available, indeed [Analog Two] found his on Amazon.

The heater chosen was a 200W 110V model with a temperature of 230 Celcius to match the solder he was using. They are also available for other mains voltages, and even at 12 and 24V for automotive applications. He reports that the time to reflow was about 90 seconds.

We’ve mentioned the advantages of this heater as its price and regulated temperature. Looking at the pictures though a disadvantage is its size. This is a reflow plate for small boards. There are larger PTC heater elements available though, it would be interesting to hear people’s experiences reflowing with them.

Hotplates for reflow soldering have featured before a few times here at Hackaday. We recently had this tiny plate, but we’ve also had a PID-controlled plate, and an Arduino-controlled domestic hotplate. We’re sure this is an avenue with further to go.

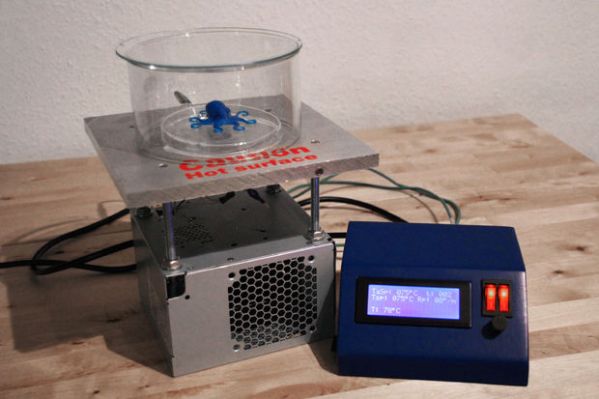
Tiny Hotplate Isn’t Overkill

When working on a new project, it’s common to let feature creep set in and bloat the project. Or to over-design a project well beyond what it would need to accomplish its task. Over at Black Mesa Labs, their problem wasn’t with one of their projects, it was with one of their tools: their hot plate. For smaller projects, an 800W hot plate was wasteful in many ways: energy, space, and safety. Since a lot of their reflow solder jobs are on boards that are one square inch, they set out to solve this problem with a tiny hot plate.

The new hot plate is perfectly sized for the job. Including control circuitry, it’s around the size of a credit card. The hot plate is powered from a small surplus 20V 5A laptop power supply and does a nice 4 minute reflow profile and cools off completely in under a minute. Compared to their full-sized hot plate, this is approximately 29 minutes faster, not to mention the smaller workspace footprint that this provides. The entire setup cost about $20 from the heating element to the transistors and small circuit board, and assuming that you have an Arduino Pro sitting in your junk bin.

It’s a good idea to have a reflow oven or a hot plate at your disposal, especially if you plan to do any surface mount work. There are lots of options available, from re-purposed toaster ovens to other custom hot plates of a more standard size. Overkill isn’t always a bad thing!

Continue reading “Tiny Hotplate Isn’t Overkill”

A Thermometer Probe For A Hotplate, Plugging Stuff Into Random Holes

[NurdRage], YouTube’s most famous chemist with a pitch-shifted voice, is back with one of our favorite pastimes: buying cheap equipment and tools, reading poorly translated manuals, and figuring out how to do something with no instructions at all.

[NurdRage] recently picked up a magnetic stirrer and hotplate. It’s been working great so far, but it lacks a thermometer probe. [NurdRage] thought he was getting one with the hotplate when he ordered it, he just never received one. Contacting the seller didn’t elicit a response, and reading the terribly translated manual didn’t even reveal who the manufacturer was. Figuring this was a knock-off, a bit more research revealed this hotplate was a copy of a SCILOGEX hotplate. The SCILOGEX temperature probe would cost $161 USD. That’s not cool.

The temperature probe was listed in the manual as a PT1000 sensor; a platinum-based RTD with a resistance of 1000Ω at 0°C. If this assumption was correct, the pinout for the temperature probe connector can be determined by sticking a 1kΩ resistor in the connector. When the hotplate reads 0ºC, that’s the wires the temperature probe connects to.

With the proper pin connectors found, [NurdRage] picked up a PT1000 on eBay for a few dollars, grabbed a DIN-5 connector from a 20 year old keyboard, and connected everything together. The sensor was encased in a pipette, and the bundle of wires snaked down piece of vinyl tube.

For $20 in parts, [NurdRage] managed to avoid paying $161 for the real thing. It works just as good as the stock, commercial unit, and it makes for a great video. Check that out below.

Thanks [CyberDjay] for the tip.

Continue reading “A Thermometer Probe For A Hotplate, Plugging Stuff Into Random Holes”

Controlling A Hot Plate’s Temperature For The Lab

When you need precise heating — like for the acetone polishing shown above — the control hardware is everything. Buying a commercial, programmable, controller unit can cost a pretty penny. Instead of purchasing one, try creating one from scratch like [BrittLiv] did.

[BrittLiv] is a Chemical and Biological Engineer who wanted something that performs well enough to be relied upon as a lab tool. Her design utilizes a plain, old hot plate and with some temperature feedback to run custom temperature ramps from programs stored on an SD card.

The system she developed was dealing directly with temperatures up to 338°F. The heating element is driven from mains, using an SSR for control but there is also a mechanical switch in there if you need to manually kill the element for some reason. An ATmega328 monitors the heating process via an MAX6675 thermocouple interface board. This control circuitry is powered from a transformer and bridge rectifier inside the case (but populated on a different circuit board).

She didn’t stop after getting the circuit working. The project includes a nice case and user interface that will have visitors to your lab oohing and aahing.

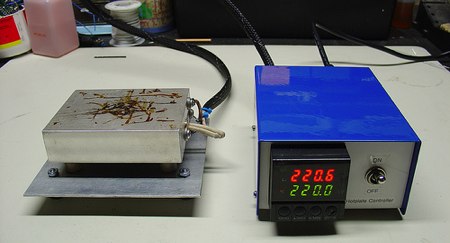
PID SMD Reflow Hot Plate

[mightyohm] put together a nice piece of lab kit. It’s a PID controlled hot plate. The plate is capable of reaching 500F, hot enough to do SMD reflow soldering. The large chunk of metal has a hole drilled through the center to contain a cartridge heater. A thermocouple is used to monitor the temperature of the plate. Ceramic standoffs separate the plate from the rest of the device, but he still needs to come up with a way to stop the radiant heating. The control box houses the surplus PID controller along with the power switch and solid state relay (SSR).