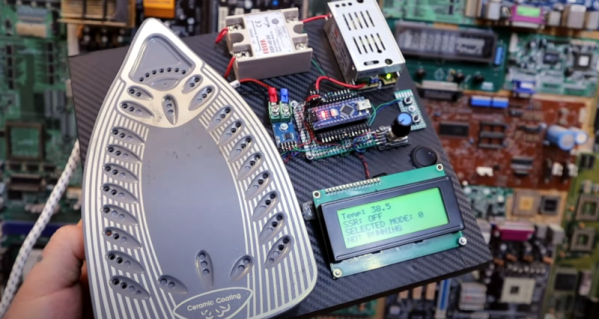
If you’re working with surface mount components, you’re likely going to want a reflow plate at some point. [Vitaly] was in need of just such a tool, and thus whipped up a compact reflow plate that is conveniently powered via USB-C.
This reflow rig is designed for smaller work, with a working area of 80 mm x 70 mm. There are two options for the heating element—either a metal core PCB-based heater, or a metal ceramic heater. The former is good for working with Sn42Bi58 solder paste at 138 C, according to [Vitaly], while the latter will happily handle Sn63Pb37 at 183 C if the dirty stuff is more your jam.
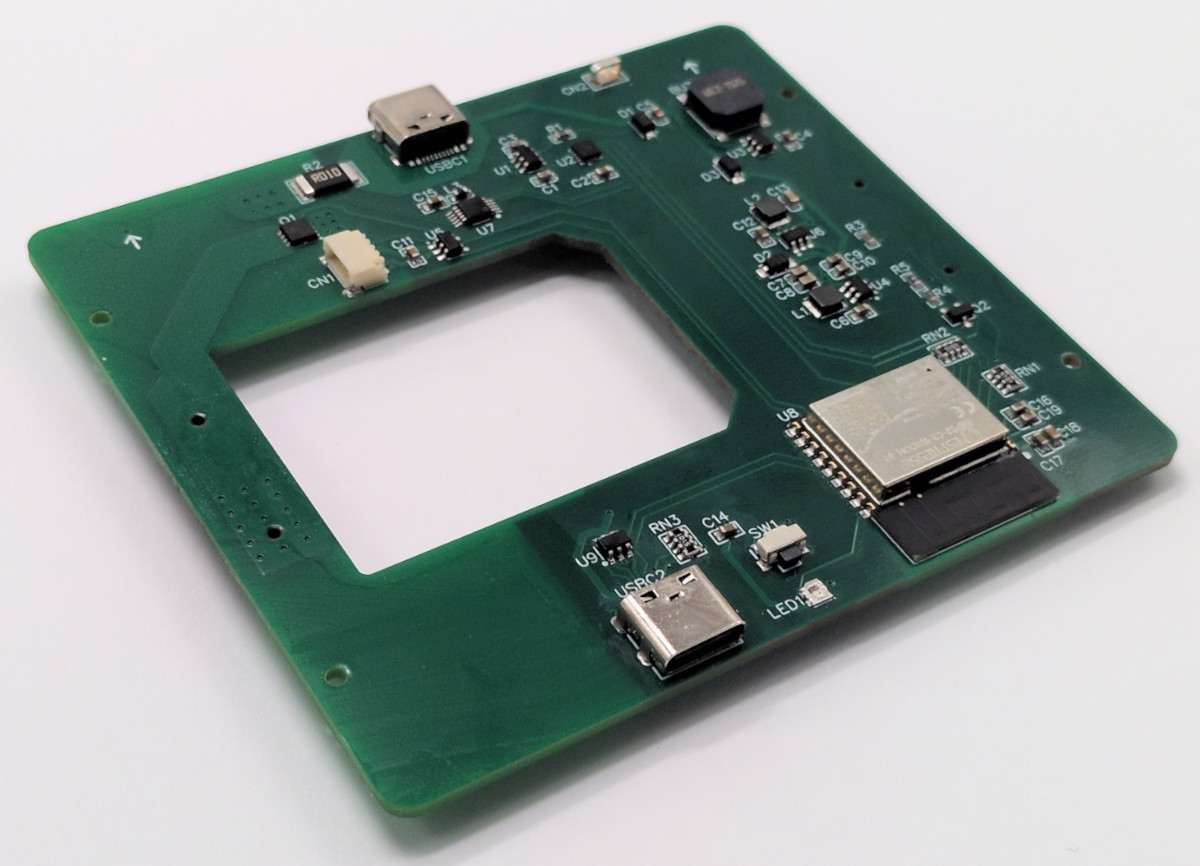
Running the show is an ESP32-C3-WROOM, which serves up a web-based control panel over Bluetooth for setting the heating profiles. Using Bluetooth over WiFi might seem like an odd choice at first, but it means you don’t have to add the hot plate to the local wireless network to access it, handy if you’re on the move. It’s also worth noting that you can’t run this off any old USB charger—you’ll need one compatible with USB Power Delivery (PD) that can deliver at least 100 watts.
If you’re needing to whip up small boards with regularity, a hotplate like this one can really come in handy. Files are on GitHub for those eager to build their own.
This isn’t the first time we’ve seen USB-C powering a small reflow plate. Of course, if you make your PCBs self heating, you can sidestep all that entirely.