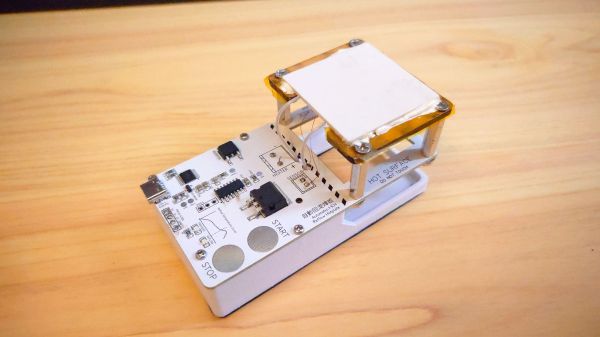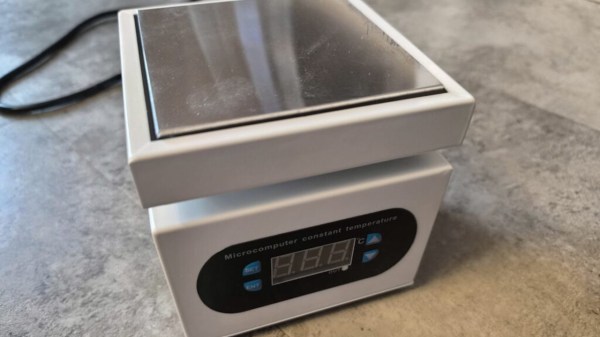
For less than $30 USD, you can get a 10×10 centimeter hotplate with 350 Watts of power. Sounds mighty fine to us, so surely there must be a catch? Maybe not, as [Stefan Nikolaj]’s review of this AliExpress hotplate details, it seems to be just fine enough.
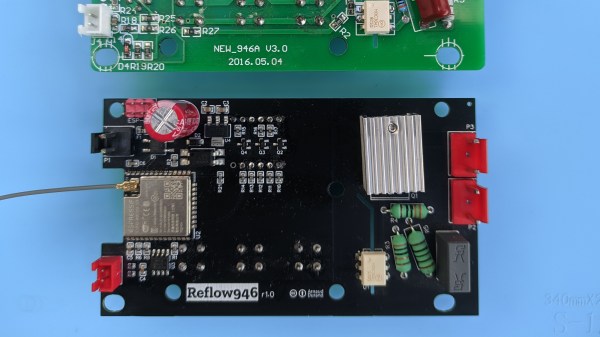
At this price, you’d expect some shoddy electronics inside, or maybe outright fiery design decisions, in the vein of other reviews for similar cheap heat-producing tech that we’ve seen over the years. Nope – the control circuitry seems to be more than well-built for our standards, with isolation and separation where it matters, the input being fused away, and the chassis firmly earthed. [Stefan] highlights just two possible problem areas: a wire nut that could potentially be dodgy, and lack of a thermal fuse. Both can be remedied easily enough after you get one of these, and for the price, it’s a no-brainer. Apart from the review, there’s also general usage recommendations from [Stefan] in the end of the blog post.
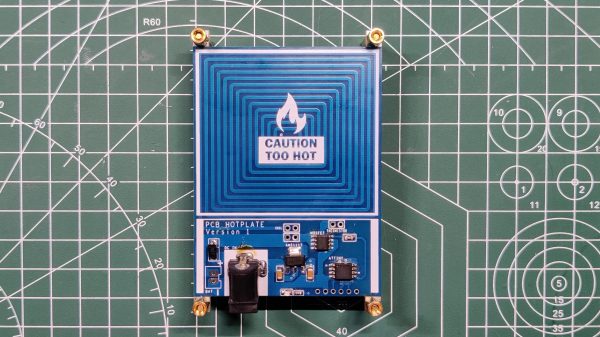
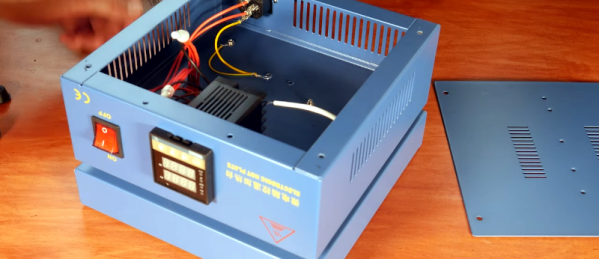
While we’re happy to see folks designing their own PCB hotplates or modifying old waffle irons, the availability of cheap turn-key options like this means there’s less of a reason to go the DIY route. Now, if you’re in the market for even more build volume, you can get one of the classic reflow ovens, and maybe do a controller upgrade while you’re at it.