Given how many adults will go out of their way to avoid spending any extended amount of time in the kitchen, it’s pretty amazing how much children love playing in their miniature versions. Especially since they tend to be pretty simple: usually they’re little more than different sized boxes made out of MDF to represent the refrigerator, oven, and microwave. Of course, some kids are fortunate enough to have hackers and makers for parents.
 [Brian Lough] wanted to get his two year old daughter her own play kitchen, but wasn’t terribly impressed with anything on the market. So he decided to start with the IKEA Duktig and add in his own personal touches to turn the stark white playset into something that would really get his daughter’s imagination going. With the liberal application of RGB LEDs and microcontrollers, her kitchen is sure to be envy of the sandbox.
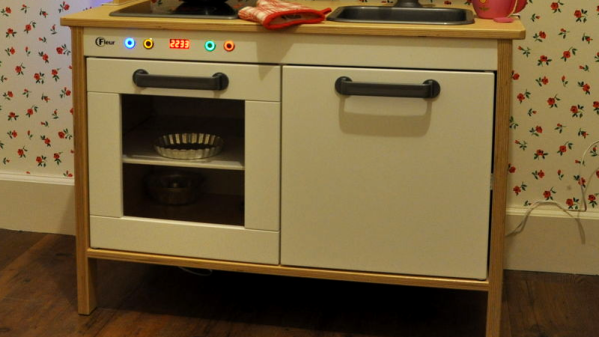
Being the class act that he is, [Brian] starts his write-up acknowledging the various IKEA Duktig hacks and modifications that served as inspiration for his own build. Most of the prior art out there relates to making the microwave and oven a bit more exciting with the addition of lights and sounds, which ultimately ended up being the way he approached his daughter’s version as well.
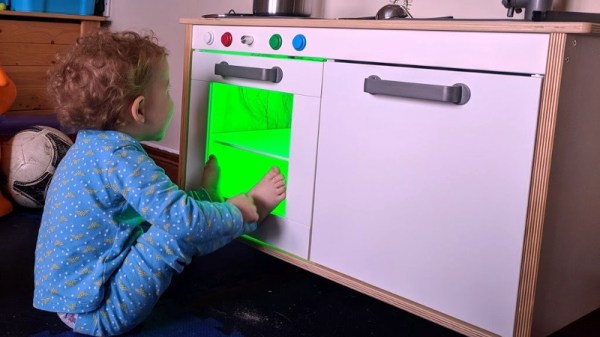
For the oven, [Brian] decided to add some big arcade buttons over the door which would change the color of the RGB LEDs inside. He thought this association would be a good way to help his daughter learn her colors, since she’ll be able to see the oven change color when she presses the corresponding button. He also added a knob to control the intensity of the light, meant to be analogous to the temperature control in a real oven.
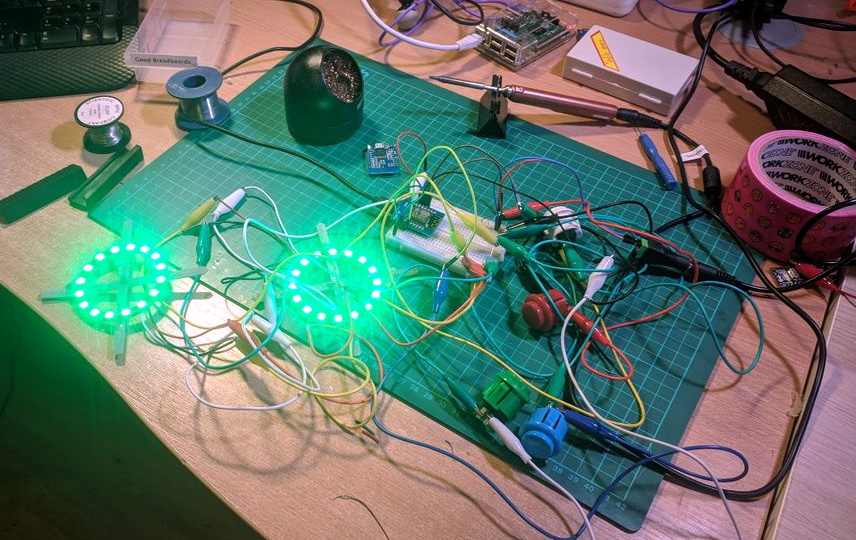
The modifications to the microwave are a bit more extensive, including a “timer” made out of a TM1637 LED display in a 3D printed panel complete with a buzzer to indicate when the plastic food has been thoroughly illuminated. [Brian] even made it so the LEDs in the NeoPixel ring light up in a spinning pattern to cast some shadows and simulate movement. He notes that the microwave was actually a bit overwhelming to his daughter at first, but after a couple months of getting used to the functions, she enjoys it as much as the oven.
While hacking a play kitchen might be new territory for him, [Brian] is no stranger to building awesome stuff. We’ve previously seen him put together a YouTube subscriber counter in the style of Tetris, and he even managed to create a gorgeous looking display out of shoelaces of all things.