[Bunnie]’s Open Source Laptop Is Ready For Production

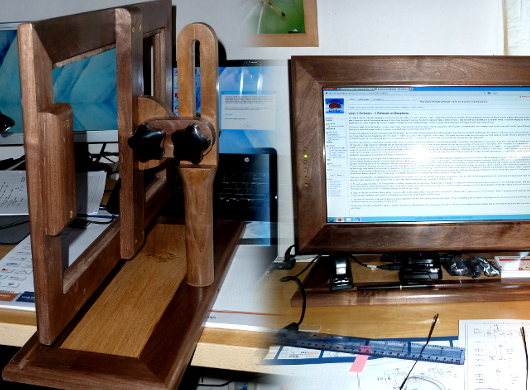
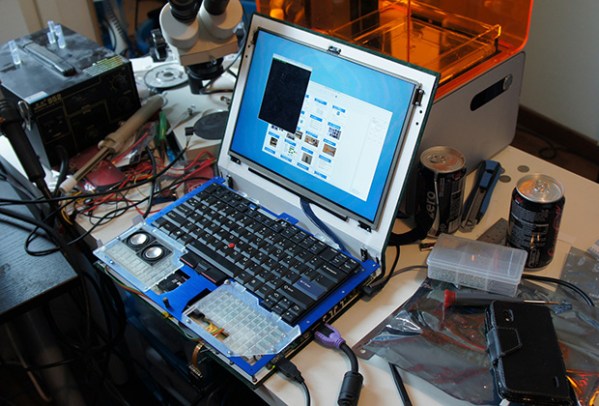
Just over a year ago, [Bunnie Huang] announced he was working on a very ambitious personal project: a completely open source laptop. Now, with help from his hardware hacker compatriot [xobs], this laptop named Novena is nearly complete.

Before setting out on this project, [Bunnie] had some must-have requirements for the design. Most importantly, all the components should be free of NDA encumbrances. This isn’t an easy task; an SoC vendor with documentation sitting around on their servers is rare as hen’s teeth, and Freescale was the only vendor that fit the bill. Secondly, the entire laptop should be entirely open source. [Bunnie] wasn’t able to find an open source GPU, so using hardware video decoding on his laptop requires a binary blob. Software decoding works just fine, though.

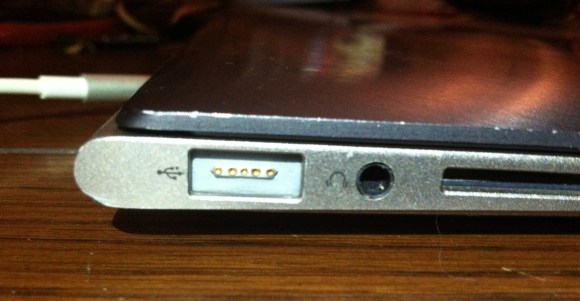
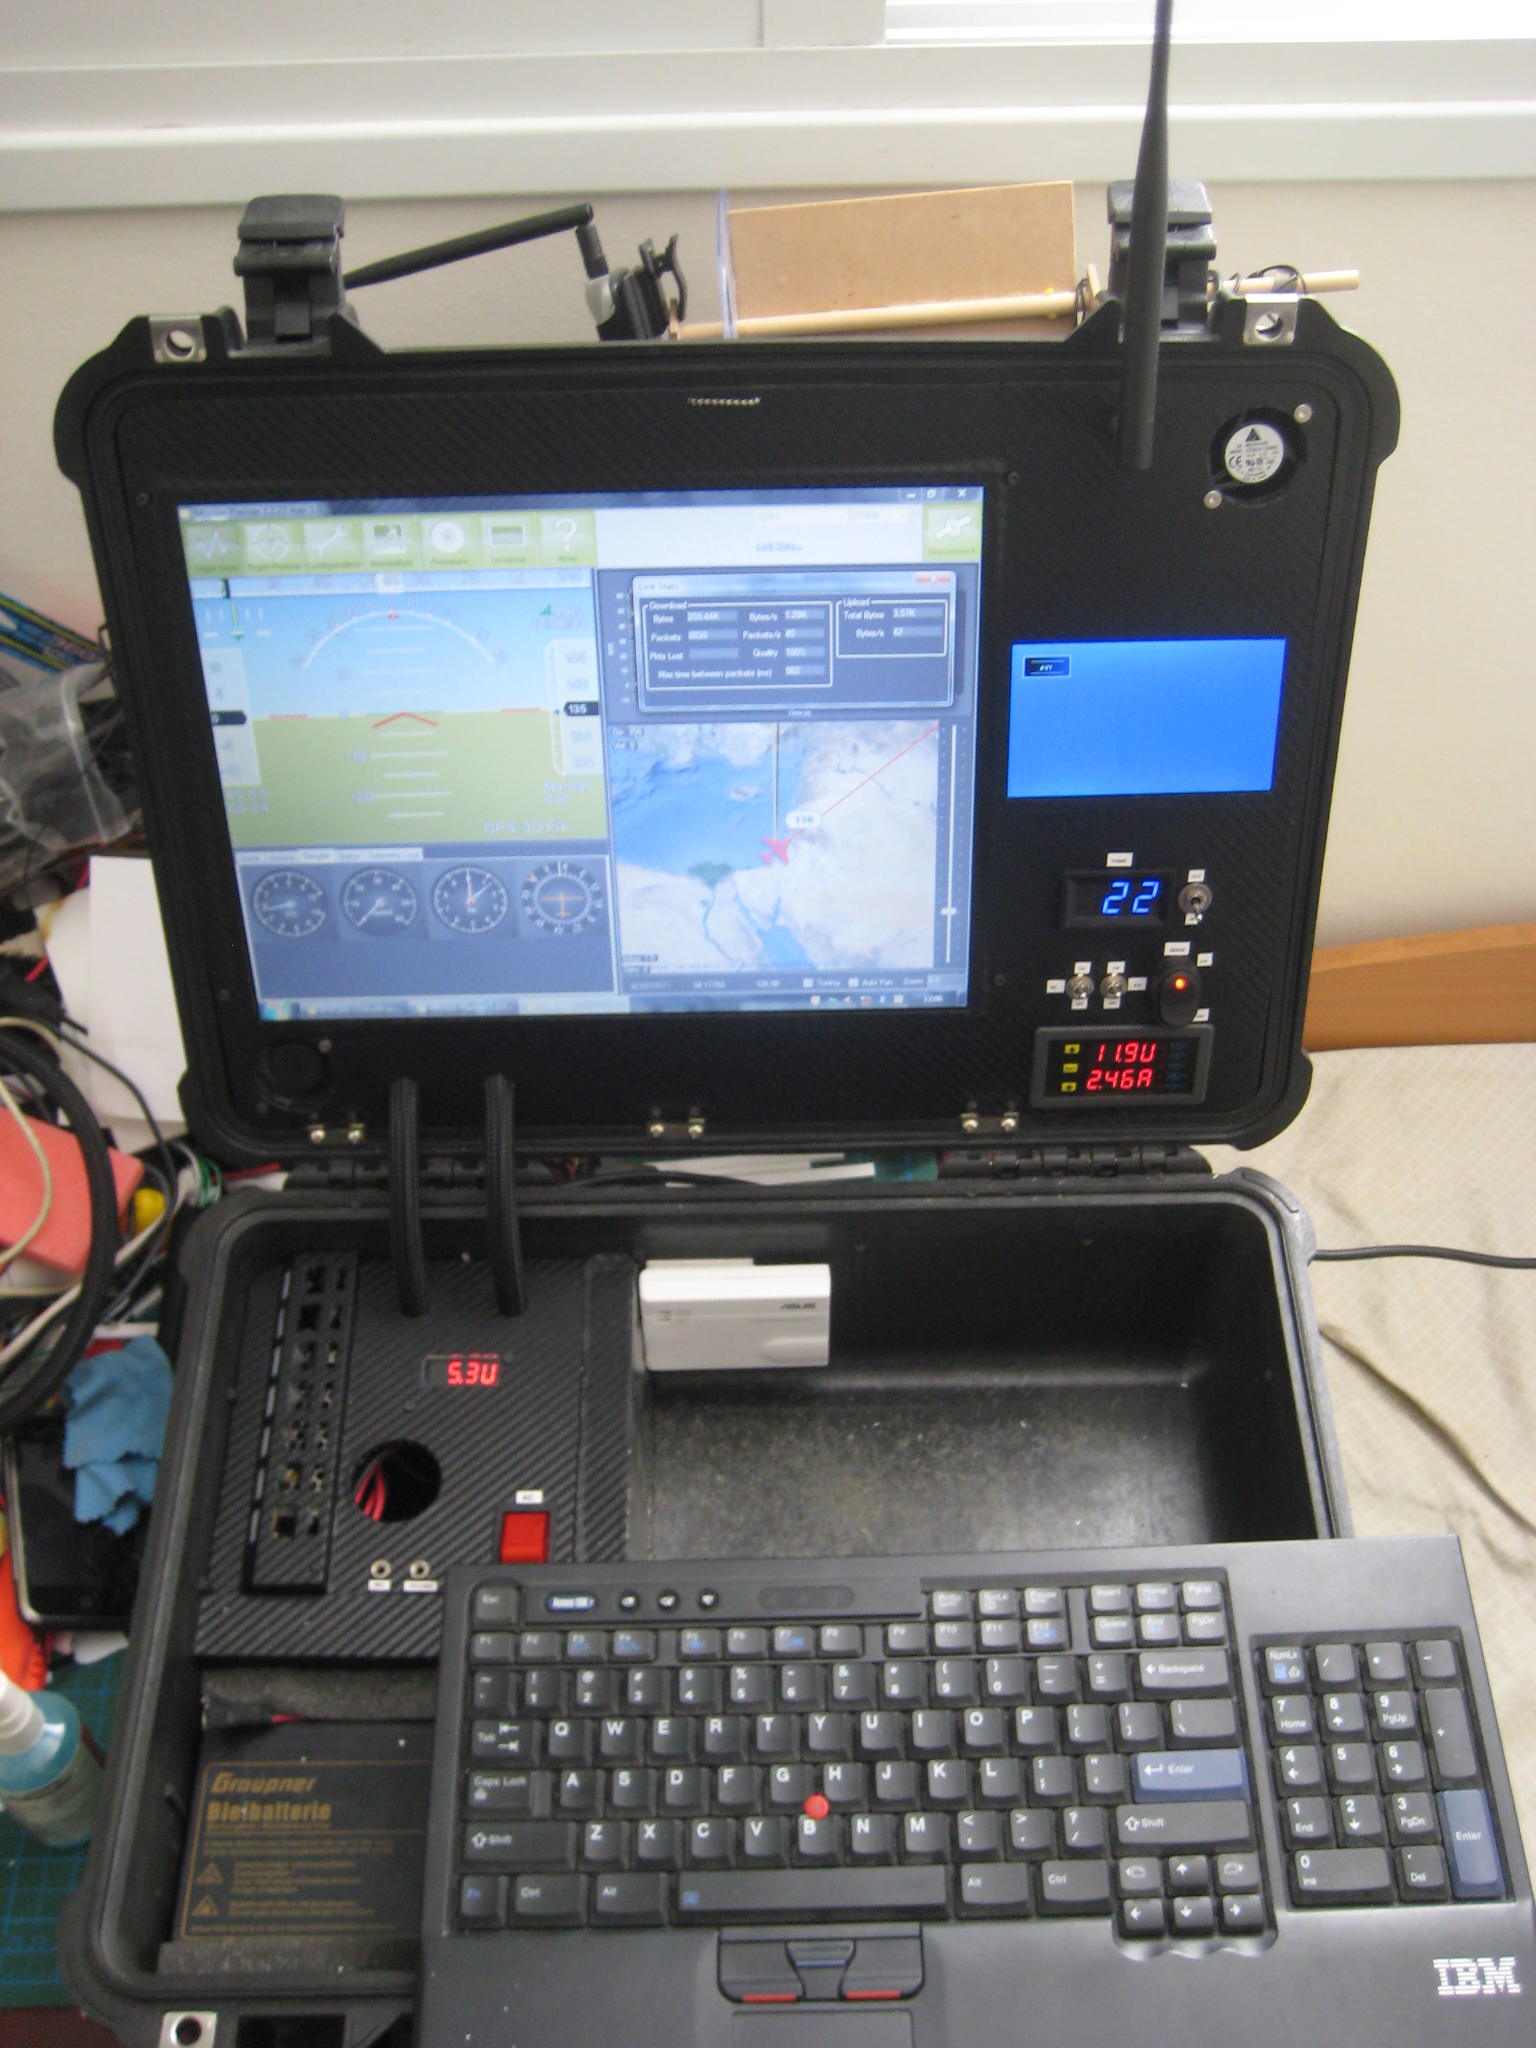
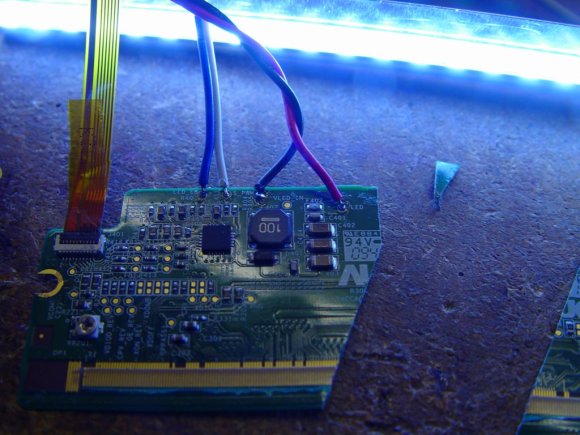
Furthermore, this laptop is designed for both security and hardware hacking. Two Ethernet ports (one 1Gbit and the second 100Mbit), a USB OTG port, and a Spartan 6 FPGA put this laptop in a class all by itself. The main board includes 8x analog inputs, 8x digital I/O ports, 8 PWM pins, and a Raspberry Pi-compatible header for some real hardware hackery.

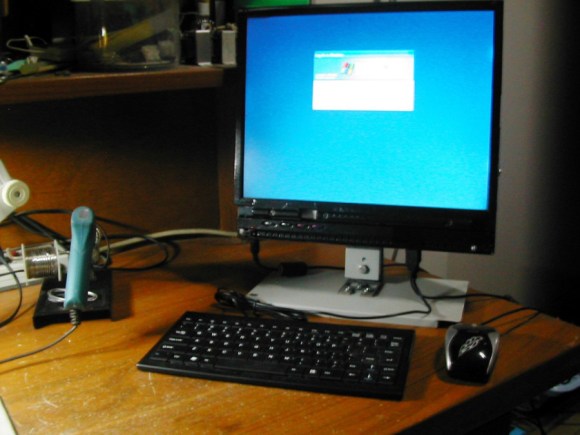
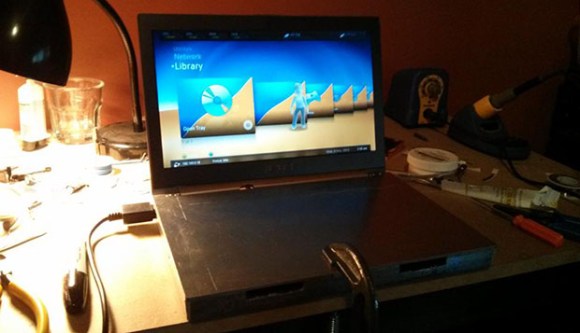
As for the specs of the laptop, they’re respectable for a high-end tablet.  The CPU is a Freescale iMX6, a quad-core ARM Cortex-A9 running at 1.2 GHz. The RAM is upgradeable to 4GB, an internal SATA-II port will easily accommodate a huge SSD, the ability to use an LCD adapter board to run the 13-inch 2560×1700 LED panel [Bunnie] is using. The power system is intended to be modular, with batteries provided by run-of-the-mill RC Lipo packs. For complete specs, check out the wiki.

Despite the high price and relatively low performance (compared to i7 laptop) of [Bunnie]’s laptop, there has been a lot of interest in spinning a few thousand boards and sending them off to be pick and placed. There’s going to be a crowd funding campaign for Novena sometime in late February or March based around an “all-in-one PC with a battery” form factor. There’s no exact figure on what the price of a Novena will be, but it goes without saying a lot will be sold regardless.

If you want the latest updates, the best place to go would be the official Novena twitter: @novenakosagi

Re-purposing An Old Laptop Display

InitsEnvironment[Tim] found himself with a laptop that had a good 18.4″ screen, but otherwise didn’t run properly. It would be a shame to throw that away, so he decided to salvage the screen by turning it into a standalone monitor. This isn’t exactly new, as he did what many people have done and looked to eBay for an after-market LCD controller board. The real beauty is in the enclosure he built. [Tim] had some scrap wood available from a previous project, so he set about designing a new frame for the monitor, and a very nice adjustable stand, as can be seen in the photo above.

One nice detail is in the control panel buttons. The LCD controller comes with a separate board housing the controls, and while he made a mistake mounting it initially, he ended up with a nice set of oak buttons that match the frame perfectly. He then built a nice backing out of styrene that holds the screen in place as well as housing the electronics.

Overall, it’s a nice looking project, and it is always nice to see electronics re-purposed rather than ending up in a landfill. We can’t help but think this would be a great frame for building a picture frame or a wall-mounted PC as well.

Hacking A Mac Magsafe Jack Into A PC Ultrabook

zenbookAir

Something’s fishy about the above-pictured ultrabook: it’s an Asus Zenbook that [WarriorRocker] hacked to use a MagSafe power connector typically found on Macbooks. Most of us probably consider it standard procedure to poke around inside our desktop’s tower, but it takes some guts to radically alter such a shiny new ultrabook. It seems, however, that the Zenbook’s tiny power plug causes serious frustrations, and [WarriorRocker] was tired of dealing with them.

Using information he found from an article we featured earlier this summer on a MagSafe teardown, [WarriorRocker] hit up the parts drawer for some connectors and got to work. He had to modify the MagSafe’s housing to fit his Zenbook while still holding on to the magnets, but he managed to avoid modifying the ultrabook’s case—the connector is approximately the same size as a USB port. Deciding he could live with just one USB connection, [WarriorRocker] took to the board with a pair of side cutters and neatly carved out space for the MagSafe next to the audio jack. He then soldered it in place and ran wires from the VCC and Ground pins along a the channel where the WiFi antenna is routed, connecting them to the original power jack’s input pins.

[WarriorRocker] regrets that he fell short of his original goal of getting the MagSafe’s protocol working: he instead had to hack on his own adapter. We’re still rather impressed with how well his hack turned out, and it did manage to solve the charging problems. Hit us up in the comments if you can provide some insight into the MagSafe’s otherwise obscure innerworkings.

Laptop To All-in-one PC Conversion

laptop2allinone

You probably have an old laptop shoved into a far, dark corner of your closet, gathering dust as it sits there alone and unwanted. Show it some love like [Oakkar7] and hack it into a desktop all-in-one PC. He had his work cut out for him, though: dead motherboard, busted case, worthless battery. [Oakkar7] starts by taking the case apart and removing the LCD screen. He removes the motherboard to discover two toasted capacitors in need of replacement. A short solder job later and the computer springs to life.

[Oakkar7] needs the LCD to face outwards while sitting against the rest of the laptop. The connecting cable doesn’t reach, so he carefully removes it, and flips it around to get the extra length needed. The final step is to fashion some aluminum support bars that attach to the bottom of the case, which mount onto another aluminum stand holding everything upright. At this point [Oakkar7] has tossed the battery, the keyboard, both the CD and floppy drive (yes it’s that old), and moved the speakers into the battery’s former home. For the finishing touch, a USB hub provides connections for the new keyboard, mouse and a Wifi dongle.

[Oakkar7] shared his project with us after reading [Elad’s] ground control station laptop conversion. Maybe these two projects can convince you to save a neglected laptop.

Tearing An Old Laptop Apart To Build A Ground Control Station

Being tired of assembling and disassembling parts/cables every time he went outside to fly his plane, [Elad] figured that he’d be better off building his own ground control station.

The core of the station is based on an old laptop with a broken screen he had laying around and (luckily) an older laptop screen he had found. As the latter only accepted LVDS, an adapter that could generate theses signals from the standard laptop’s VGA output was needed. [Elad] therefore disassembled his laptop and fit all the parts in a Pelican case he bought, as well as a lead-acid battery, a 12V to 19V stepup converter (to power the laptop), temperature/voltage/current sensors with their displays, 40mm fans, an AC/DC converter to charge the battery and finally a pico-UPS to allow uninterrupted use of the station when switching between power sources.

Because [Elad] didn’t have access to any machinery, PVC foam was used to maintain all the parts in place. Autonomy of his station is around 2.5hours on a single 12V 7Ah battery.

The Thinnest Xbox Laptop Yet

box

With every generation of consoles, there comes a time when the price of a new box is cheap enough, and used machines are plentiful enough, that console hackers pull out all the stops before the next generation arrives. For the Xbox 360, that time is now, and with no PS1-like hardware revision on the horizon, it looks like [jhax01]’s custom Xbox 360 laptop might be the smallest Xbox casemod we’ll see for a very long time.

[jhax01] was inspired by the work of [Yung Jeezus] and [AllYourXboxNeeds]’ YouTube channels and decided to craft his own custom enclosure for an Xbox 360 slim. The case was made out of aluminum plate cut with a simple angle grinder and bent on a cheap 18″ Harbor Freight brake. Despite these extremely simple tools, [jhax01] managed to fabricate a case that’s right up there with the masters of Xbox laptop craftsmanship.

The CD drive was ditched along with plans for a second hard drive. The display’s enclosure and hinge comes from an ASUS Zenbook, hence this project’s eponym, the ZenBox. The panel from the display was discarded and replaced with one that would work with the LVDS converter [jhax] found, giving the laptop a resolution of 1366×768.

It’s an amazing piece of craftsmanship, and an impressively thin gaming console to boot. Throw in a battery, and we’d be more than happy to carry this one around with us.

Laptop Backlight Converted From CCFL To LED

ccfl-to-led-backlight-conversion

[Lee Davison] acquired an Acer laptop that didn’t have a display anymore. He had enough parts on hand to add in an LCD panel and give it a CCFL backlight. But when he started looking for an inverter to drive the backlight he couldn’t find one. What he did have on hand were some smashed screens that had LED backlights and so the CCFL to LED backlight conversion project was born.

He tore into the LED display and found the driver board. Unfortunately he didn’t locate the datasheet for the exact LED driver, but he found one that was similar and was able to trace out the support circuitry on the PCB. This let him cut away the unneeded parts of the board without damaging the driver. He didn’t want to pull out the CCFL tubes until he was sure the LED conversion would work so he tried it out on another smashed panel (where does he come up with all these parts) and it worked great. Once he got everything in place he was very happy with the results. The only drawback to the system is that he doesn’t have the ability to dim the backlight.