LED Wand For Light Painting Photography

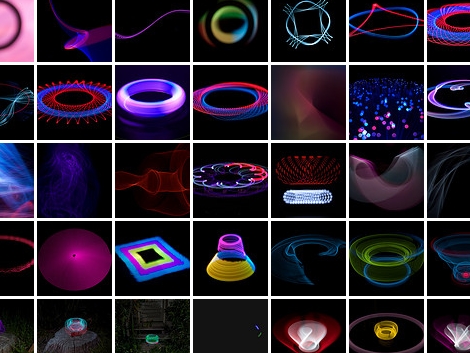
[Michael Ross] is a photographer who has been getting into light painting recently. He’s come up with his own RGB light wand to create some amazing images, and also written a very, very thorough tutorial (PDF warning) on how to build your own light wand.

The light wand is based on an Arduino Mega board and uses an RGB LED strip based on the HL1606 controller chip. We’ve covered these LED strips before, and they’re very easy to use with the requisite library. So far, [Michael] has built a 48-LED light wand and a 16-LED wand with a 6-position program selector, making it easy to do awesome single-exposure photos like this.

[Michael] creates his images in an Excel spreadsheet – rows are which LED to address and columns are units of time. The picture data is then copied and pasted straight from the Excel worksheet to the Arduino source code. This in itself is a pretty clever use of Excel.

Check out the how [Michael] creates one of his light paintings here.

Light Painting – Still Shots And Animations

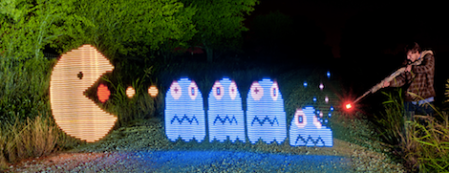
[Kim Pimmel’s] been doing some really interesting light painting with an Arduino. In the past we’ve seen several light painting projects which use long exposures to capture moving LEDs, or moving LCD displays. But [Kim’s] stepping it up a notch, using cold cathode flourescent lamps, electroluminescent (EL) wire, and lasers. The vibrant colors put out by these sources make for some great photos, but that’s not all she’s got up her sleeve. After accumulating a ton of still photographs from various shoots she decided to edit them together into stopped motion videos.

After the break you can see that one method she used to make these images was to spin the light sources on a standard audio turntable. An Arduino is controlled through processing via Bluetooth in order to move the stepper motor-mounted lights while the record player spins. Add some futuristic music thanks to Daft Punk (which is exactly what she did) and you’re in business.

Continue reading “Light Painting – Still Shots And Animations”

How To Find WiFi: Carry A Big Stick And Use Long Exposures

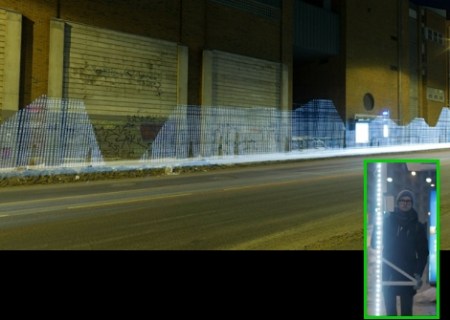
Here’s an artsy way to map out WiFi networks around you; use a big light pole and long exposures to graph them on top of photographs. This capture method is often called light painting, and uses the relative brightness of LEDs to stretch out a still image – moving the stick quickly while the shutter is open.

The four-meter tall rod used in this project plays host to 80 white LEDs. An Arduino along with a WiFi shield detect the relative signal strength of the network surrounding the device. The images that are produced with this method are quite pleasing and you’ll enjoy watching the video after the break. We just wish that there was some kind of Google Street View interface to share this data since someone had to go out pounding the pavement with the rather peculiar looking apparatus in order to gather the data in the first place.

Continue reading “How To Find WiFi: Carry A Big Stick And Use Long Exposures”

3D Digital Light Art Using IPad And Camera Trickery

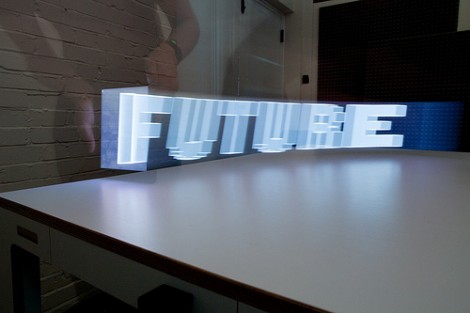
This light art is created by a moving display playing an animated image through several camera exposures. In this case the display they’re using is an iPad, but that really doesn’t matter as it’s just a high-quality screen and it’s portable. 3D animations are generated in software and then sliced into cross sections. As the camera rolls, the cross sections are displayed in order and the location of the screen is moved. Very much like light painting with an LED or a Roomba, the bright image remains and can be strung together for the 3D effect seen in the video after the break.

Using the cross sections of the video reminds us of what a three-dimensional object looks like to a two-dimensional being. If you have no idea what that means you should take a look at this video on imagining the tenth dimension.

Continue reading “3D Digital Light Art Using IPad And Camera Trickery”