USB Microscope Used For Soldering Very Small Things

solder

Lasik eye surgery is pretty common these days, but there are of course easier and cheaper ways to solder SMD components. [techpawpanda] wanted a video camera to see what was going on when he placed and soldered very tiny components on his board, but commercial SMD video cameras were terribly expensive. He wound up using a USB microscope to place and solder these tiny parts, and we’re thinking his SMD soldering station is the bee’s knees.

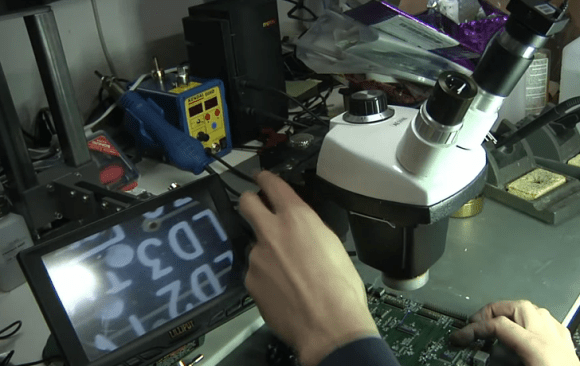
[techpawpanda]’s video-based SMD station is built around a USB microscope available at the usual online retailers for $40. This camera is mounted on a wooden base with a USB hub allowing the camera to be plugged in along with a few USB LED lights and a USB fan for a rudimentary form of fume extraction.

The results are impressive – even at 11x magnification, [techpawpanda] can put paste on pads and place even the smallest SMD parts. All this in a device that is small enough to fit in a shoe box, or be tucked neatly away whenever it is not needed.

Tens Of Thousands Saved By Building A BAM Microscope Out Of LEGO

A Brewster Angle Microscope (BAM) can run you around $100,000. If you don’t have that lying around you could just use some LEGO pieces to build your own. Having been faced with no budget to buy the hardware, and needing the data to finish his PhD, [Matthew] figured out a way to build something passable on the cheap.

These microscopes bounce a light source off of a pool of water and into the lens of a camera. The thing is the angle of the sender and receiver must be just perfect at 53.1 degrees. [Matthew] was able to afford a used camera, and started experimenting with some lab equipment to mount the rig. But he just couldn’t get the adjustments right. Since he had to move the mounting hardware by hand it was impossible not to over or under shoot the corrections. But then he had a eureka moment. LEGO pieces have very accurate tolerances, and you can get geared and motorized parts. He leveraged the quality of the toy into a BAM whose alignment can be tweak with great precision.

It may not look like much, but you can see stearic acid floating through the microscope’s field of vision in the clip after the break. This is exactly the type of observations he needed to perform. Of course if you just need a microscope you can use a laser and a drop of water.

Continue reading “Tens Of Thousands Saved By Building A BAM Microscope Out Of LEGO”

Flying Microscope Build Seems Way Too Nice For A Home Lab

This flying microscope is a tool which [Darrell Taylor] can be very proud of. He wanted to have an inspection microscope for working with surface mount projects. He got his hands on a binocular version for a song and dance because it came without a stand. Initially he built a simple rig but if it wasn’t in the right place it was hard on the body, and the upright section was getting in the way of larger projects.

This time around he used a hanging track system instead of a stand. He had some aluminum track on hand which was originally meant for use with a sliding glass door. He fabricated a trolley to interface with the track, and added a vertical rod to support the microscope. This makes it easy to slide the unit to the side when not in use, and provides for some height adjustment as well. To add to the functionality he included a light on the opposite side of the scope. This keeps the project illuminated without shadows being cast by his hands or the scope itself.

Build A Stereo Microscope From Binoculars And A Camera Lens

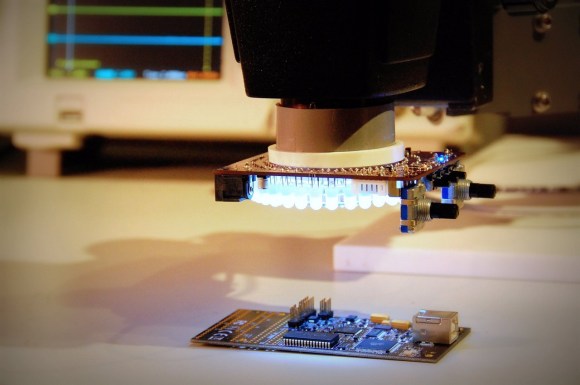
Here’s an oldie but a goodie. [RunnerPack] stumbled upon an article from 2001 about building a stereo microscope from a pair of binoculars and a camera lens. With a ring light attached to the end of the camera lens, we couldn’t think of a better microscope for SMD work.

To mount the binoculars to the camera lens, [Giorgio Carboni] made a very nice adapter containing four prisms. These prisms are very carefully aligned and glued down with a little bit of epoxy. By using an 8×30 pair of binoculars and a 35-100 mm camera lens, [Giorgio] was able to get a magnification factor of 10-57x. With a macro lens this factor can be increased (a 28mm lens bumps it up to 71x, but a lot more light is needed).

The pedestal is just a few ground rods and ground steel rods, something that requires a bit of machining. Since 2001, though, a lot of tinkerers have 3D printers so it could be possible to build a more easily manufactured version of the focusing apparatus.

[RunnerPack] had a pair of binoculars and a camera lens handy and tried a mono version of this build. He says he was blown away, but unfortunately didn’t provide any pictures. If you decide to build this project, be sure to snap a few pics and send it in on the tip line.

Cellphone Microscope For About $20

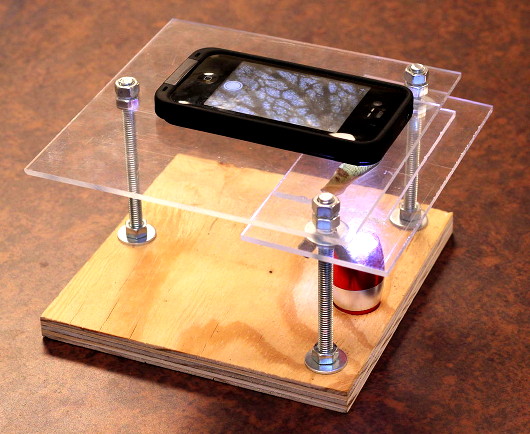
Medical-grade microscope photography for $20 might be a game changer in areas where medical services are unavailable. This particular hack uses an iPhone’s 2 megapixel camera, as well as a tiny glass marble, to magnify a sample to about 350 times its actual size. The two images seen on the left are red blood cells photographed with the improvised microscope. The main issue with this magnification method is a very thin plane of focus that is overcome with processing in software.

This makes us think of the microscope hack that shined a laser through a droplet of water, to project the image on a wall. The concept was later refined to work with samples on glass slides. There are a couple of distinct advantages to using this cellphone-based method. First, the sample can be seen with its true colors. Second, you not only magnify the sample, but you have a digitized image already on a device that connects to the Internet. If you’re trying to make a medical diagnosis this can easily be sent to a qualified professional for analysis.

The team that came up with this technique also figured out how to build a cellphone-based spectrometer for just a few bucks. The image in the upper right is the result of that hack. Both have a step-by-step build guide on the page linked at the top. The microscope is just a glass bead in a piece of rubber, as seen here. The spectrometer is a bit more involved.

[Thanks Fabien]

A Different Take On A Laser Projection Microscope

[Dusjagr] has another take on building a laser projection microscope. Last year we saw a laser-based microscope that shined the beam of light through a water droplet which contained the subject to be magnified. The droplet bent the focused beam of light and projected the magnified contents onto a screen. Now that’s pretty neat and [Dusjagr] has used that method himself. But most traditional microscopes use glass slides to contain the subject and this new version now makes that possible.

A bit of experimentation led [Dusjagr] to the discovery that a lens re-purposed from a webcam can achieve similar focus results as a water droplet. The video after the break shows the apparatus seen above in action. The laser shines through the lens, then through a slide that contains a water sample from a nearby pond. The image is clear, albeit completely bathed in green.

For us the most interesting part of [Dusjagr’s] writeup is his discussion of the limits of laser amplification based on the wavelength of light the diode puts out.

Continue reading “A Different Take On A Laser Projection Microscope”

Machine Your Own Ring Light

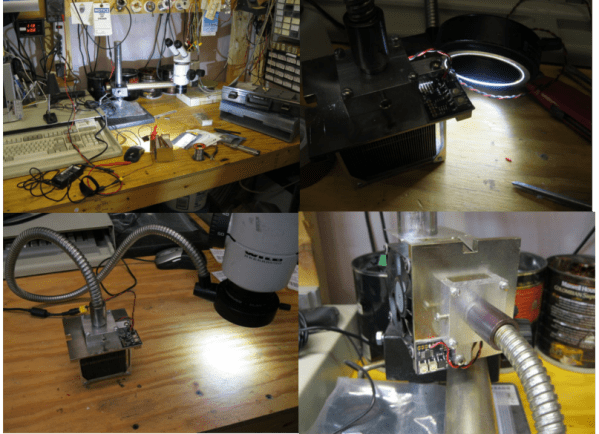
[Alan] acquired a stereo microscope from eBay, and decided to save some more money by designing, machining, and assembling his own arc reactor ring light to go along. After finding an LED driver board sitting around as well as ordering some surface mount LEDs, he set about using a lathe to cut away a block of lexan, making sure to include slots for the lights as well as the microscope mount point. Follow the link to see the detailed build photos, as well as some comparison shots with and without the ring light.

A month or two earlier though, and [Alan] would have had a fantastic start to an Iron Man costume.