Motors are fun, and high voltage even more so. We’re guessing that’s what went through [brazilero2008]’s mind when he put together an electrostatic motor using upcycled parts he found lying around.
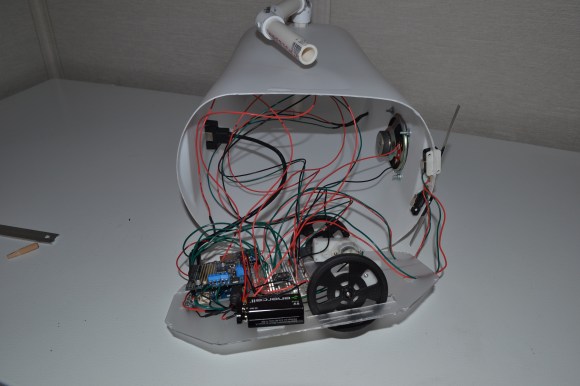
The electrostatic rotor works by connecting a very high voltage, low current power supply – in this case an industrial air ionizer – to a set or rotors surrounding a plastic rotor. The hot electrodes spray electrons onto the rotor, which are picked up by the ground electrodes. If the system doesn’t arc too much, you have yourself a plastic rotor that spins very, very fast.
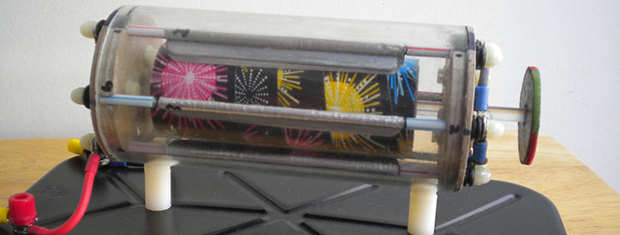
[brazilero]’s device is made out of an aluminum turkey pan, a few acrylic tubes, and a few cardboard disks; all stuff you can find in a well-stocked trash can. After completing the device, it was taken apart and finished and screwed onto a beautiful painted jewelry box. Very cool for something you can make out of trash, and dangerous enough to be very interesting.