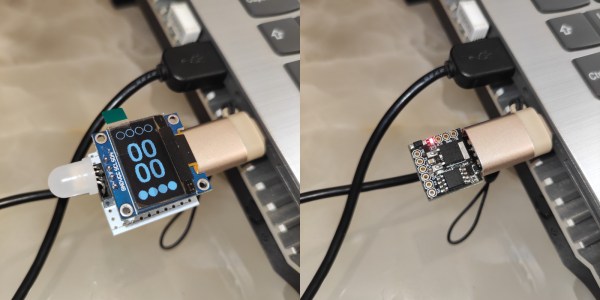
We think it’s OK to admit that when someone puts a binary display on a project, it’s just a thinly veiled excuse to get more blinkenlights into the world. That and it’s a way to flex a little on the normies; you’ve gone pretty far down the tech rabbit hole to quickly decipher something like this binary-display thermometer, after all.
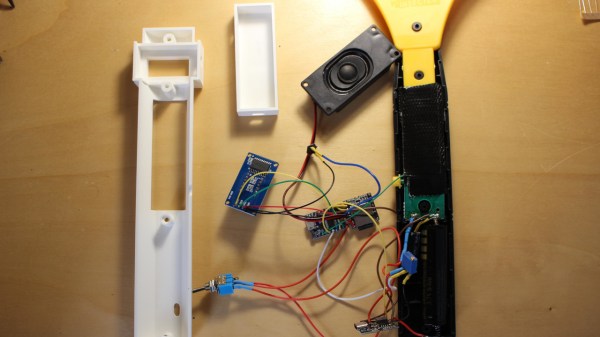
Don’t get us wrong, we think those are both perfectly valid reasons for going binary. And all things considered, a binary display for a thermometer like [Clovis Fritzen]’s is much simpler to decode than, say, a clock. Plus, it seems a bit that this build was undertaken at least partially as an exercise in Charlieplexing, which [Clovis] uses to drive the six-bit LED display using only three lines of GPIO from the Digispark ATtiny85 board running the show.
The temperature sensor is a DHT11, whose output is read by the microcontroller before being converted to binary and sent to the six-bit display. The 64-degree range is perfect for displaying the full range of temperatures most of us would consider normal, although we’d find 63°C a touch torrid so maybe there’s a little too much resolution on the upper end of the scale. Then again, switching to Fahrenheit would shift it toward the hypothermia end of the scale, which isn’t helpful. And you can just forget about Kelvin.