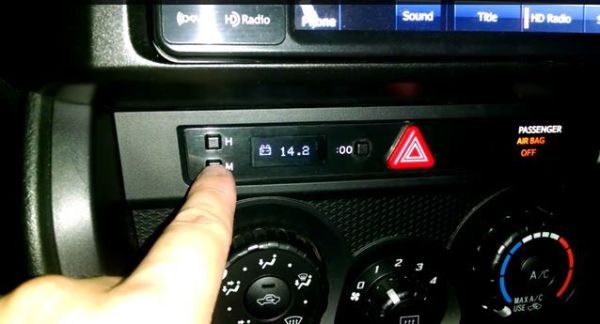
Whenever I end up with a new vehicle I ultimately end up sticking in a new GPS/Receiver combination for better sound quality and a better GPS.
I am quite at home tearing into a dashboard as I was licensed to install CB radios in my teens as well as being the local go-to guy for 8-track stereo upgrades in the 70’s. I have spent a portion of my life laying upside down in a puddle on the car floor peering up into the mess of wires and brackets trying to keep things from dropping on my face. If you remember my post on my Datsun 280ZXT, I laid in that same position while welding in a clutch pedal bracket while getting very little welding slag on my face. I did make a note that the next time I convert a car from an automatic to a manual to do so while things are still disassembled.
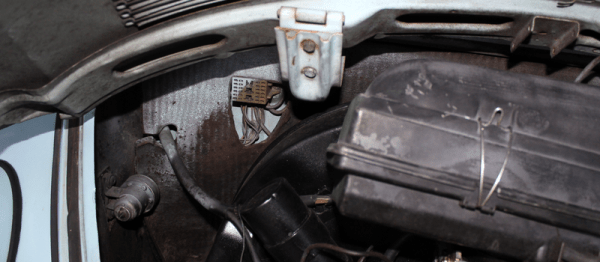
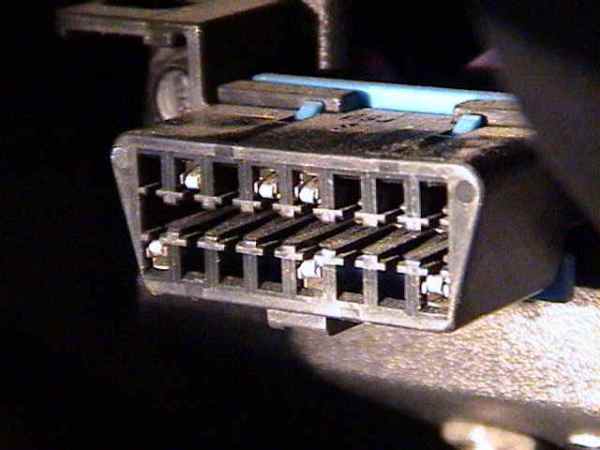
Swapping out a factory radio usually involves choosing whether to hack into the existing factory wiring wire-by-wire, or my preference, getting a cable harness that mates with the factory plug and making an adapter out of it by splicing it to the connector that comes with the new radio.
Usually I still have to hunt down a few signals such as reverse indicator, parking brake indicator, vehicle speed sensor and the like. In my last vehicle the Vehicle Speed Sensor (VSS) wire was supposed to be in the factory harness, but driving experience showed it must not be as the GPS would show me driving 30 feet to the right of the highway. That and the calibration screen on the GPS verified that it was not receiving speed pulses.