![Courtesy of [david.reid]](https://hackaday.com/wp-content/uploads/2018/04/3837651523601540563-e1523925634762.png?w=600&h=450)
Have you ever thought that Nixie tubes are cool but too hard to control with modern electronics? And that they’re just too expensive? [david.reid] apparently thought so and decided to create his own version of a Nixie tube, and it doesn’t get much cheaper than this.
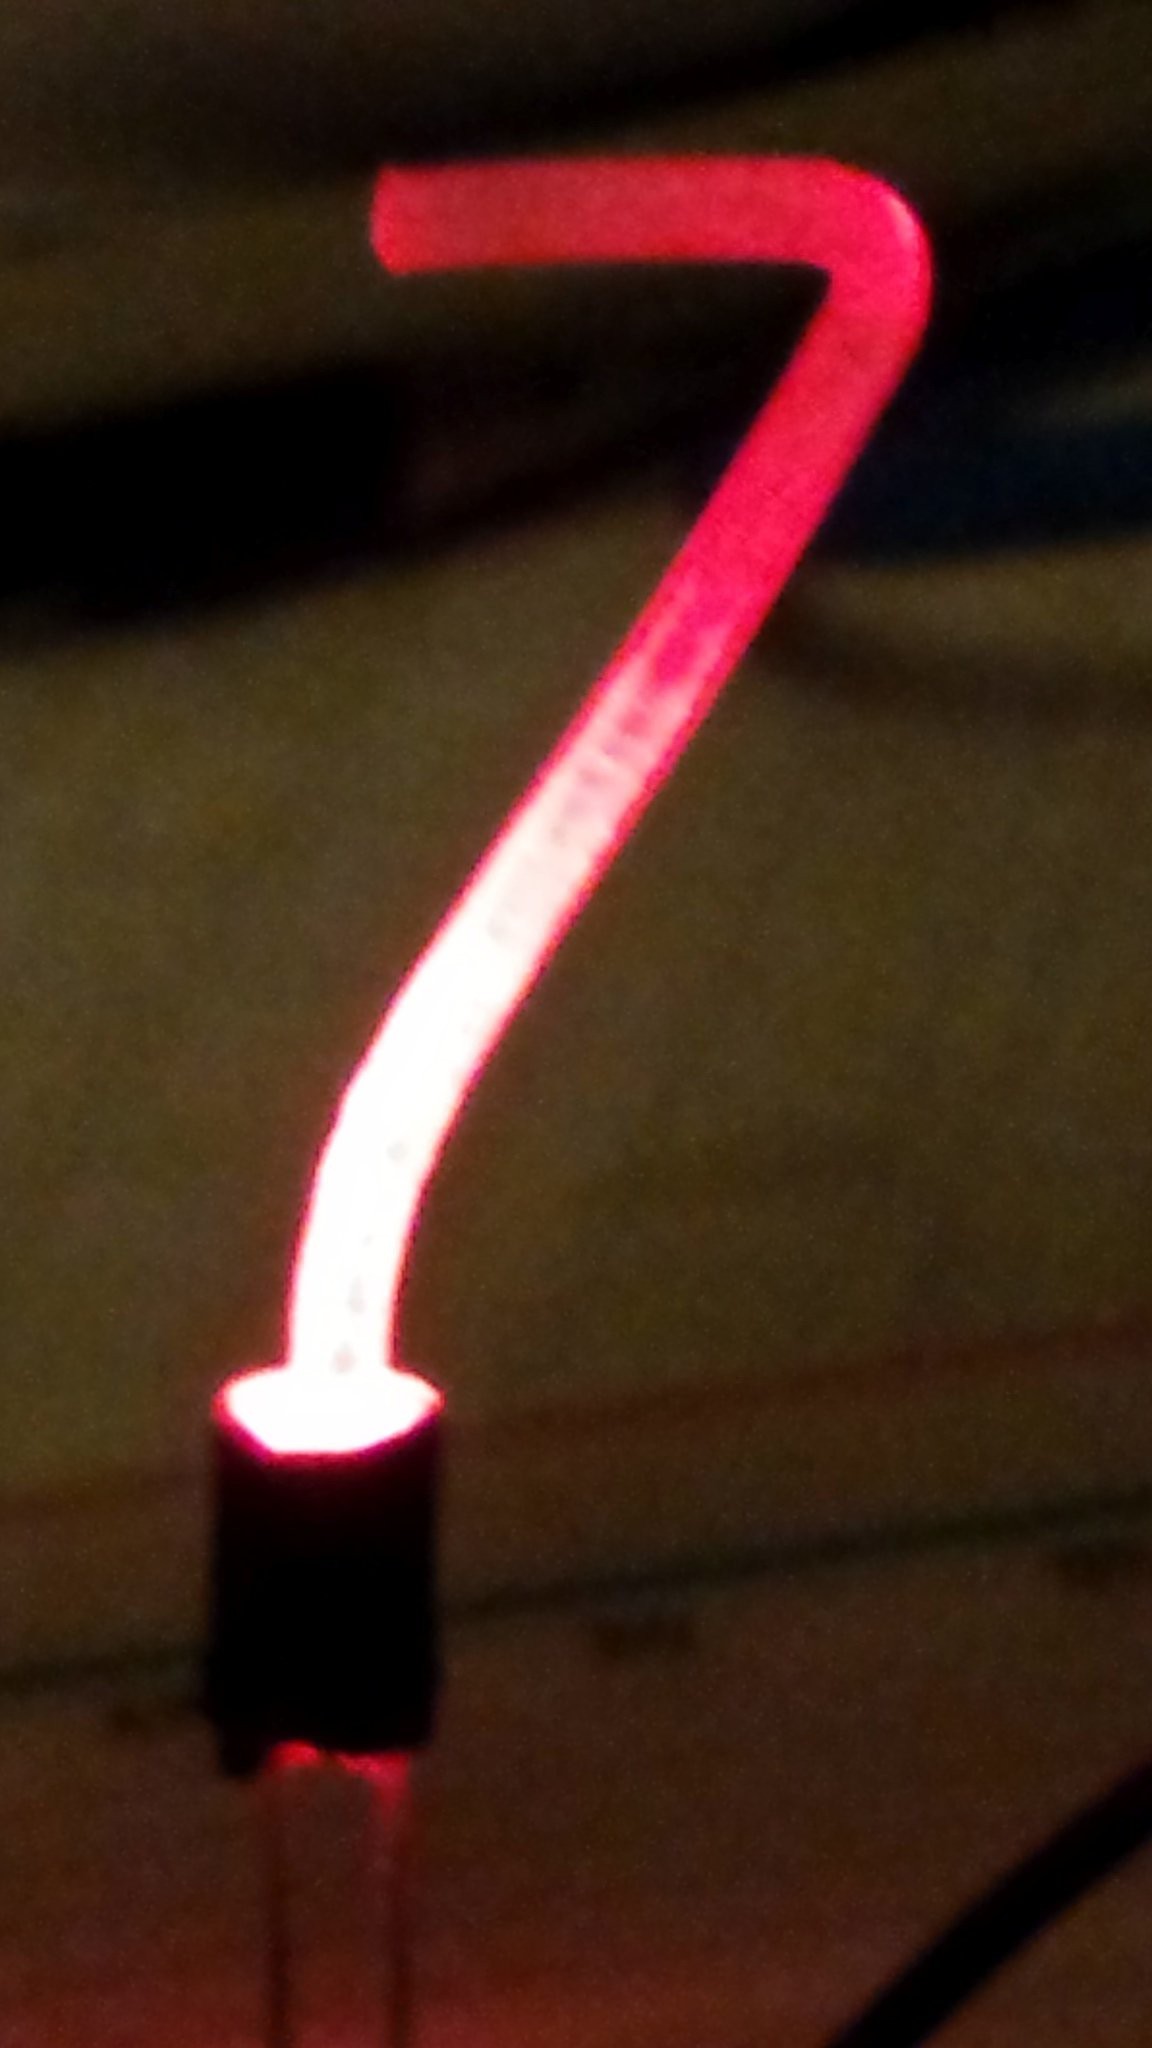
While working on a 3D printed locomotive with his son, [david.reid] used clear PETG (Polyethylene Terephthalate Glycol) 3D printer filament to move light from LEDs to various parts of the locomotive. He found this was a success, but roughed up the outside of the filament to see what would happen. Lo and behold, a warm glow appeared on the surface of the tube! Like any good hacker, his next thought was of Nixie tubes, as you have seen in many clocks.
His basic idea is that with a little heat you can bend the filament into any shape that you like ([david.reid] uses custom molds). You then use some sandpaper to roughen up the outside wherever you’d like light to show, and add an LED at the bottom to light it up!
[david.reid] isn’t the first person to modernize Nixie Tubes. Over the years, we’ve seen them combined with Wi-Fi boards, individual LED segments, or even laser cutters & WS2812s!
Now’s a great time to get started on a project for the Hackaday Prize! If you’re looking for somewhere to start, we’d love to at least see your own take on a clock!