A Quick And Dirty VU Meter For Your Next Party

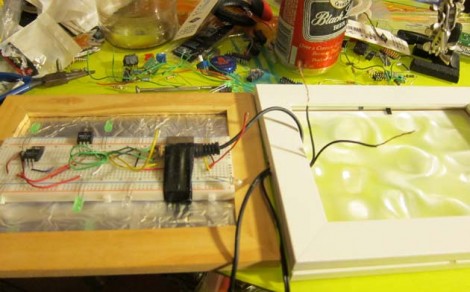
If you want an easy project to spice up your next party, chances are you already have parts on hand to throw together [Mikerbot’s] quick and dirty VU-meter lights. The circuit he designed uses the audio input to trigger the base of a PNP transistor, toggling power through a string of LEDs. He’s using four lights for each of the stereo output signals, making them pulse with the music as seen in the video after the break. The circuit is built on a breadboard, and housed in a picture frame with a less-than-impressive diffuser (we think that’s always the hardest part… check out the Heavy Frost used in this project if you want something that works really well).

There are some VU meter chips out there that will really augment this concept. But one improvement might be to throw in an amplifier chip like the LM386 and a couple of potentiometers so that you can dial-in the sensitivity.

Continue reading “A Quick And Dirty VU Meter For Your Next Party”

2-bit Full Adder Using Just Thirty Six 555 Timers

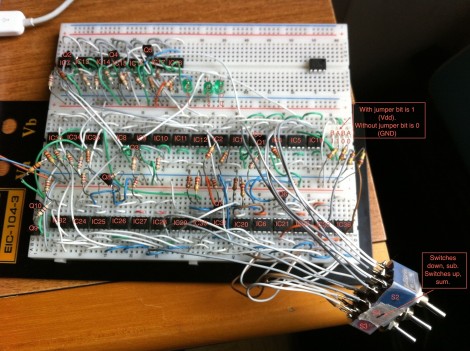
This 2-bit adder was a lot of work to build. It uses a total of thirty-six 555 timers and it does have the option of adding or subtracting numbers. It’s a rather unorthodox use of the part, depending more on the chip as an inverter and taking advantage of the fact that there’s an NPN transistor built into it. [cpu86] did use some PNP transistors to give him the ability to turn off some of the 555’s to get everything working correctly.

He explains the use of two’s complement in the subtracting feature but the process is just touched on very quickly. Luckily there’s a huge eagle schematic available with his project writeup so that you can follow along and really grasp how this thing works. We’ve generated a PNG and embedded it after the break for your convenience. You’ll find it just after the two videos of the device in action.

Continue reading “2-bit Full Adder Using Just Thirty Six 555 Timers”

Gutting An Air Freshener For The Parts

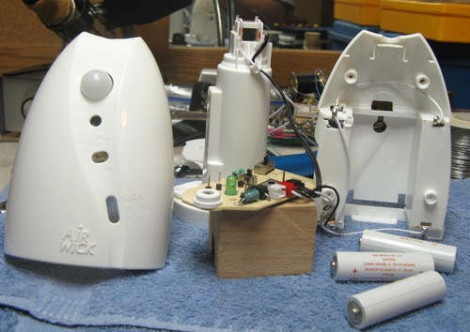
[Doug Paradis] took a good look inside the Air Wick Freshmatic Compact i-Motion and then stole all the parts for other projects. We’ve looked at adding a manual spray button or making air fresheners Internet enabled before. Those models didn’t have parts that were all that interesting, but this one has a passive infrared motion sensor. You’ll also gain three switches, a PNP transistor, and an LED.

Price seems to be all over the map for this model, but [Doug] says you can find it for $8 or less. After showing how to make a tool to bypass the triangular security screws, he explains how to access the PIR sensor. But if you want to be all you can be with the hardware, he details the modifications needed to patch into the analog and digital circuitry on the rest of the board too.

Replacing The Driver Board In An Old-school Door Chime

[Dan Kouba’s] parents replaced their doorbell button with one that lights up and found that the chime wouldn’t stop sounding after the button was pushed. These lighted buttons use an incandescent bulb in parallel with the button (a piece of hardware we’ve hacked in the past). It draws a small amount of current which isn’t enough to trigger the chime, but it is just enough that the chime unit reacts as if the button press never stopped. His parents asked what he could do about this and after some investigation he build a replacement board for the chime unit based around an ATtiny26L. The board monitors the voltage drop across a resistor in the doorbell circuit. When the comparator on the AVR detects a rise in the voltage drop across the resistor it rings the chimes, actuating the solenoids with a set of PNP transistors. [Dan] sent us all of the details which you can check out after the break.

Continue reading “Replacing The Driver Board In An Old-school Door Chime”