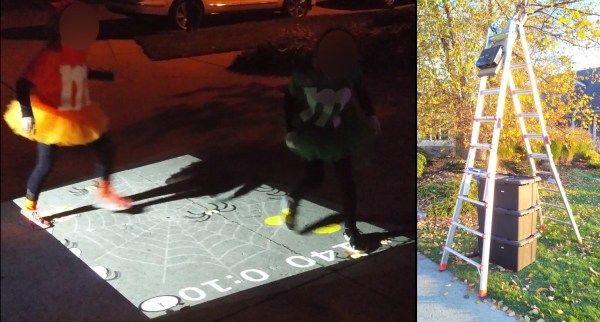
We can count on one hand the number of times that we haven’t needed a coat on Halloween night around here. Even if it was fair and sunny the day before, you can count on Halloween being appropriately windy, cold, and spooky. Trick-or-treating only keeps a kid so warm, and we would have loved to happen upon a house with a spider-stomping sugar-burning good time of a game going on in the driveway.
[Kyle Maas] built this game a few years ago, and it has proved quite popular ever since. It’s so popular, in fact, that they have to have someone on duty with a vaudeville hook to yank spectators off the playing field. The point is to stomp as many spiders as you can in a set amount of time, though you only need to stomp one to win. It can handle one to four players, depending on the size of the projection, but [Kyle] says it’s kind of hard to track more than two at a time.
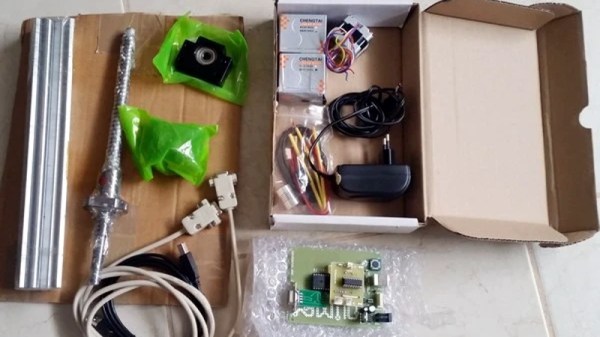
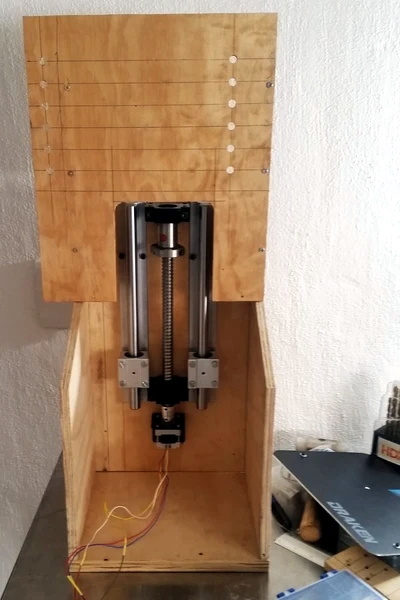
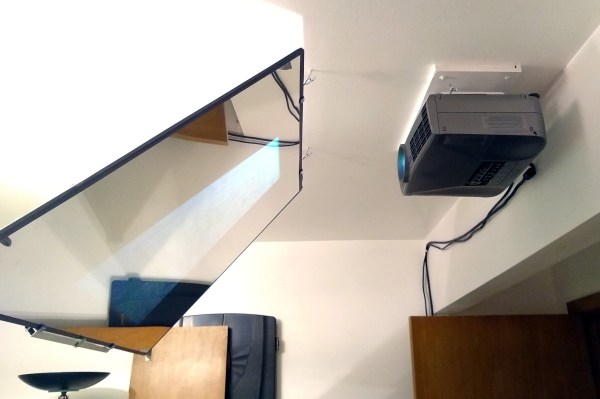
The setup is fairly simple, provided you can reliably affix your projector to something sturdy. [Kyle] used a Structure sensor for the 3D scanner, but you could easily use a Kinect instead. Conversely, the calibration was challenging. [Kyle] ended up using a DSP math trick known as the inverse bilinear transform to be able to calibrate the system using the 3D scanner itself.
If you’re more into scaring the children, just rig up a coffin bell. Either way, don’t forget about our Halloween Hackfest contest, running now through Monday, October 11th. There are more details over on IO. While you’re there, why not check out the list of entries?